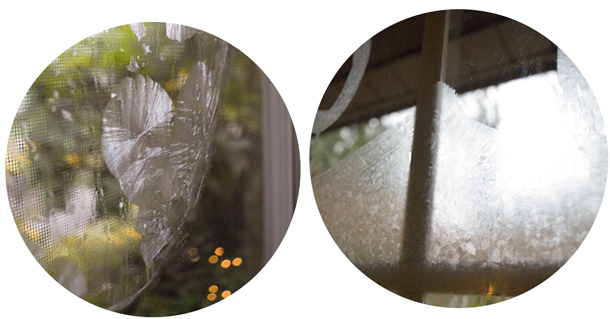
Holiday Crafts with Kids: Frosted Windows
We have Randi from Swoon with us today to share a fun project that families can enjoy together during the holiday season.
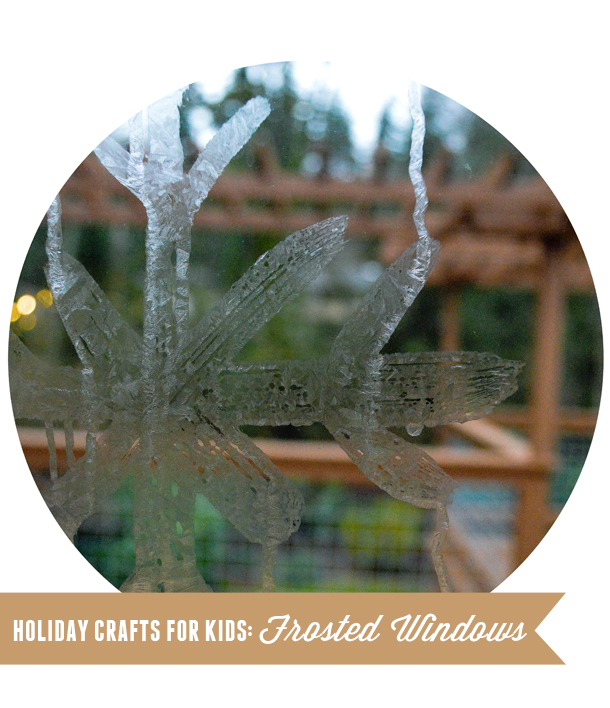
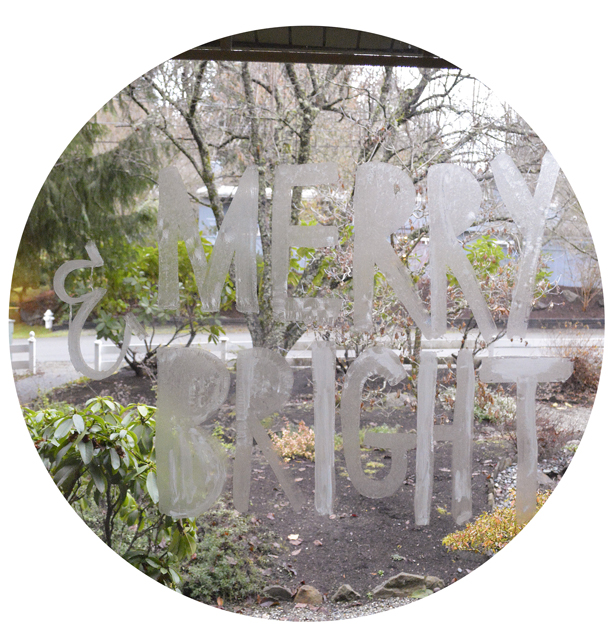
You may have heard of projects that involve creating your own crystals, but this amazing concept is new to me! While researching winter projects for kids, I came across several recipes for making “frost” crystals on your windows. The recipes I found were all different, but the basic concept is to create salt crystals on glass that look a lot like icy winter frost. My kids had SO much fun with this one! I think this would be especially fun if you live in an area that doesn’t get very much snow or frost-just create your own!
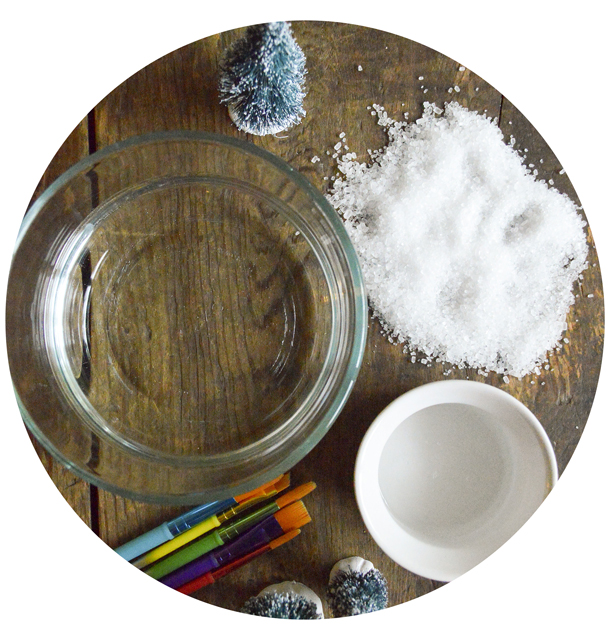
I love it when a fun project turns out to be easy too! All you need to make your own frost is: a small saucepan, 1 1/2 cups water, 1 cup Epsom salt, a wooden spoon, 3 Tbs. dish soap, a heat proof bowl or dish, and paintbrushes.
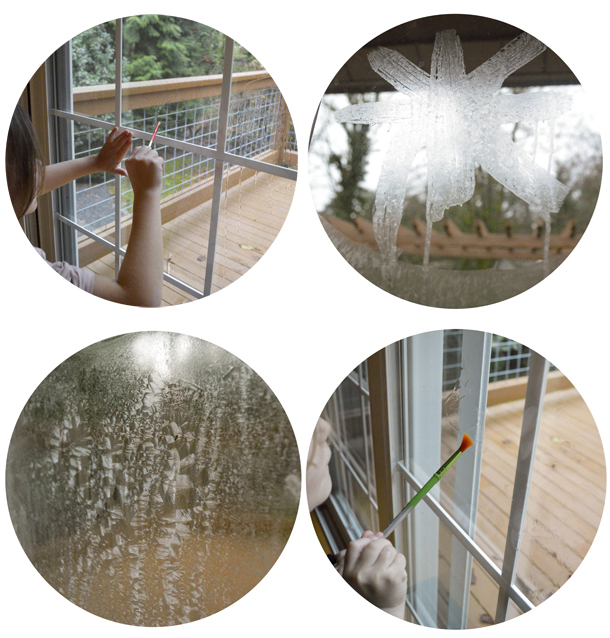
1. Bring water to a boil in your saucepan. 2. Slowly add the salt to the water in small increments, stirring vigorously with wooden spoon to dissolve completely. 3. Remove pan from stove and let water cool for a few minutes. Stir in dish soap. 4. Transfer mixture to a heat safe bowl and use paintbrushes to paint designs on your windows! 5. Salt crystals will begin to form on your designs as mixture begins to dry.
A few tips:
1. This project is fun, but messy! The solution is a little runny, so you will want to protect the floor with a towel. It’s also handy to have a few paper towels ready in case your designs drip a bit.
2. The liquid cools off fairly quickly, but it might be wise to put a portion of it in a small cup and cool it off a bit before giving it to little ones.
3. Once you’ve made a design, let it dry completely. Once it begins to set, don’t go over it again with your paintbrush as it will lose its crystalline appearance and start to look cloudy.
4. To remove crystals, wash windows with soap and water.
