Handmade City Play Mat
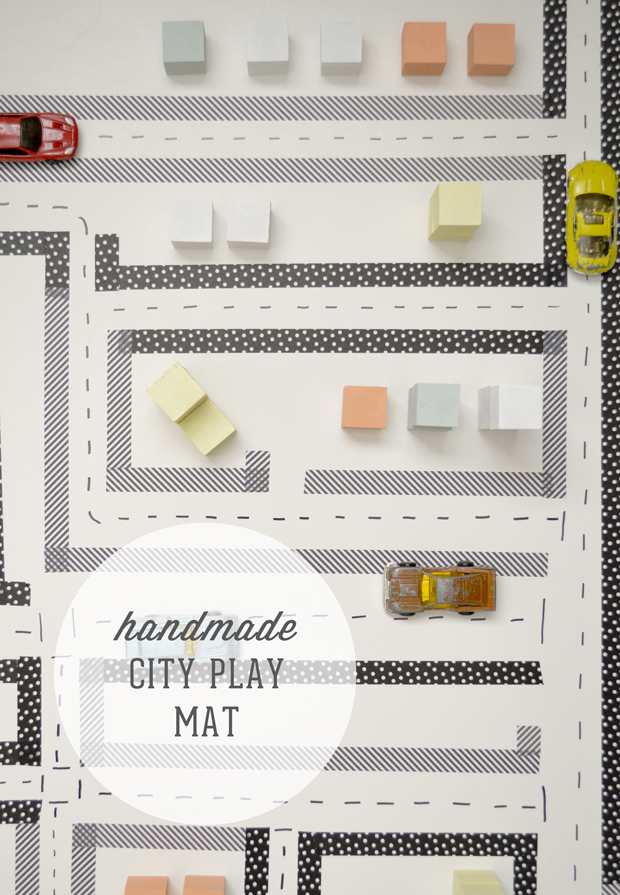
If I had to pick a theme to describe the phase of learning my girls are in, it would definitely be “imaginative play!” As young children, they naturally approach the world in a playful way and it’s very rewarding to see them learn new things through the act of play. I used to downplay the importance of imaginative play as a learning tool, but have come to realize how powerful it can be for children of all ages. It seems to be a vehicle for them to learn about a variety of subjects in a very natural way.
I don’t always direct the dramatic play in our home, but a few times a week I like to create a few open ended projects that I can leave out for the girls to discover. It’s always fun, and sometimes surprising, to see how they approach something I set out for them to play with. I love giving them projects that have no expected outcome and allow them to play with the tools and materials however they want.
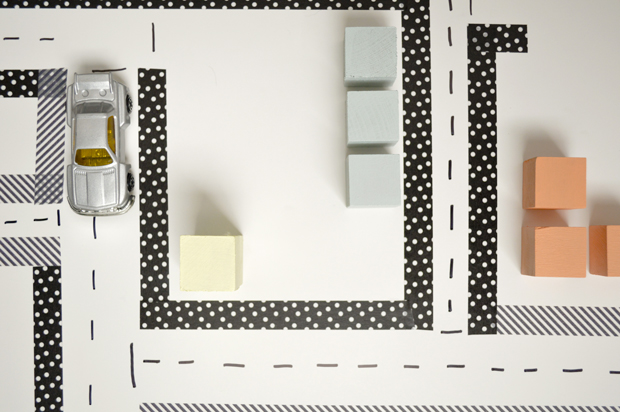
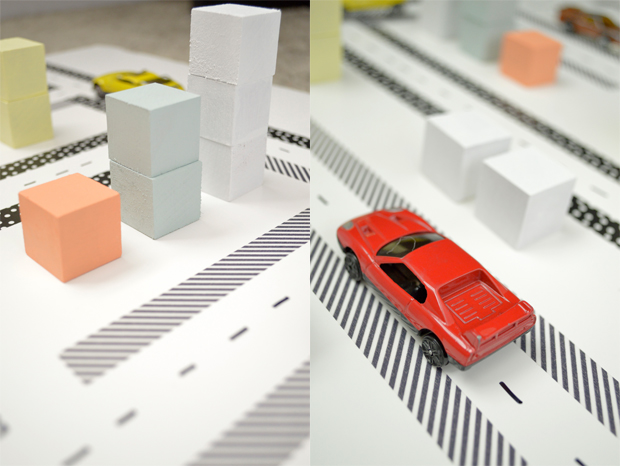
Lately my girls have shown an interest in toy cars/trucks and I wanted to give them a place to explore and express their new found fascination. I spontaneously made one of these play mats one day using things I had on hand a few months ago. It was so well loved that it had to be thrown out and replaced with the one you see here! Do you have a child who would like to build their own city? Here’s what you need:
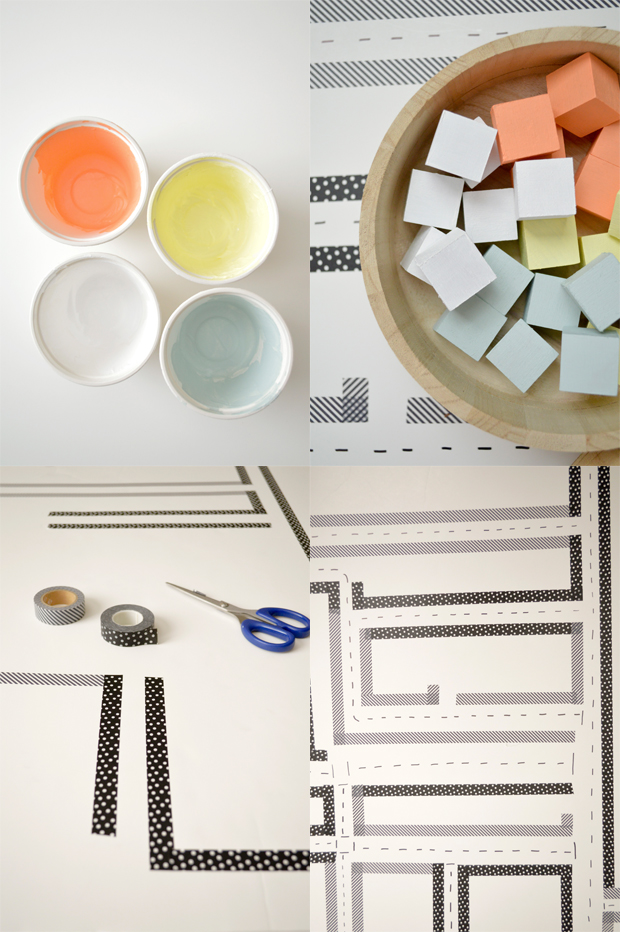
For the play mat: White foam core, Japanese masking tape (now sold at Target for $5!), scissors, and a black sharpie. For the city building blocks: unfinished wood blocks (found at craft stores), acrylic paint, and a paint brush. You can also use regular building blocks that you already own.
To make the mat: Use two pieces of tape about an inch apart to make a road. Place roads all over your board, connecting them in various ways as they would be in a real city. Leave open spaces around the board for buildings. The tape looks best when it’s cut off the roll, rather than torn. This step would be fun for older kids who want to help with the “city planning!” Once you’re satisfied with the placement of the roads, draw a dashed line down the center of each road and add any other embellishments you’d like.
To make the city building blocks: Paint two coats of acrylic paint on each block using your paintbrush. It worked best for me to finish three sides of a block at a time and allow to dry before flipping over and finishing the other three sides. Allow to dry completely before using. My kids are old enough to not place things like blocks in their mouths, but if you have a younger baby you may want to leave the blocks unfinished or use some blocks in your existing collection of toys!
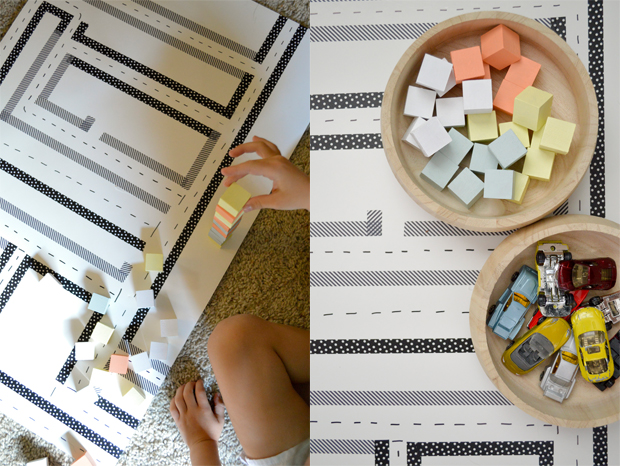
I like to set out the mat with a bowl containing the blocks and a bowl of cars. It’s fun to see what your kids will build! My daughter loves to sort colors, so she is naturally drawn to the colored blocks. Some small animals and figurines often find themselves in the mix of this game too!
