From the Bin: Paper Bag Lantern
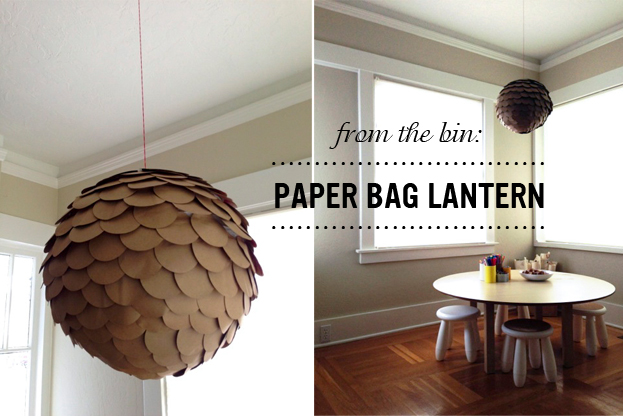
Heather from Poppy Haus is with us today with another inspiring DIY project using re-purposed products from the the recycling bin. I don’t know about you, but I have been eyeing these lovely textured lantern lights for sometime. I love that we could make one together as a family…
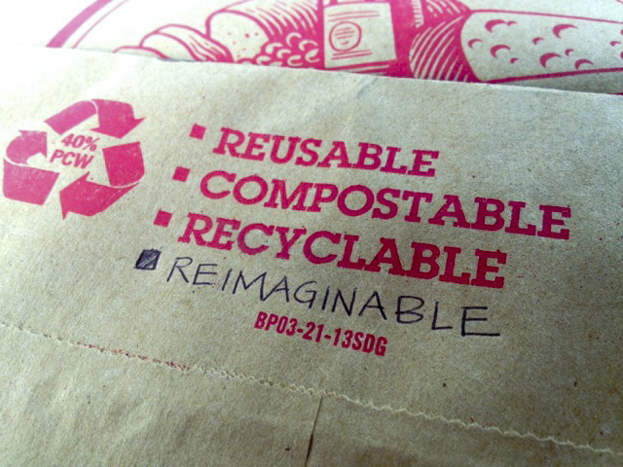
Hi there! I’m back with another project using materials that usually make it into my recycling bin. This one involves the paper grocery bag stash that I accumulate when I forget to bring reusable bags to the store. Today’s project is both decorative, and if you drop a light inside, quite functional. Kids get to operate a punch, and learn about layering and proportion. My six year old got in on the action with this one.
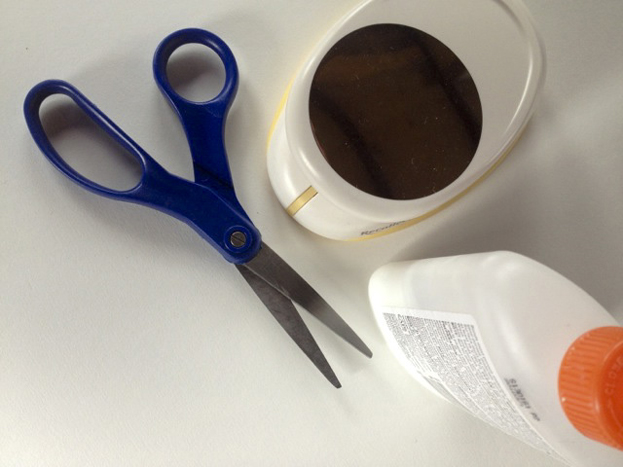
Step One: Gather Materials:
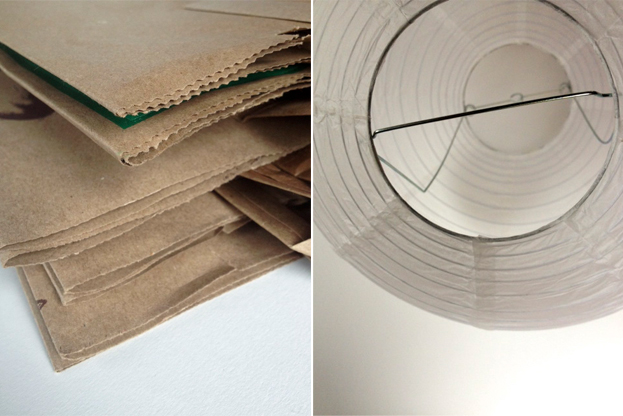
- Rice paper lantern*
- 6-8 paper grocery bags
- scissors
- school glue
- circle punch*
- a wide bowl
- wine for hanging

Step 2: Punch circles from paper bags.
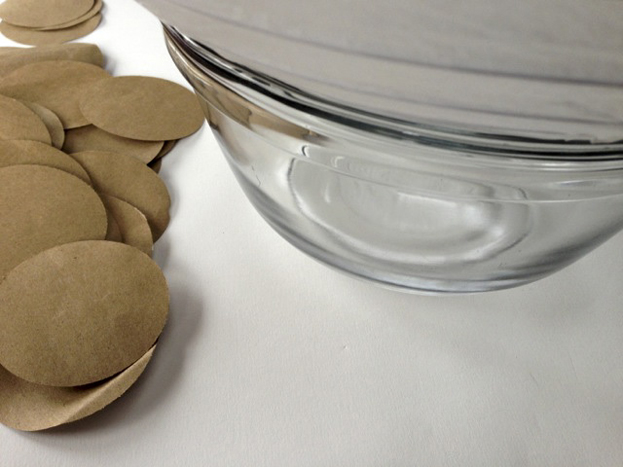
Step 3. Assemble lantern and place in the bowl (to act as a pedestal).
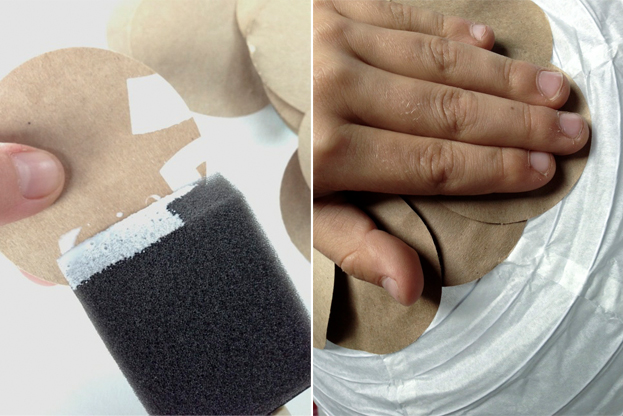
Step 4. Starting at the base of the lantern (the non-hook end) layer the first row of circles using a little school glue to secure, keeping the overlap to about 1/3 of the circle.
Step 5. Continue up the lantern, beginning each row slightly off center from the previous row.
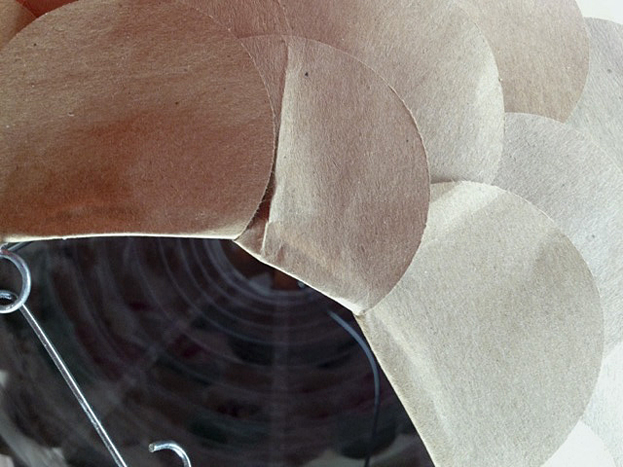
Step 6. Once you’ve reached the top layer, fold the top of the circle over into the lantern to create a clean finish.
Step 7. Hang using twine, or drop a light cord in to use as a pendant!
Another idea: Use left-over wrapping paper, colored on construction paper, anything with a clean side. Use different punch shapes like inverted hearts, just keep to the simple layering technique.
*Sources:
Readers of my blog, Poppy Haus know that I love to make things with paper lanterns. These rice paper spheres are inexpensive and readily available at stores like Cost Plus, IKEA, and Pier One. You can also hang using a colored cord (fun!) which I’ve seen at Cost Plus and West Elm (online). For this project I used a 16” lantern, and a 2 1/2 inch punch found at Michaels craft store.