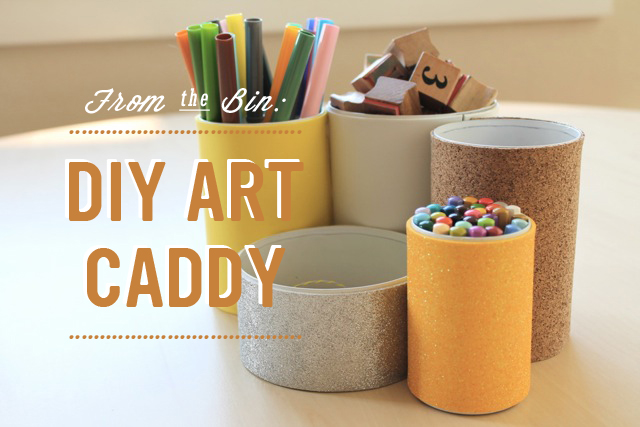
From the Bin: DIY Art Caddy
I am so happy to welcome our newest contributor Heather Jennings, who is the creative force behind the inspiring blog Poppy Haus. She is sharing a great way to make an art caddy out of everyday items that you can find in your recycling bin.
Hi there, I’m Heather Jennings from the blog Poppy Haus. I’ll be doing a series called “From The Bin” featuring upcycled DIY’s for kids.
In our kitchen we have a little white recycling bin that has become the source for many an art project. Egg cartons become dinosaurs, toilet paper rolls become binoculars, and other crafty play things, but sometimes we upcycle our containers into more permanent, well- designed objects for our home. As the mom of two little boys, I find myself back in college, age 35, studying interior design. My homework involves a lot of graph paper and sketching, which peaked the interest of my 6 year old son. I wanted to explain what I’m doing in a way that he could really understand, so I came up with this art caddy project for us to do together. It’s example of how younger school-aged children can measure, draft patterns, build objects, and consider finishes, using materials found around the house.
Do you want to make an Art Caddy too?
Steps:
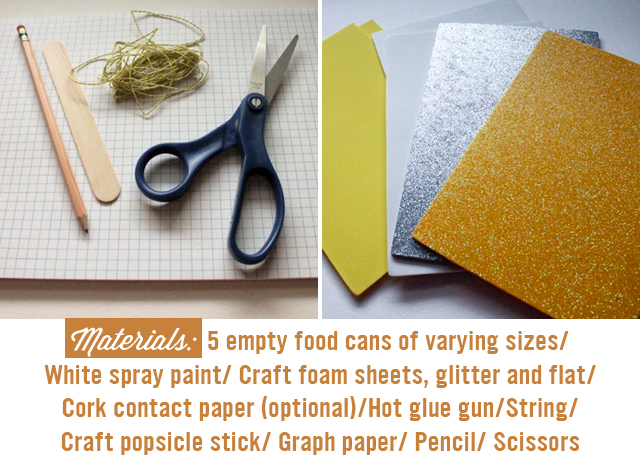
1. Remove paper from cans, wash and dry completely
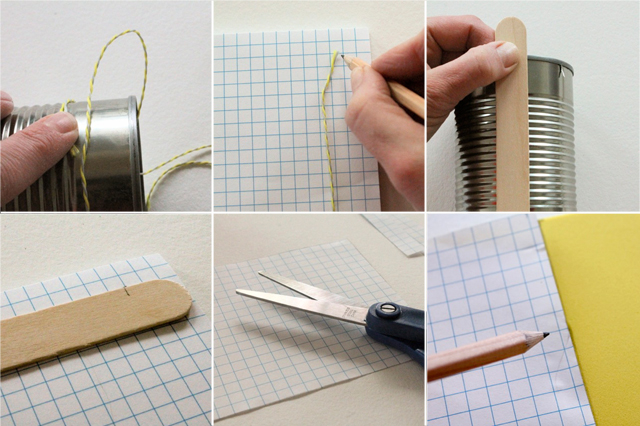
2. Using a piece of string, measure the circumference of the can. Mark length on graph paper.
3. Using a popsicle stick, mark the height of the can. Mark the height on graph paper.
4. Count the squares to find the length and height, marking the corners, and draw the rectangle
pattern.
5. Place the pattern over the craft foam and mark the cut lines. If you are using smaller pieces
of foam you may need to cut multiple pieces. Try to keep them even in size to hide the
seams when connecting in step 11.
6. If using cork to line the interior base of the can, trace around the top of the can and cut out.
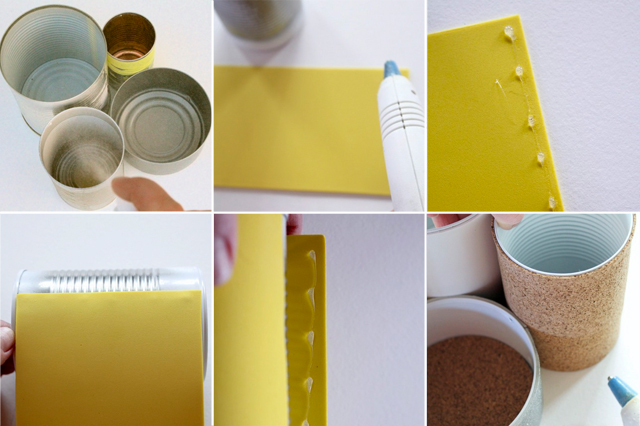
7. Have a parent help spray paint the interior, rim and base of the cans, allow to dry completely.
8. Heat the glue gun, carefully draw a line of glue on one end of the foam. Younger children will
need help with this step.
9. Attach the glue-lined side to the height of the can and wrap tightly around, marking a second
glue line and pressing to seal the cover. Glue additional pieces if necessary. Finish all the
cans.
10. If applying cork bottom, slip in and press to attach.
11. Arrange cans, make sure to face seam lines together. Apply lines of hot glue along the
seams and press for about 10 seconds to seal.
12. Fill your caddy with your favorite art supplies. Way to upcycle