DIY Tear Off Notepads
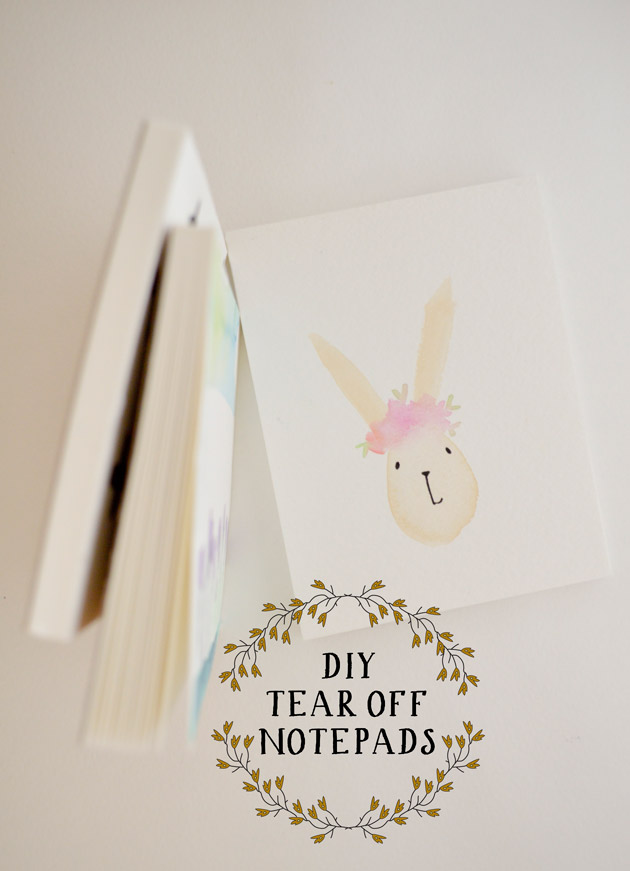
Around here we are pretty serious about paper. It seems as if we never have enough! Like most families, we love to have notepads handy to make lists, doodle, and to jot down ideas. Although my children are just beginning to write, they love to practice their letters and are constantly asking for page after page. I recently learned how simple it is to make your own bound notepads with easy to tear off sheets. I decided it was time to add a few to our art and writing center so my girls would always have the tools they need when inspiration strikes.
These notepads can be made in any size and it only takes about an hour to make a whole batch of them. The best part though, is the option to customize the cover, especially for little ones.
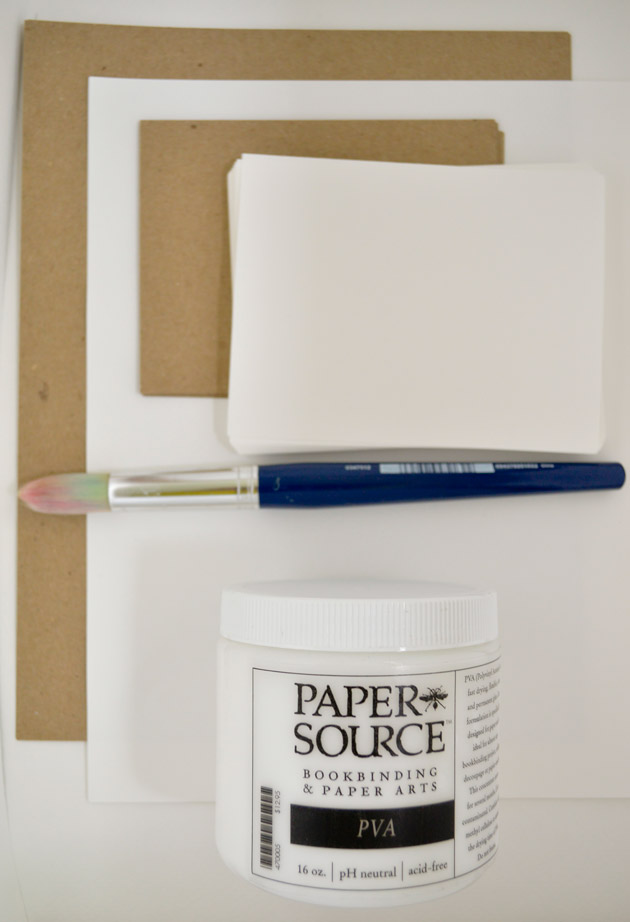
To make one notepad you will need to gather:
- 25 pieces of card stock cut to desired size (we used two sizes: standard letter 8 1/2″ x 11″ and A2 4 1/4″ x 5 1/2″ which you can buy without the need to cut)
- 1 piece of chipboard cut to the same size
- 1 piece of watercolor paper in same size
- Watercolor paints/paintbrush
- Paintbrush or Foam Applicator
- PVA Glue or Padding Compound
- Rubber band or binder clips
- A heavy book
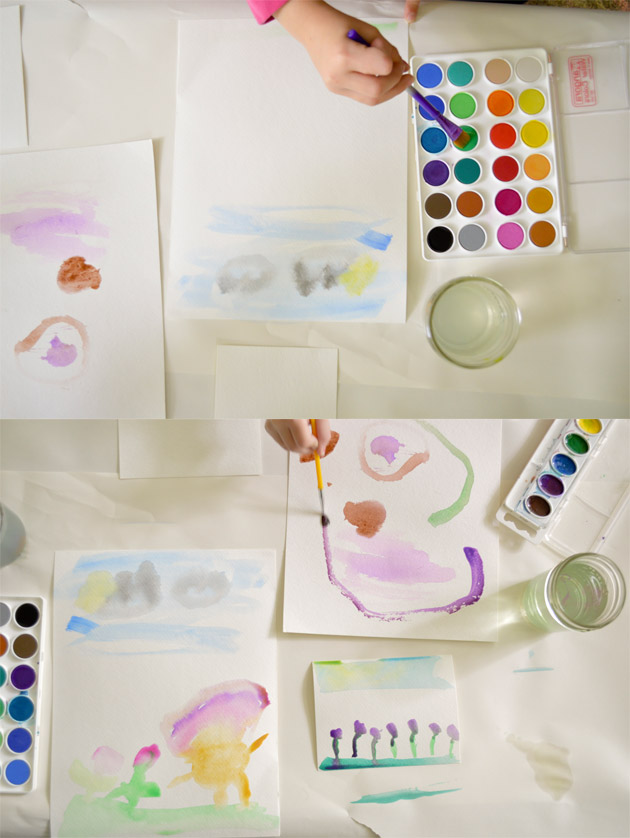
Step One: Make a beautiful cover for your notepad. Use watercolor paints to decorate your piece of water color paper. Allow your design to dry fully before moving to the next step.
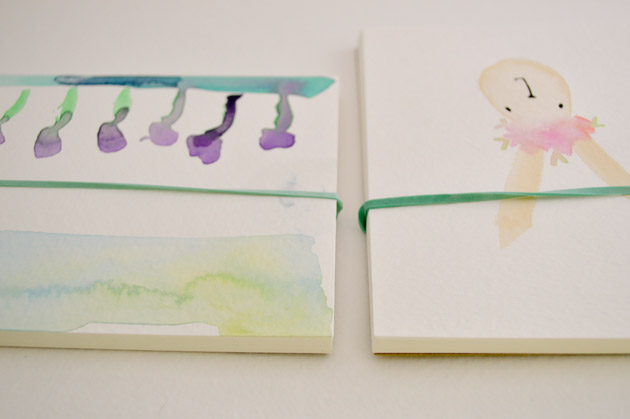
Step Two: Stack your notepad. Chipboard goes on the bottom, then your card stock, then the cover. Line edges up by tapping the top edges on a hard surface. Use a rubber band to hold pages in line (for larger designs, you may need a binder clip instead).

Step Three: Line the top of your notepad up with the edge of a table or other hard surface and hang slightly over the edge so your notepad will not stick to your table (we learned our lesson after this photo was taken!). Stack a heavy book on top of notepad to ensure the pages stay in place. Paint a coat of PVA or Padding Compound along the edge of notepad, making sure to cover the entire surface. Allow to dry and apply 1-2 more coats. Once your final coat is dry, you are ready to use your notepad! If you’ve done a good job gluing and are careful when tearing pages out, your cover should stay in place.
Now that we’ve made a nice stack of these, I’ve been thinking of all the ways you could use them. I think they would make a lovely gift for a teacher or a Grandparent. You could also personalize each page by choosing to print a monogram or message on each piece of card stock before binding the notepad. You could even use this idea to make fun flip books with your children.