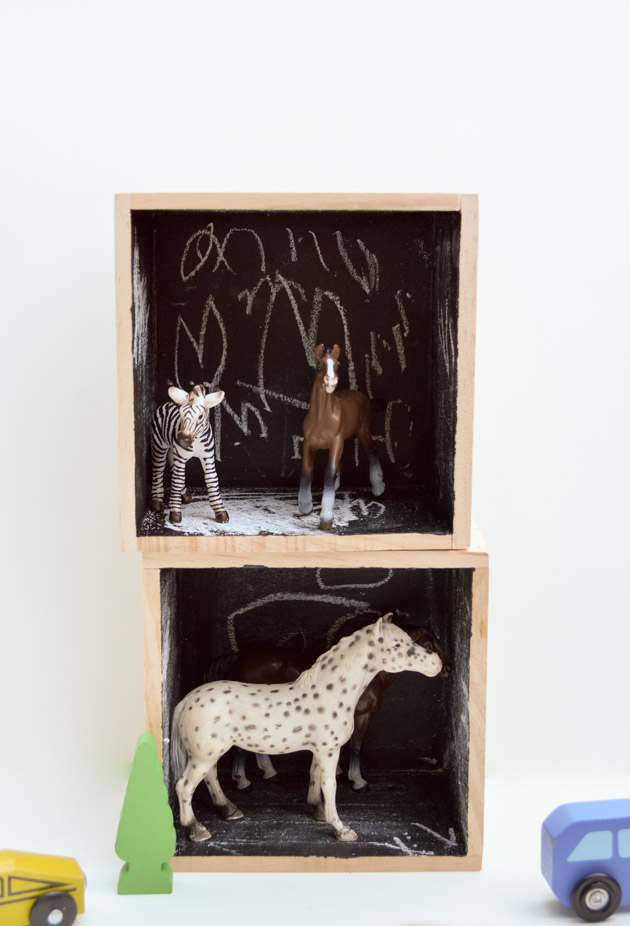
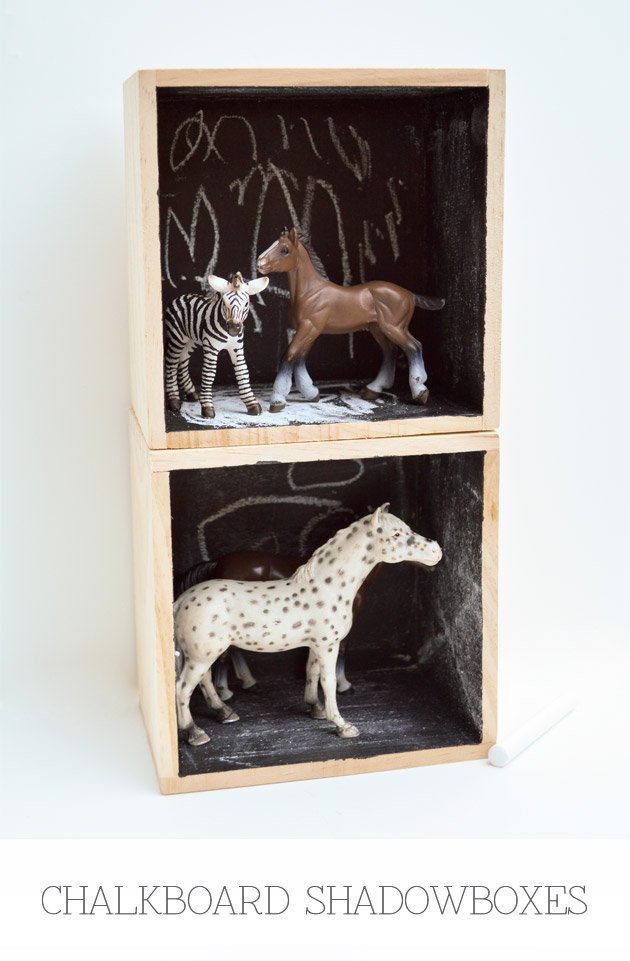
DIY Chalkboard Shadowboxes
Randi from Swoon is with us today with a lovely DIY for making Chalkboard Shadowboxes! They look like just the thing for a fun afternoon of open-ended, imaginary play…
When it comes to dramatic play, I’ve learned that my children are drawn to activities which allow them to use their creative minds as much as possible. Toys that “do it all” and leave nothing to the imagination tend to get left behind quickly. They jump at the chance to express themselves and define the materials they are playing with in some way. These chalkboard shadowboxes have been a fun addition to our play space and have been used often.
Would you like to make a few of your own?
Here’s what you need:
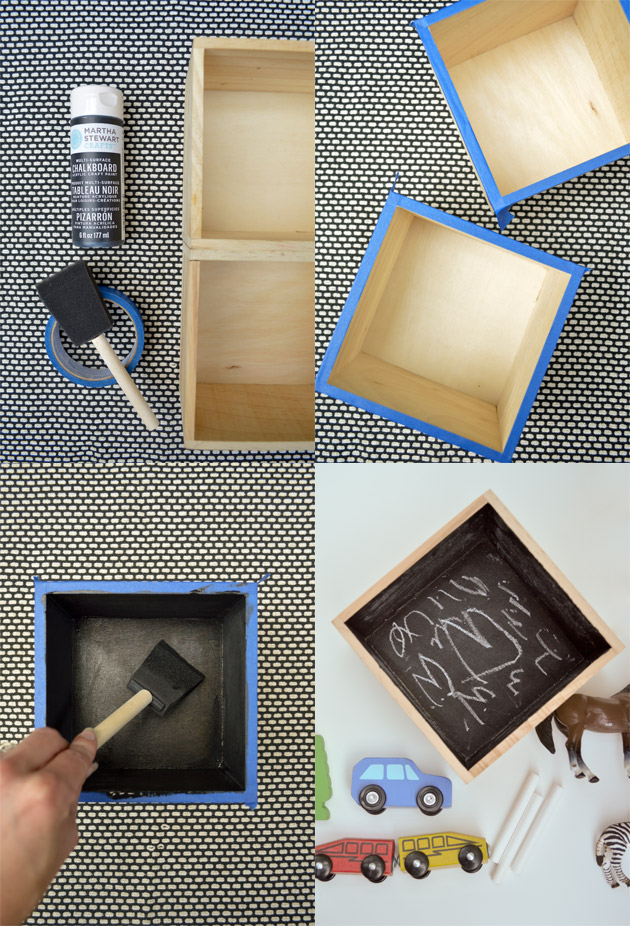
Small wooden boxes (found at the craft store), chalkboard paint, painter’s tape, a sponge applicator or paint brush, chalk, and a little bit of patience.
1. Tape off the edges of your box to protect it from paint.
2. Paint the inside of the box. Here’s where the patience comes in handy…we ended up painting three coats, waiting about 45 minutes between each coat.
3. Let the paint cure. Chalkboard paint is unique and works best when it’s allowed to “cure” overnight (insert more patience).
4. Prep the chalkboard surface by rubbing a bit of chalk all around it and then wiping with a paper towel.
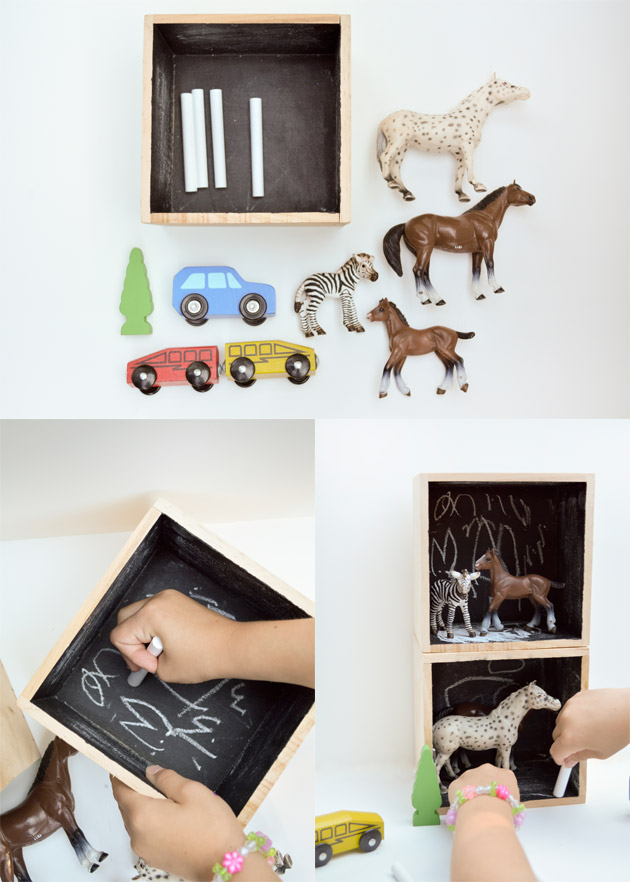
5. Set up an invitation. Lay your newly made boxes out with a handful of chalk and a small amount of your child’s favorite toys or figurines and let them have at it! When you’re done playing, wipe the shadowboxes with a damp paper towel or cloth so they’ll be ready when you want to start all over again.