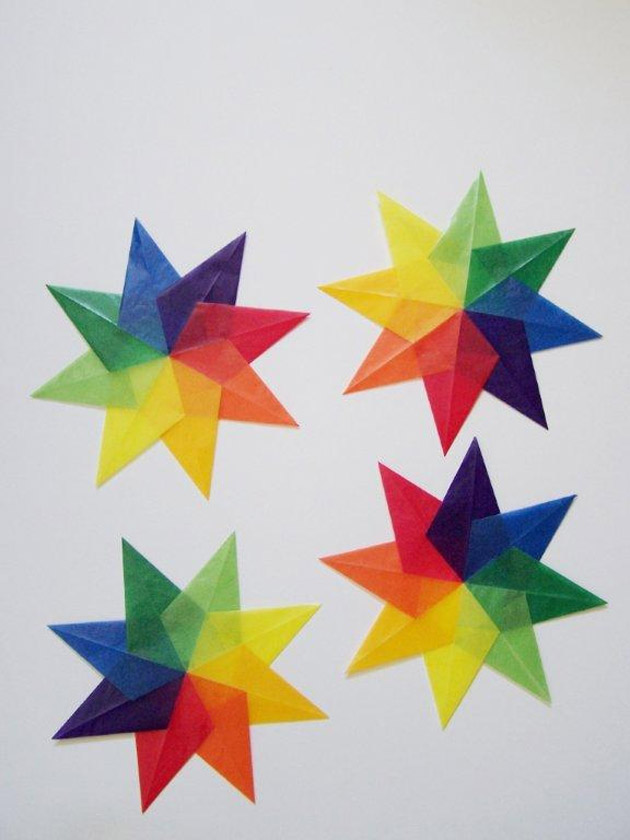
Crafts for Kids: Kite Paper Stars
Kite paper stars are a fun way to brighten up your window any time of year. Commonly made in waldorf schools, this is an excellent activity that children can do to practice hand eye coordination. The star I am showing you how to make today is a very basic star to start with. This project can also be done with regular tissue paper, however, the kite paper is far easier for little ones to work with. For ages 6+.
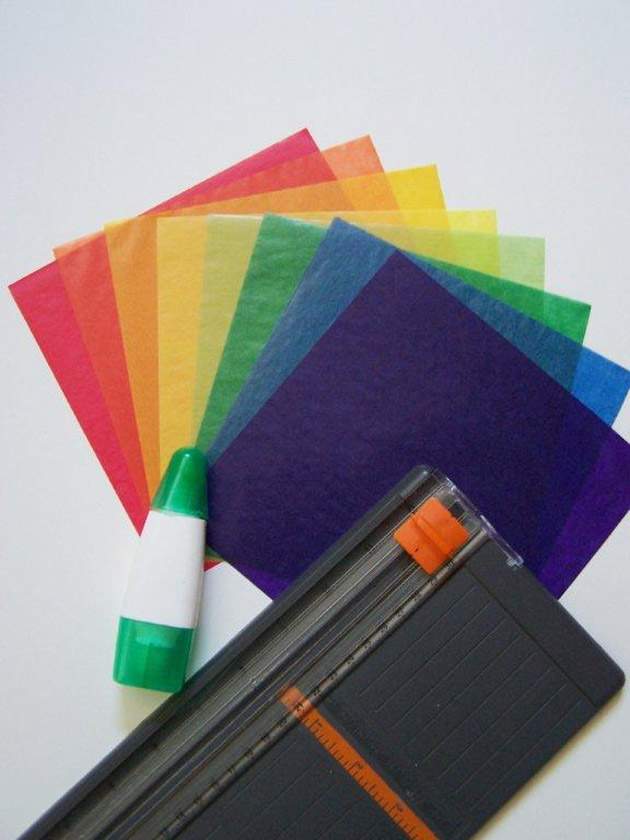
Supply List:
(to make four 8.75″ stars)
1 sheet of 6″ square kite paper in 8 rainbow shades (you can also find it here)
tombow glue (or any liquid glue that dries clear)
paper cutter (or scissors)
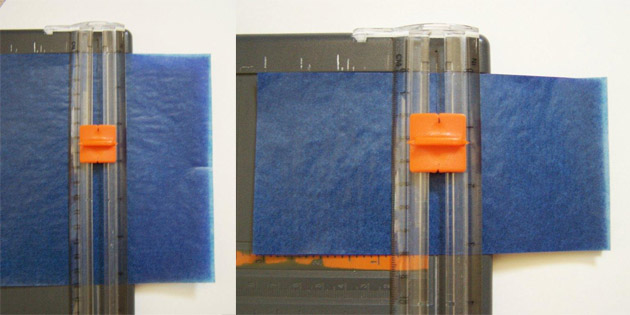
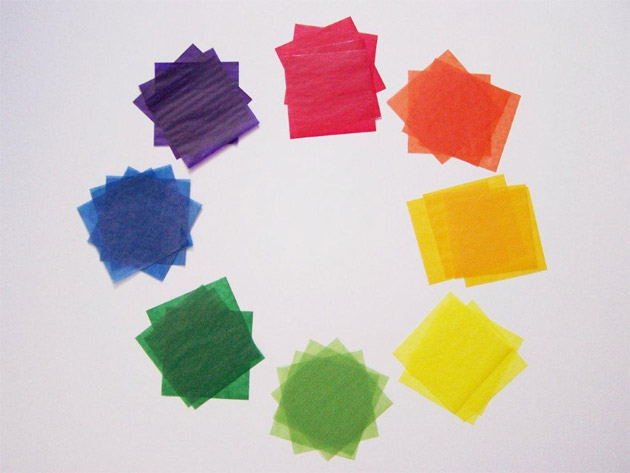
1. trim each 6″ sheet in half both ways to create four 3″ squares.
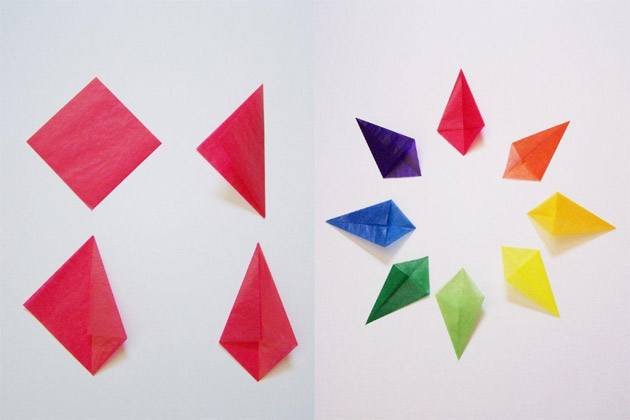
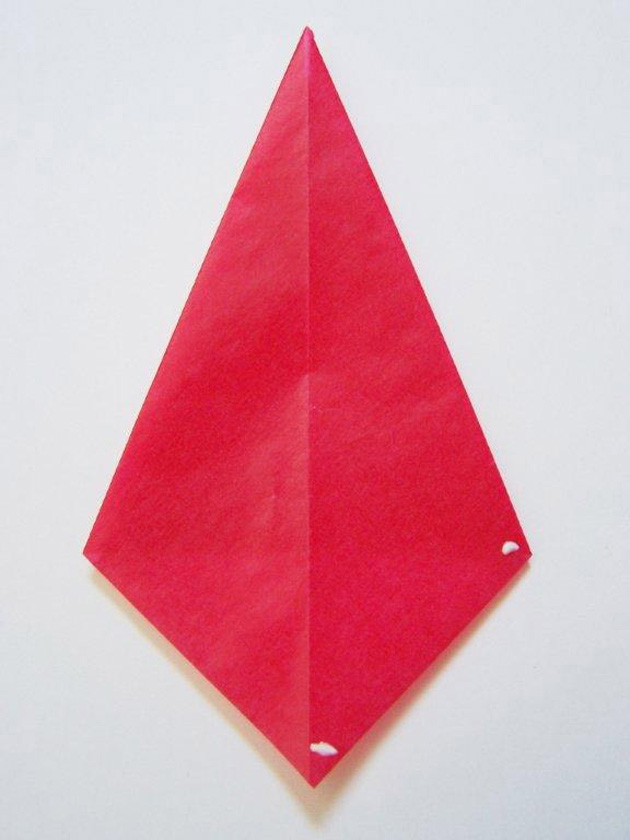
2. Fold each square in half to make a triangle. then fold in the sides to the center line to form a diamond shape.
To Assemble the Star:
3. On the “front” of the diamond, put a teeny tiny dab (using a toothpick works well) on the spots shown above.
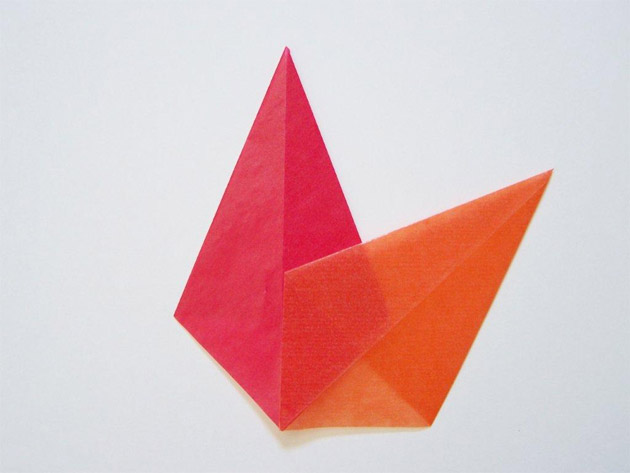
4. Attach the next color in the rainbow to the two points as shown in the photograph.
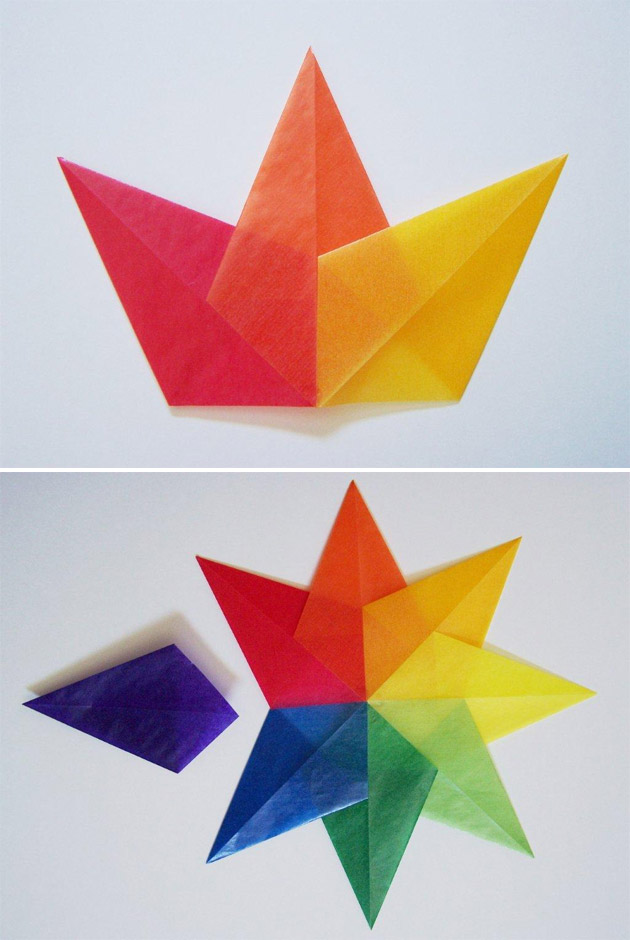
5. Continue gluing on the points until you come to the last one.
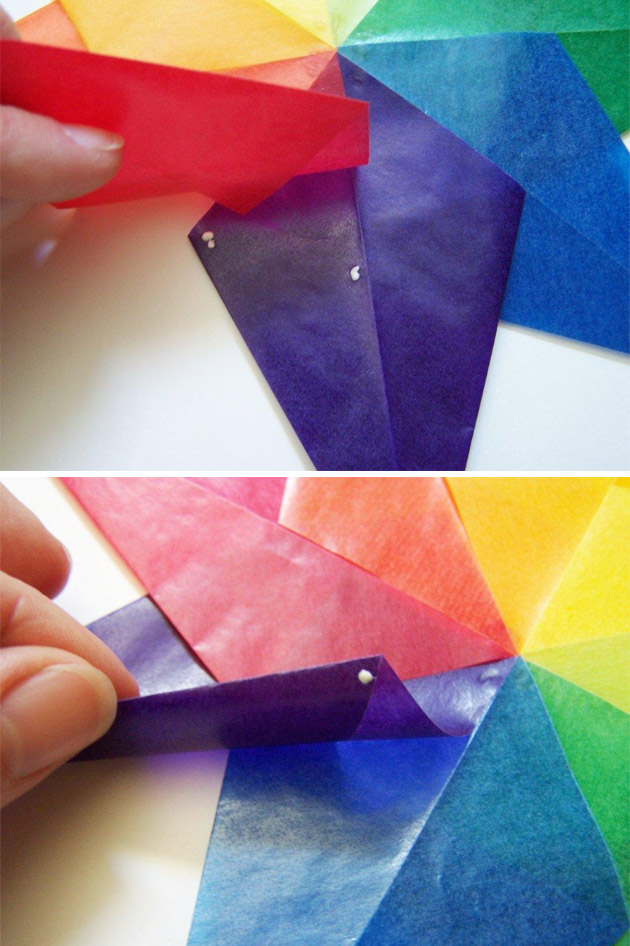
6. Tuck the last color under the first color so that it overlaps, and glue as you have done for the other points.
7. Add another dot of glue on each flap so that it lays flat.
Stars can be hung from a strand of fishing line or…
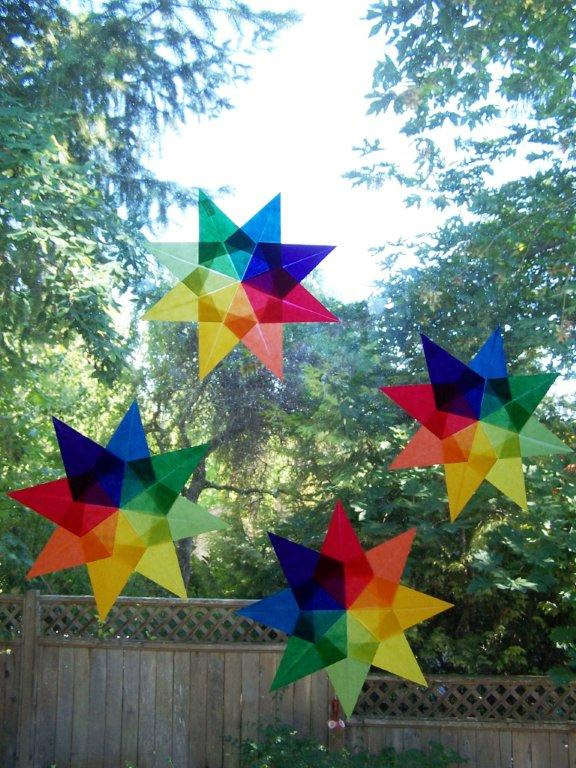
…attach them to your window using a tiny piece of tape behind one of the dark colors so it is less noticeable when the sun shines through!
Experiment with other color combinations or make “snowflakes” using white kite paper!
More patterns can be found in the following books: