Category: Uncategorized


Raising Helpers

By Mariah Bruehl,

Raising Helpers

We’ve spent a great deal of time trying to decide how to create a system of chores that works for us and our young family. Like many other parents, we started out using a rewards based chore chart when our oldest was a toddler. Prizes were a great motivation at first, but over time we could recognize that she was largely missing the point and I eventually grew tired of handing out prizes for the simplest of tasks. Now we’ve fallen into the trap many parents are in: besides asking our children to be generally neat and pick up their toys, we tend to do most of the chores ourselves.


The conclusion we’ve reached is that everyone who lives in the house with the family should be expected to contribute in some way. Rewards and allowances shouldn’t be given as a response to this contribution. Young children love to help, all they need is encouragement, consistency, and a loving parent or teacher to teach them how to help. For those of us applying this way of thinking to an existing family-where do we start? And, what can really be expected of young children?


Every family has their own way of operating, but hopefully the progress we’ve made in our journey can help you define your own approach. Our children are 6, 4, and 18 months. We’ve been allowing our youngest to help and teaching him new things when he seems interested, such as sweeping, throwing things in the garbage, and helping move clothes from the washer to the dryer. It’s fun to see him excited about helping, but there are no expectations or set chores for him yet at this time.


Here are a few suggestions for children from 2-6:


1. Define your everyday expectations. These are simple tasks that are attached to daily family life. Our 4 and 6 year old are expected to bring their dishes to the kitchen after meals, clean up spills, put their laundry in the basket, help put away clean clothes, pick up toys and games, make their beds, and throw garbage away. Speak of and enforce these tasks often and they will become a way of life. This is an area we are hoping to grow in! I believe my children are capable of more and I would love to see them become more independent and confident as their skills grow.

Raising Helpers


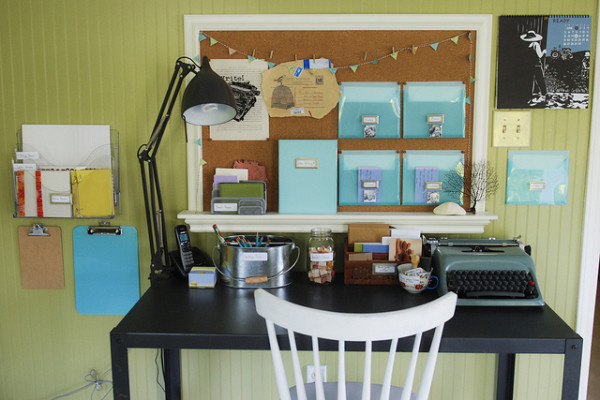
2. Rotating and Sporadic Tasks. These are tasks that don’t come up everyday, but on a weekly or sporadic basis. Examples would be: taking the garbage out to the curb, mopping floors, yard work, and watering plants. Look at your tasks for the week and ask your children to help you.  To make things fun, we’ve decided to add a “helping envelope” for both children to the wall. A slip of paper with a picture of their “job” for the week will be inside each envelope at the start of the week. You can get creative with these. Does your child really love to sort things? Does she love to help in the kitchen? Does he love to be outside? Put them to work doing something they love!


3. Have Patience.  As much as children love to learn a new skill, it can be difficult to learn a new task. Look at it as an opportunity to spend some extra time with your child. No, they’re not going to clean things exactly as you do. And yes, it will take them much longer. But, by teaching them to contribute and care for the things they own you are giving them an invaluable gift. Turn up the music and make it fun!


Here’s a helpful chart that’s been making the rounds on the web lately (source) :

Raising Helpers

How does your family handle household chores? I would love to hear about your experiences!

Child’s Play: Organizing One Toy at a Time

By Mariah Bruehl,

Child's Play...organizing one toy at a time

Adrienn is with us today to share some simple tips for keeping toys organized and engaging for the little ones in our lives…

The small child cannot live in disorder. Order is for him a need of life” -Maria Montessori

This is the first in a series of posts about organizing children’s spaces one toy at a time…

Toddlers require seemingly different organizational approaches and systems than teens. But our goals should be nonetheless the same, establishing good habits and incorporating them into our daily routines so that clean up time is fun, fast and effortless.

No one loves more to give you a helping hand with all kind of household chores. You can’t take the broom out without them begging to use it. This is the perfect time to invite them to work alongside you, and to teach them valuable organizational skills and the joys of a neat home. But it becomes a dreadful chore and can quickly escalate into a power struggle if we don’t watch out for some common traps. Traps like too many toys, a lack of designated shelf space, and no daily, weekly, or monthly decluttering habits.

Here I have corralled some easy to follow tips to keep the clutter in the playroom and/or home at bay. My favorite is the last one!

Child's Play...organizing one toy at a time1. Less is More…

  •  Rotate toys on a regular basis with a back up system of boxes stored in the attic or basement.
  • Give access to interesting utensils and everyday objects. The kitchen is a gold mine!
  • Swap instead of shop. Family and friends with same aged children will be more then happy to get some “new” toys.
  • Use small and medium sized containers, trays and baskets instead of big ones to avoid rummaging around.

Child's Play...Organizing one toy at a time2. Start Collections…

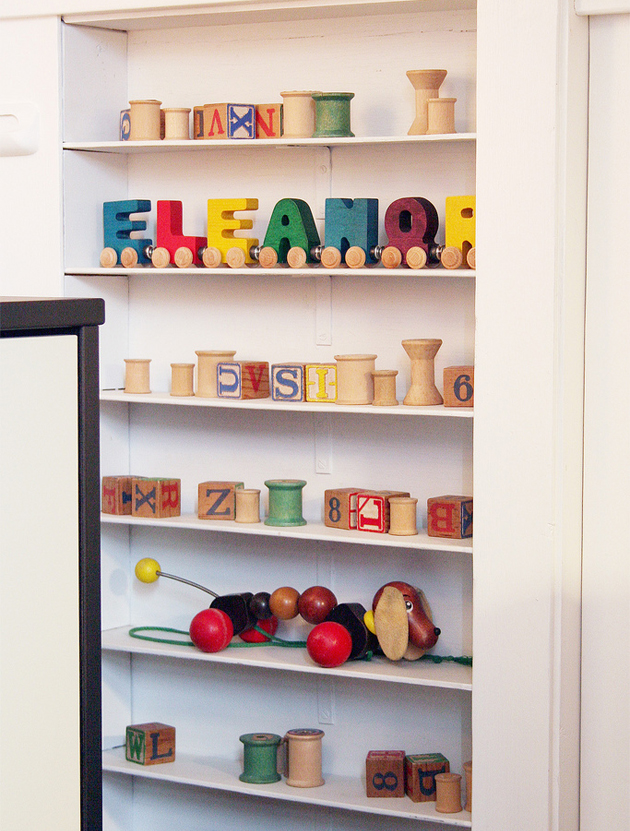
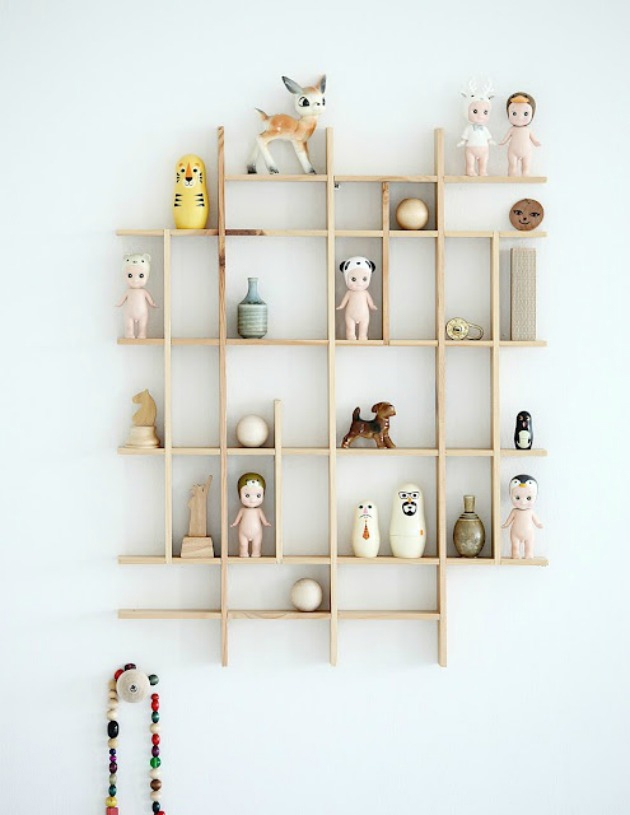
  • Displaying them artfully will be a treat for your eyes and kindle a love for curated objects in your child.
  • Invest in quality, not quantity.
  • Discuss with family what your child is into before holidays/birthdays and make it easier for them to buy presents.

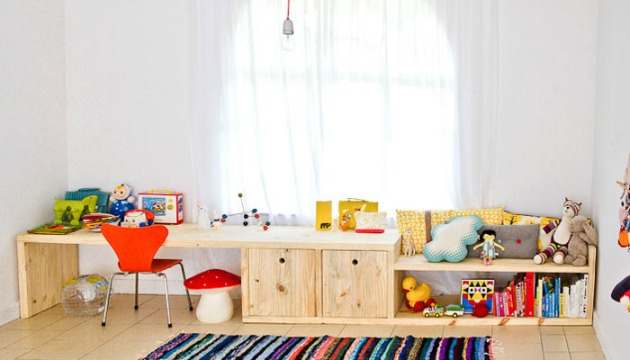
Child's Play...Organizing one toy at a time3. Store toys at a kid-friendly level:

  • Encourage them to play on their own by presenting their beloved toys in inspiring ways.
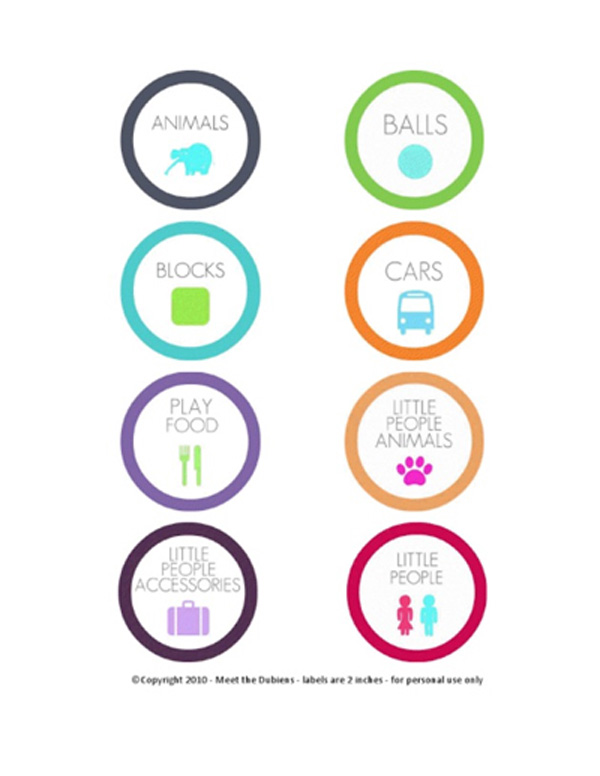
  • Let them clean up after themselves with the help of easy-to-change picture labels (click on photo below to download these handy labels from Jill Dubien!)

Child's Play...organizing one toy at a time

Child's Play...organizing one toy at a time4. Establish dedicated play zones
  • Set up micro-play zones throughout the whole house instead of just one room. Use baskets or drawstring bags on doorknobs as toddlers will follow you and need supervision.
  • Create organizing solutions that work for the whole family, depending on how much time you spend in each room.

Child's Play...organizing one toy at a timeChild's Play...organizing one toy at a time

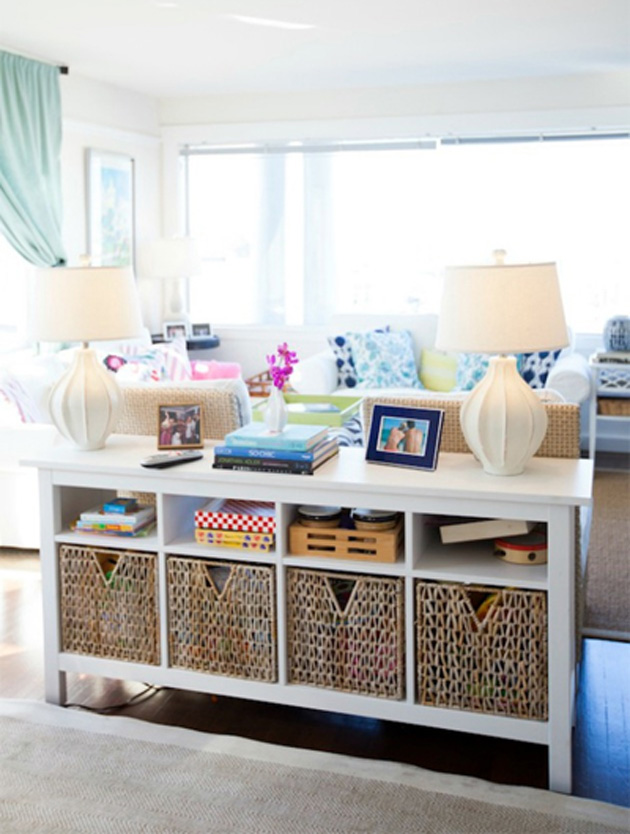
5. Get grown-up storage systems you can use over and over in different configurations.

  •  Opt for a timeless style and mix canvas, wood and wicker.

6. Establish a family rule that before going to bed every toy should be put away.

  •  Adding this to your routine will do wonders as it becomes a way of winding down and preparing for a good nights sleep.


Try one or more of these tips for a couple of weeks and tell me how it went!

Photo credits and links from the top: one /two / three / four/ five / six /seven / eight


If you are interested in discovering more practical tips for creating inviting spaces for the children in your life, check out our Playful Learning Spaces online class…

Hz468x60-SPACES


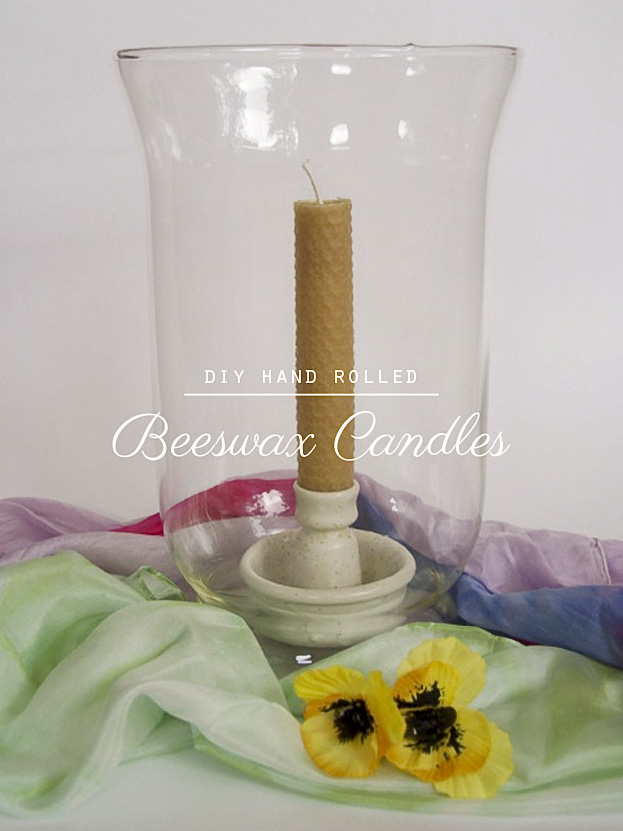
DIY Hand Rolled Beeswax Candles

By Mariah Bruehl,

DIY Hand Rolled Beeswax Candles

Joey is here today with a wonderful tutorial on making beeswax candles with your children. Not only can children feel successful in creating beautiful candles, but there is nothing better than burning beeswax candles in your home…

Getting ready for the Easter weekend?  Here is a fun craft that you can make with your children for your Easter table!

Melting hot beeswax to make candles can be a bit tricky with young children, so this craft allows them to safely experience the magical properties of beeswax.

Natural beeswax is a sensory delight!  It pleases the senses and calms the mind the minute you pick it up and roll a bit in your hands. Breathe in the wonderful aroma of honey as the wax begins to soften from the warmth of your palms.  The movement of rolling and molding the soft wax is therapeutic, relaxing and a perfect activity for children of all ages to try.

Children under 5 will need an adult to supervise.

DIY Hand Rolled Beeswax Candles

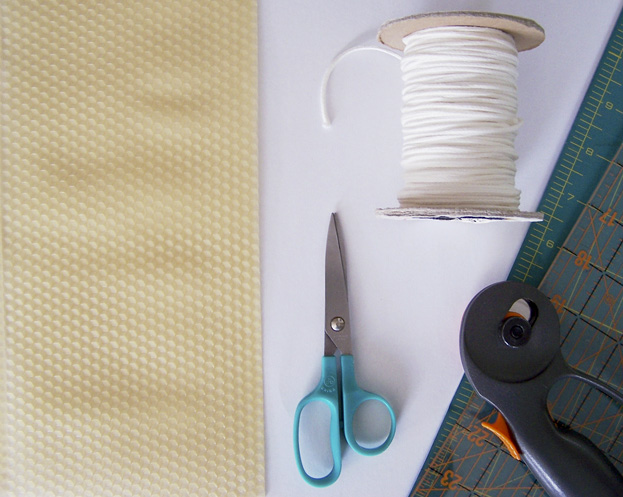
You will need the following supplies to make two 4″ taper candles:

  • 1 sheet of natural beeswax (8″W x 16.5″L)
  • 2 pieces of candle wick (metal free) (1/8″D x 4  1/2″L) Note:  regular string cannot be substituted for candle wick.
  • self healing cutting mat, ruler and cutter (or scissors will work as well)

A beeswax sheet measures approximately 8″W x 16.5″L and is often made in a mold that gives it a raised honeycomb pattern.  The natural coloring can vary from pale yellow to medium brown.  Sheets can also be dyed in a variety of colors.  Beeswax can be bought at a craft or candle making shop.   You can also find it at a store that carries bee keeping supplies.  It is often called drone wax and is used in new beehives.

DIY Hand Rolled Beeswax Candles

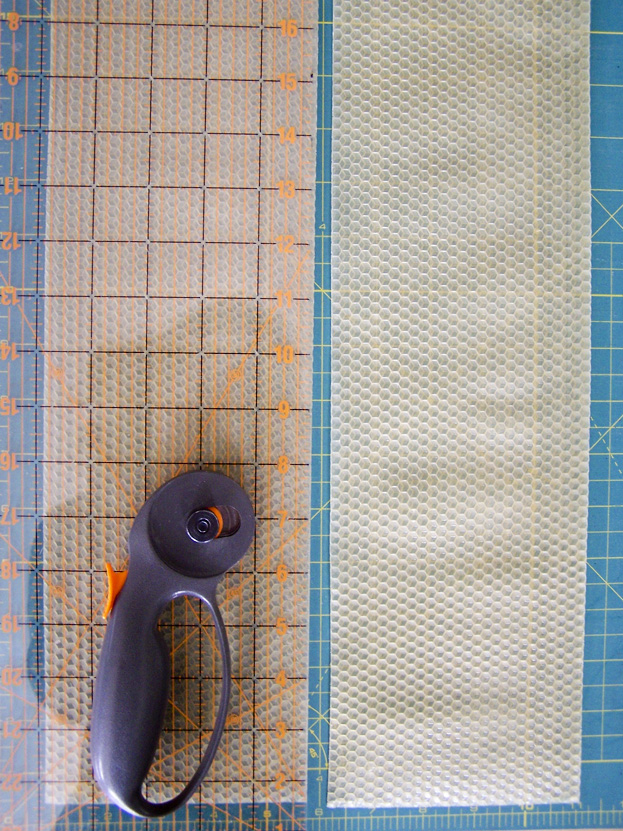
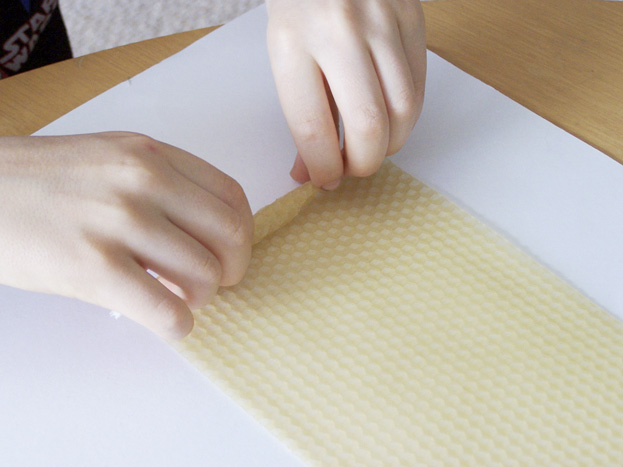
Prepare and cut the materials before inviting your child to roll the candles.  With your cutter cut beeswax sheet in half creating 2 strips 4″W x 16 1/2″L.

DIY Hand Rolled Beeswax Candles

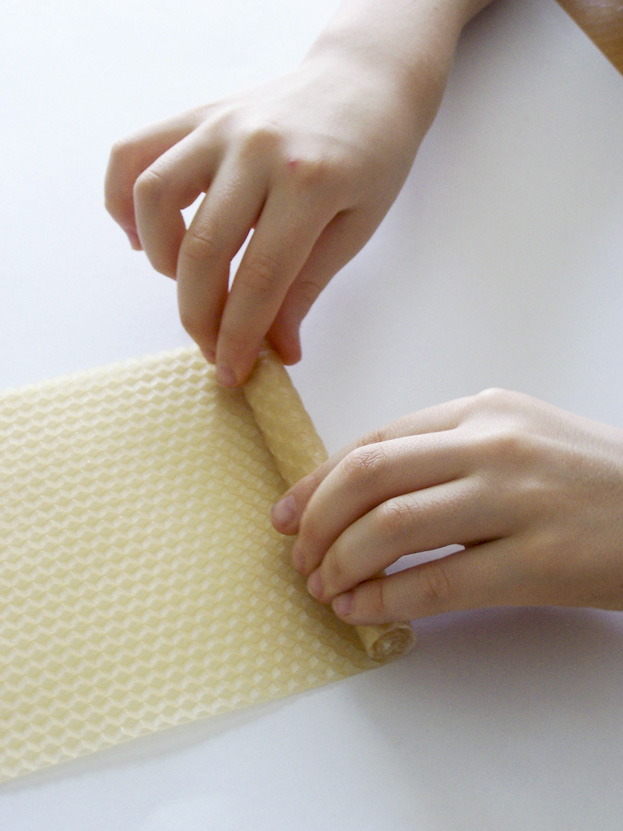
To start, place the wick along the end of one of the strips of wax.  Fold the wax over the wick and start rolling away from you.

DIY Hand Rolled Beeswax Candles

Gently press the wax onto the layer underneath as you roll to form a tight cylindrical candle.

DIY Hand Rolled Beeswax Candles

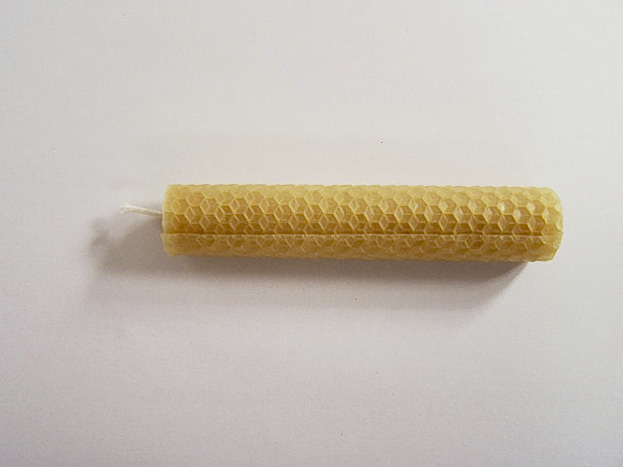
Periodically check to make sure that your child is rolling evenly so that it has a flat bottom.

DIY Hand Rolled Beeswax Candles

If the bottom is not flat, gently press the candle down onto the table to flatten and continue rolling.

DIY Hand Rolled Beeswax Candles

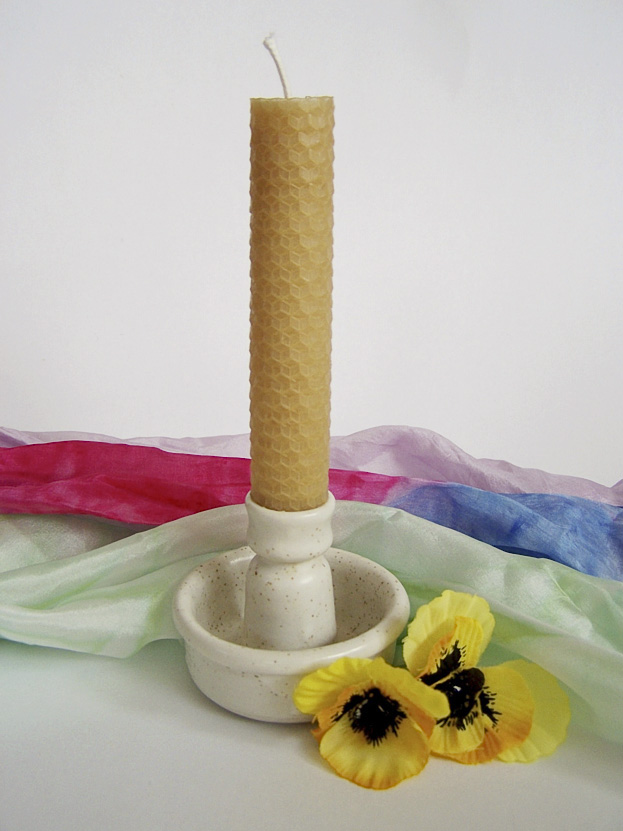
Place in a candle safe holder, have an adult light the candle and put it in a safe spot for all to enjoy!

Happy Easter!

SaveSave

DIY Lego Puzzles

By Mariah Bruehl,

DIY Lego Puzzles

Rebecca from ThirteenRedShoes is with us today and is sharing a wonderful project she recently discovered, which is great for hand-eye coordination and for inspiring the young builders in our lives.

Last year, I ran across this pin on Pinterest. It led to the most adorable idea by Kids Activities Blog, to create your own puzzles using Duplo blocks and photography!  There are so many amazing ideas on blogs today. I pin so many of them, but this was one that I really wanted to create and it was very quick and easy. I would say less than 20 minutes and you are away!

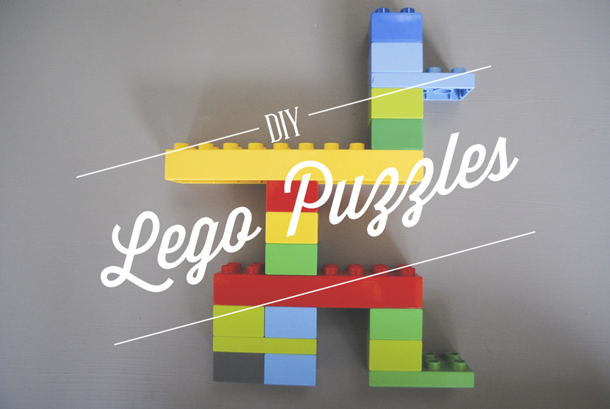
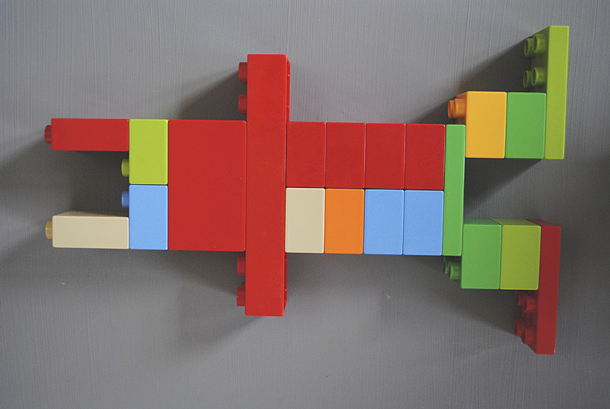
Here’s the idea: Use photos of various Duplo/Lego configurations as puzzle cards that children can recreate with their blocks at a later date.

DIY Lego Puzzles

DIY Lego Puzzles

Here’s how we did it:

  • The Duplo pieces were set up on a board we had painted to use as a neutral and uncluttered background.  A simple blanket or sheet of white paper could also work well, simply use what you have available.
  • The next step was to take photos from above as an aerial image or bird’s eye view.  I like to take all of my photos in spaces that are filled with natural light, but not necessarily bright sunlight.  Close to a large window or door is often ideal.
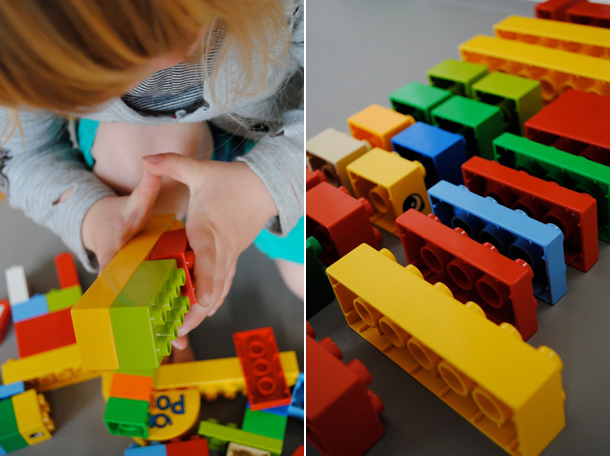
  • I made sure to change the colors and shapes of the Duplo pieces around so that there was a varying degree of difficulty in order to cater and differentiate for the ages and abilities of my boys (aged five and two).
  • Once I had a lovely little collection of images on my camera (it is very hard to stop once you start, so set yourself a time limit!), I uploaded to my computer and printed them out on my home printer.  You could also laminate your prints, print them on photo paper,  or even create a book, whatever suits you and your budget.
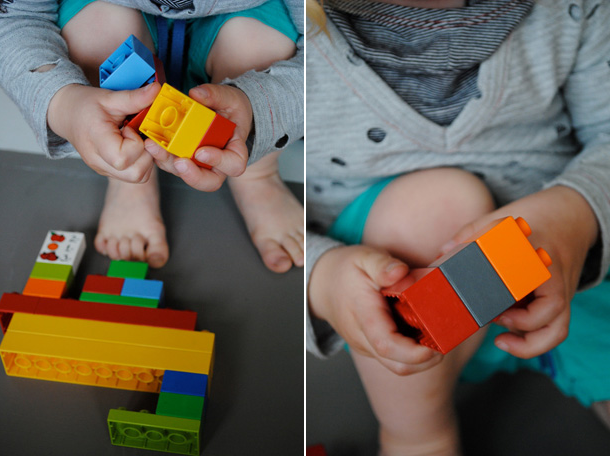
  • Little R was at school while we created this little provocation, so Little F helped to design some of the interesting Duplo creations himself.  If you have a little person around while doing this, it makes it so much more enjoyable! They get so much out of creating the image, seeing it on the screen, and finally seeing it printed out.  I aim to involve my children in these creating times as much as possible.
  • Once printed, place the puzzle cards on a  clipboard. Place a basket of the blocks used next to it in a lovely sunny spot, sit back and allow the littles to find the provocation, and enjoy.

DIY Lego Puzzles

You could use anything really for this activity, Duplo blocks are just a starting point.

You could take photos of:

  1. natural materials found in the garden such as: seed pods, petals, or leaves
  2. wooden blocks
  3. mini figs
  4. toy dinosaurs
  5. animal figurines
  6. rocks and crystals
  7. shells and sea glass

The possibilities are only limited by your imagination.


Playful Learning Spaces: 11 Inspiring Writing Centers

By Mariah Bruehl,

Inspiring Writing CentersPhoto by Montessori ici

The Playful Learning Spaces Workshop has really taken on a life of its own. I have had the pleasure of working with many extraordinary mothers, teachers, and caregivers from all over the world, creating spaces for the children in our lives.

To that end, I thought it would be nice to share some of the incredible writing spaces that have been created by participants of the Playful Learning Spaces Workshop. I feel honored to have the opportunity to work with such creative and dedicated people.

Mail CenterPhoto by Sew Liberated

Mail CenterPhoto by Weelife

Writing Center 1Photo by Lessons Learnt Journal

Writing SuppliesPhoto by Love Them Madly

Writing CenterPhoto by Couer Deux

Pegboard Writing CenterPhoto by Home is Where My Story Begins

Mail StationPhoto by Pink and Green Mama

Writing DeskPhoto by Growing Up

Writing BoxPhoto by A Bit of This a Bit of That

Writing CenterPhoto by The Adventures of Bear


A warm thank you goes out to everyone who generously allowed me to post their photos here!

SaveSave