“Come forth into the light of things, let nature be your teacher.”
– William Wordsworth
As humans, we tend to look for similarities amongst the things in our world. Perhaps it is a way to help us make sense of such diversity. Helps us understand how everything is connected and where we fit in. We love to find patterns, don’t we? Children are no different.
Playful Learning’s family workshop, Backyard Science Investigations, beautifully explains the stages of engaging with nature that children experience and how important it is for children to be able to make connections between the things in their world. Patterns are everywhere in nature. They inspire curiosity and lead to scientific, mathematical and artistic investigations from the very basic to the advanced. A variety of patterns can be found in the nature right in your own backyard, waiting to be explored.
If you would like to explore nature’s patterns with your child, reading some books together is a great place to start. Here are some of my favorites:
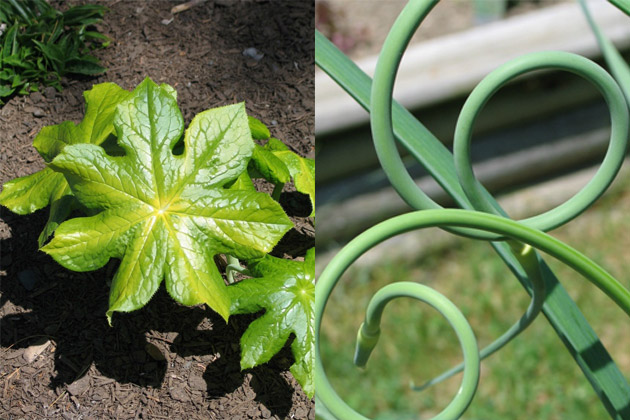
Once your child has had an introduction to different types of patterns, head outside with this scavenger hunt (see below) and see what you can find. Note: I have provided two different types of spirals here. For young children who will just want to explore spirals in general.
You may also like to bring your camera along to capture the specific examples you and your child find. Your photos can then serve as inspiration for further exploration, art projects, or an entry in a nature journal.
Just be warned, once you start noticing patterns it’s hard to stop!
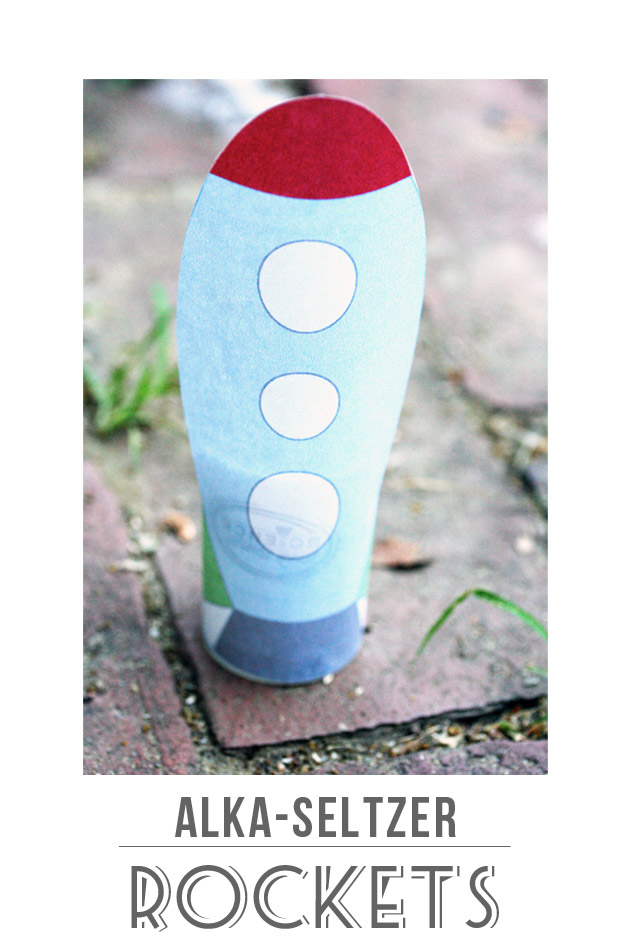
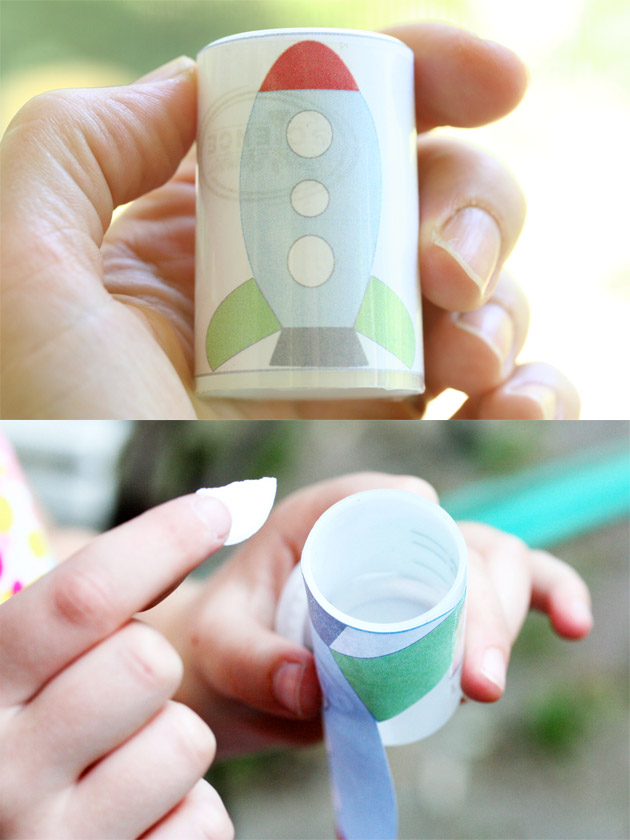
Originally published as a part of the first annual Alphabet Glue Summer Science Special, this project has gotten great feedback from families looking for some simple and science-centric summer fun. Alka-Seltzer rockets might very well be the classic science experiment. Incredibly easy to put together and launch, these diminutive rockets are good entertainment with tons of potential for the type of trial and error experimentation that makes an excellent first foray into the field of physics.
This link will take you to a downloadable PDF file with experiment instructions, printable templates for rocket decorations, and a leveled book list filled with great titles for reading up on all things rockets.
A quick note about materials:
In the era of digital everything, film canisters like the type used here are increasingly difficult to find. For this reason, science supply and teacher supply shops will often sell canisters just for this type of experiment. We got ours from Steve Spangler Science (www.stevespangler.com).
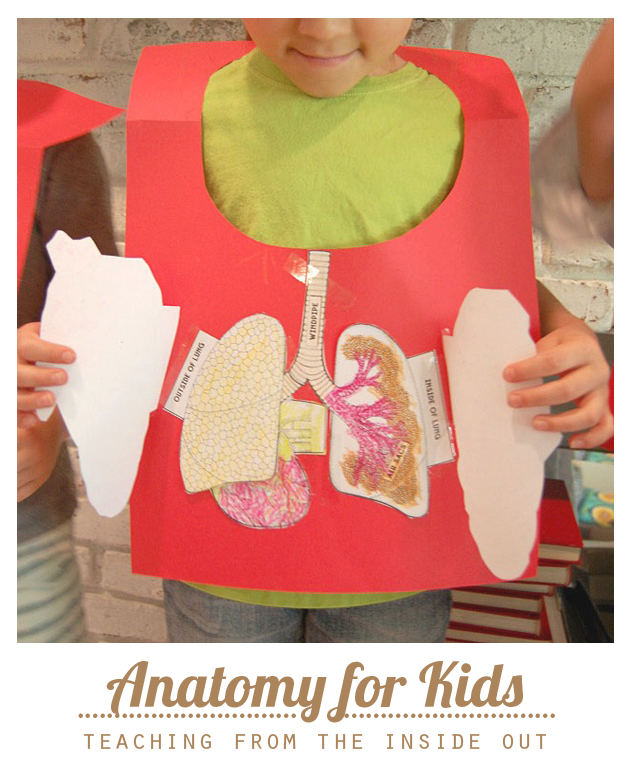
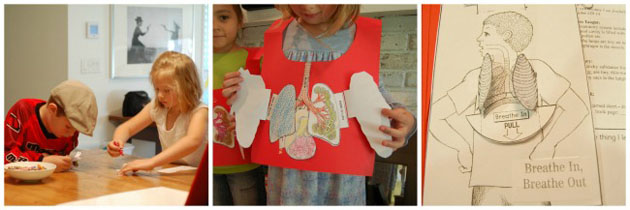
Becky from a Sweet Hot Mess is with us today to share all of her favorite resources for teaching children anatomy...
While we are a Homeschooling family, I have come to value more and more the idea that all parents can pick and choose the supplemental material they introduce to their children. What subjects we introduce can range from the traditional to the offbeat – from piano lessons to pitching practice to folk dance. In our own family, we have tackled all sorts of extra interests beyond our traditional schooling choices – from studying the California Missions to Geography to Jiu-Jitsu.
Over the past year, my children have developed a natural and lasting curiosity about their bodies and what makes them tick. And in the vein of following their interests, we are currently studying Human Anatomy – which I know seems a bit of a reach for young kids. I have learned not to underestimate kid’s ability to retain new information and build systems of knowledge. Double bonus, this is a supplemental subject that can grow with your kids, as they absorb more and more of the information over the years. The key is to not underestimate the level of knowledge they can absorb.
Here is how I have approached Anatomy:
Collect Materials
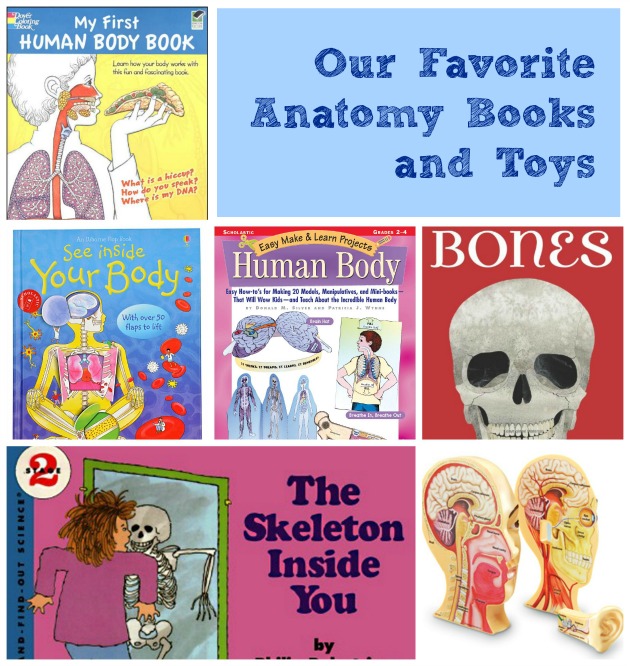
I have a deep love affair with science books for kids. I never realized I had this love for them until I had children and realized how many truly amazing people are out in the world creating learning resources for our children. Here are some of my favorites –
Bones, Steve Jenkins This book is AMAZING. It is not only beautiful, but informative and might rank up in my top ten for children’s books – it’s that good!
Human Body, easy make and learn projects, Donald Silver and Patricia Wynne I cannot begin to tell you how wonderful this book is. While it requires a bit of copying and cutting, every single model was worth making in the end. Silver and Wynne were able to design simple paper patterns to be built into models that are very effecting at teaching kids about these different body systems. If I had to choose one book to get – it would be this one!
My First Human Body Book, Donald Silver and Patricia Wynne This book is a backup to Silver and Wynne’s Human Body, easy make and learn projects book. It’s more of a coloring book version of the previous title. I love it for the days when the kids just want to color and talk.
Learning Resources Human Head This is a beautifully illustrated book with lots of information. I actually think it might be too much information in one place for many kids. I find this to be less of a teaching tool and more of a library addition. These dense books with lots of captions and sidebars tend to lean themselves towards personal reading times for students.
Learning Resources, Tabletop Magnetic Human Body Chart I adore this tool. It sets up easily and breaks down quickly for simple storage. The kids love it as well, in that they can work on it independently. My only complaint is more of a wish – I would love the people over at Learning Resources to add more body systems to the board. As of now it is available with the muscles, skeleton and digestive track. I would love to see it with the circulatory and reproductive systems.
And bonus, leave these in convenient locations for the kids to peruse or play with on their own time and the learning continues. Our foam Brain Model from Learning Resources floats around our house and is always popping up in surprising places.
Invite Friends
I invite a small group of kids their age over and we all learn together – and learn better. Plus, the parents get to review all of the things they’ve forgotten over the years. There’s nothing more humbling than your child correcting you about which type of muscle lines the digestive track – It’s Smooth Muscle, in case you’re wondering.
Get Hands On and Move Around
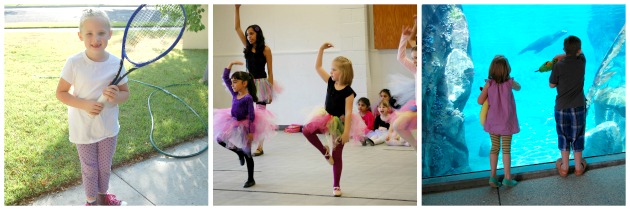
We have had so much fun with this, as we’ve built models, poked at bone marrow and danced around as we rap about our bones. I’ve found that hands on learning makes these concepts more real. In addition, anything that lets kids move while they learn seems to help them learn quicker and faster. So, take breaks and dance and jump up and down while you quiz the kids on the basic concepts you’ve just learned that day.
Dig Around On YouTube
I adore YouTube. Again, there are so many creative and wonderful people out in the world working very hard to teach our kids in fun and inventive ways. Now, the only trick with YouTube is that a number of the educational series have been made by well-meaning people who speak English as a second language and many of the words are enunciated incorrectly (which is tricky when kids are hearing these words for the first time) – so choose carefully. Here are a few of my favorites:
Other than adding these new resources to our home library, I’ve taken to reviewing the material occasionally with the kids – which sounds a bit more studious than it is. Mostly I’ll quiz them in the bath, such as “touch your patellas!” or “there’s a little more dirt to wash off your mandible!”…or when we go to the bank or doctor’s office and they’re bored – I’ll start running them through all the fun facts they’ve learned. It’s like a more advanced version of Head-Shoulders-Knees-And-Toes!
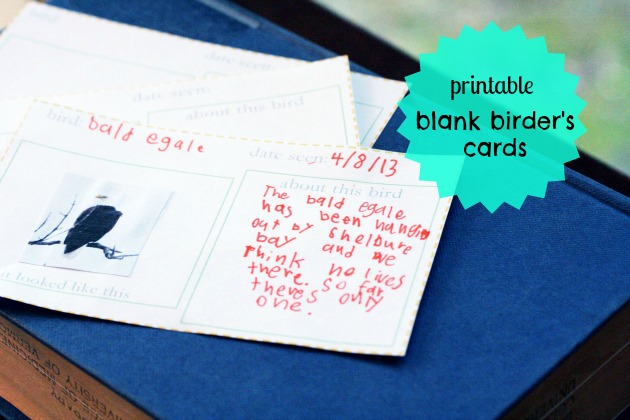
Annie from Alphabet Glue is with us today to share some wonderful printables to enhance our bird-watching expeditions…
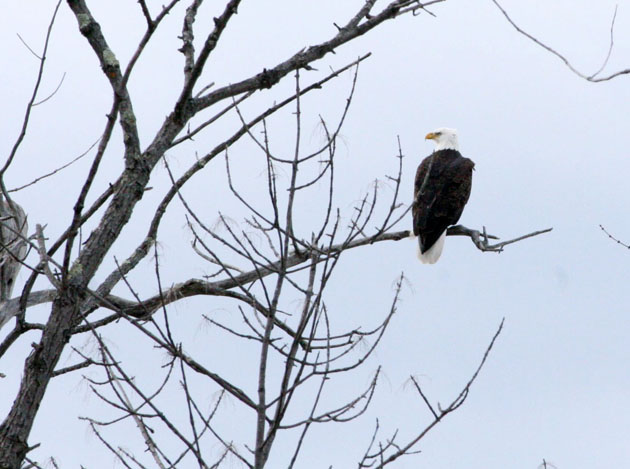
When I wrote my last Playful Learning post, I was feeling particularly inspired by the birding adventures that our little family had been having lately. Well, with the recent sighting of a bald eagle in our neighborhood, as well as the return of some favorite migratory friends, our enthusiasm for bird watching doesn’t seem to be going anywhere anytime soon. So, I thought that we might take it one step further.
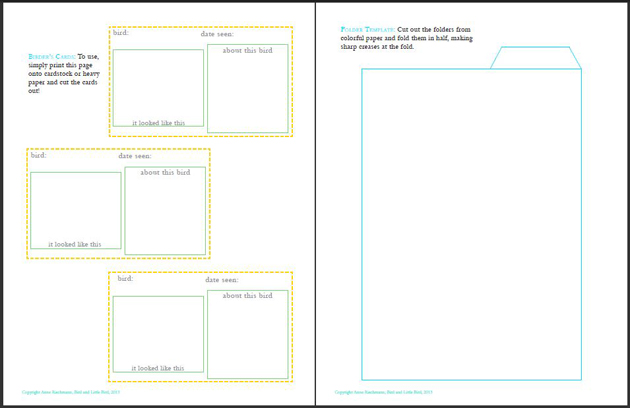
I know that some families like to keep a birding notebook, and this is one of the activities that I mentioned in my previous post. But I also know that there are kids who prefer to be able to lay out their treasures for further examination. To be able to cover a table with drawings, specimens, or special finds, and do side by side comparison. For this reason, I thought that it might be nice to make up a set of blank birding cards. These cards can be downloaded, printed and cut out, and then used to document bird sightings in the backyard and beyond. They could even be used as trading cards to share with friends or family members!
The cards are designed to be somewhat open-ended, so that kids can use them in the way that makes the most sense to them as bird observers. There is space to write the bird identification, as well as the date. There is also space for a drawing a small picture, a box that is sized so that if you wanted to, you could also use it to paste in a thumbnail-sized photo printed from the computer. In case the small people at your house are also honing their nature photography skills. The area for notes about the bird can be used to share information from the field- or information from a field guide- it is really up to you! As an added bonus, you’ll also find a template for making tiny file folders to house your birding cards as they get assigned to the most recently sighted species at your house.
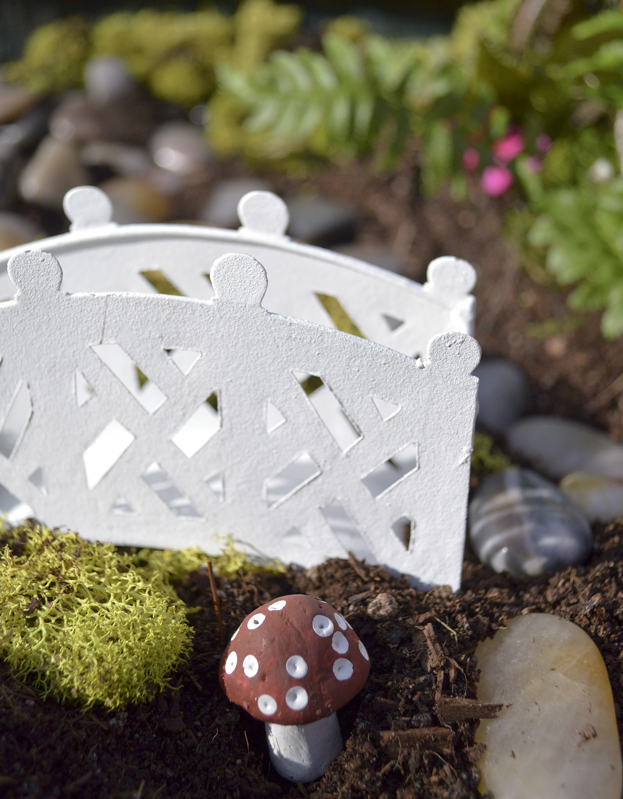
Have you heard about the lovely little fairy gardens people are making lately? The concept is for children to make a little garden space where fairies would be comfortable, should they decide to show up. Since my children have recently fallen in love with the magic of gardens and all the living things within, I knew they would be enchanted with this idea.
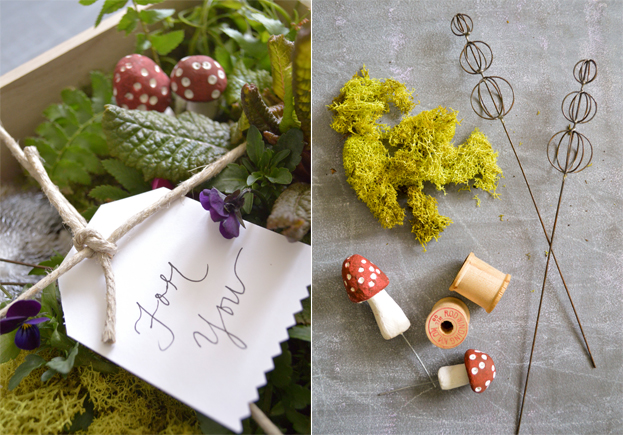
There are a lot of talented people who have spent a lot of time making amazing, elaborate fairy gardens (you can see a few here and here). When you’re just getting started, the sheer amount of ideas out there can seem overwhelming. I’ve found, however, that you really only need a few simple things. I love the idea of placing the items in a box, tying it with string, and presenting it to a little one in your life. The rest is up to them!
Gather a simple box and fill it with:
1. A few plants and flowers. These can be store bought, or from your own garden.
2. Dried moss. This can be found at craft and garden stores. It makes for a pretty addition and the children will love the fact that they can move it around the garden as much as they would like. The moss won’t actually grow, but it will stay in good shape with regular watering.
3. A small bag of rocks. These can be used to build things, make paths, or as decoration in your garden.
4. A few embellishments. We stumbled upon a fairy section at the gardening store and decided to buy a few trinkets, but you probably have a lot of usable items around the house and outside. Spools, thimbles, and sticks all work great! You can also fashion your own shapes out of clay. Get your children involved in finding things, they will love it!
Pick a small container or corner of your yard and get started. I assisted with the planting in our garden, but the rest was up to my little designers. They enjoyed digging in the dirt and making rock paths. Watering the flowers was especially fun for them too. I anticipate our garden evolving and changing a little every time we visit it!
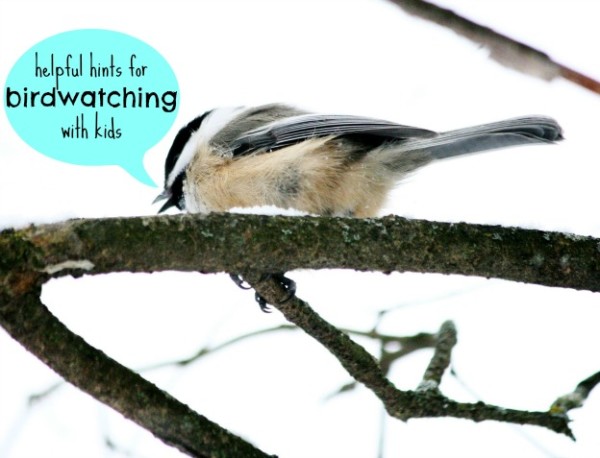
We have been dedicated bird watchers this winter! Needless to say I was thrilled to hear that Annie, from Alphabet Glue, and her daughter share the same pastime. Annie is with with us today to share some of her tried and true tips for successful birdwatching for the budding young ornithologists in our lives.
Here in Northern Vermont, we have famously long, cold winters. Which is one of the reasons why it was such a surprise to me, upon relocating here from temperate Northern California, to discover that we also have a colorful and interesting population of backyard birds who live here year round. Both my daughter and myself have always had great enthusiasm for birds, and our excitement over the prospect of sighting the brightly colored cardinals and goldfinches that live here has made us into proper armchair ornithologists. But birdwatching is an activity that requires some amount of patience; something that can be in shorter supply for people under a certain age. Here are a handful of tips that I have found useful for making birdwatching accessible, easy and yes, even entertaining, for the small set.
Be aware of your immediate surroundings (and feel free to fancy them up a bit).
You might be really surprised by just how many birds are in your very own yard or neighborhood if you take the time to see them. Make some predictions about how many birds you might find if you sit in the yard or look out the window for five minutes, or even less time if you have especially wiggly little ones. Want to stack the deck a bit? Hang a bird feeder near an accessible window in the house. This will bring birds to the house and easily allow kids to gather near the window to watch when they arrive- without scaring any flying friends off before getting the chance for a good look.
Have a field guide at the ready. Part of the excitement for bird spotting kiddos comes from being challenged to make an accurate identification.
Having a field guide handy allows your kids to immediately start flipping pages in hopes of finding a match for the bird that they have just seen- a fun activity that lets them be both naturalists and detectives. It can easily be turned into a whole family game of “find that bird” and you can even give yourselves points for great guesses. Keep a family “life list,” or list of all of the birds that you have seen, in a prominent location in the house (such as on the refrigerator) and update it with new birds as you find them.
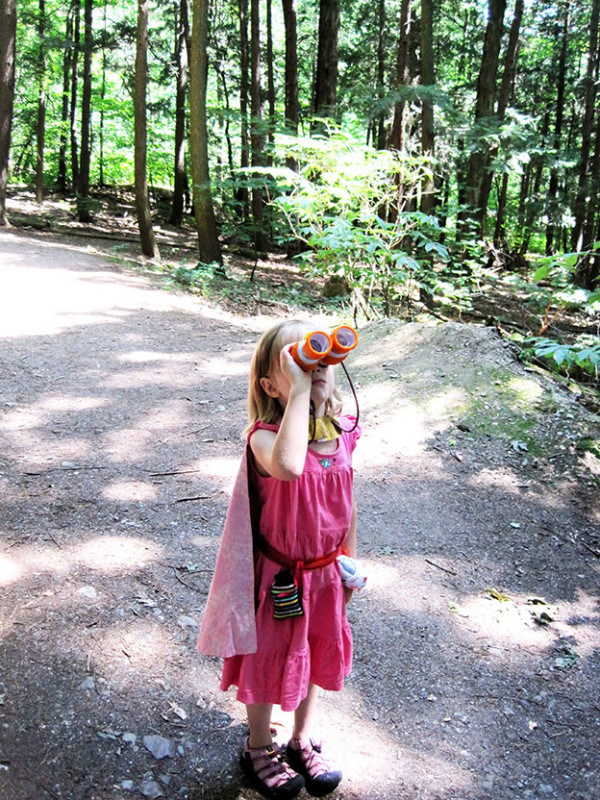
Binoculars aren’t bad either.
My daughter is of the opinion that even if you don’t use them while you are in the field, having a pair of kid sized binoculars is awesome when it comes to making you feel official. She absolutely recommends having a sturdy, plastic encased pair at the ready, and I am inclined to agree. If you choose to leave the backyard and hit the trail to look for birds, you might also make sure to pack things like water and a really tasty snack. This may seem obvious, but remembering this detail can make a few minutes of patient trailside sitting go much more smoothly, increasing the odds that you’ll get the reward of a sighting.
Join the bigger birding community.
Although birding is a bit more old-fashioned as hobbies go, the advent of the internet has meant great things for birdwatchers. It is easier than ever to find out about local bird walks, talks and guided tours, many of them designed for kids. Taking part in one of these organized events can be a great way to get kids into the community spirit of birding. You might also think about having your family participate in events such as the Great Backyard Bird Count or other community counting events. You can read up on some of those here.
Get excited about birds by spying on some really amazing ones!
Part of getting kids excited about the idea of birdwatching is getting them excited about birds! Your local science or nature center may have birds that you can view up close, particularly if there is an aviary nearby that rehabilitates wild birds. You can also view some really interesting birds through the cameras run by the Cornell Lab of Ornithology. Watch herons build nests and hatch eggs, or view hawks feeding their chicks. Pretty cool stuff! You can find the cameras here.
For some more bird watching goodness make sure to check out…
We have Randi from Swoon with us today to share a fun project that families can enjoy together during the holiday season.
You may have heard of projects that involve creating your own crystals, but this amazing concept is new to me! While researching winter projects for kids, I came across several recipes for making “frost” crystals on your windows. The recipes I found were all different, but the basic concept is to create salt crystals on glass that look a lot like icy winter frost. My kids had SO much fun with this one! I think this would be especially fun if you live in an area that doesn’t get very much snow or frost-just create your own!
I love it when a fun project turns out to be easy too! All you need to make your own frost is: a small saucepan, 1 1/2 cups water, 1 cup Epsom salt, a wooden spoon, 3 Tbs. dish soap, a heat proof bowl or dish, and paintbrushes.
1. Bring water to a boil in your saucepan. 2. Slowly add the salt to the water in small increments, stirring vigorously with wooden spoon to dissolve completely. 3. Remove pan from stove and let water cool for a few minutes. Stir in dish soap. 4. Transfer mixture to a heat safe bowl and use paintbrushes to paint designs on your windows! 5. Salt crystals will begin to form on your designs as mixture begins to dry.
A few tips:
1. This project is fun, but messy! The solution is a little runny, so you will want to protect the floor with a towel. It’s also handy to have a few paper towels ready in case your designs drip a bit.
2. The liquid cools off fairly quickly, but it might be wise to put a portion of it in a small cup and cool it off a bit before giving it to little ones.
3. Once you’ve made a design, let it dry completely. Once it begins to set, don’t go over it again with your paintbrush as it will lose its crystalline appearance and start to look cloudy.
4. To remove crystals, wash windows with soap and water.
Randi from Swoon! is here with us today to share a simple and beautiful way to introduce children to the concept of caring for the environment—and much more!
If your kids are anything like mine, they’re fascinated by all things that grow. My middle child is known for picking handfuls of flowers in all the wrong places! We’re hoping to plant a vegetable garden this spring, but for now we’ve decided to bring the outdoors in by making a few terrariums to enjoy in our home. I’ve seen some beautiful and elaborately designed terrariums, but decided to keep things simple so the kids could be involved. Planting and caring for living things encourages discovery and a love for nature. It also teaches children responsibility, self-confidence, and promotes an understanding of cause and effect, as well as the life cycle. It can also utilize your child’s creativity if they are involved in the planning and designing process of planting.
To make a simple terrarium you will need a clear container, soil, and a variety of hearty plants. I love succulents because they don’t require a lot of light or water to survive and they’re not easily broken by little hands during the planting process! I put out the plants and containers of soil and invited my two and four year old to join me outside. I showed them how to put the soil in the bottom of their containers and let them have at it. You will definitely want to do this activity outside so you can give your kids the freedom to get messy and experiment with the planting process. Next we talked about how we wanted our plants to be arranged. The girls chose which ones they liked and I showed them how to put the roots down into the soil, letting them choose the placement of their plants.
We had quite a few plants left when we were done, and the girls spent at least an hour planting them over and over in the containers of left over soil. We kept this activity set up outside for a few days and they returned to it again and again. They enjoyed the structured nature of the terrariums, but they really enjoyed the messiness and fun of playing with the plants and soil however they wanted. I will be sure to leave a patch of soil for digging and “planting” in our future garden!
") “Come forth into the light of things, let nature be your teacher.”
“Come forth into the light of things, let nature be your teacher.”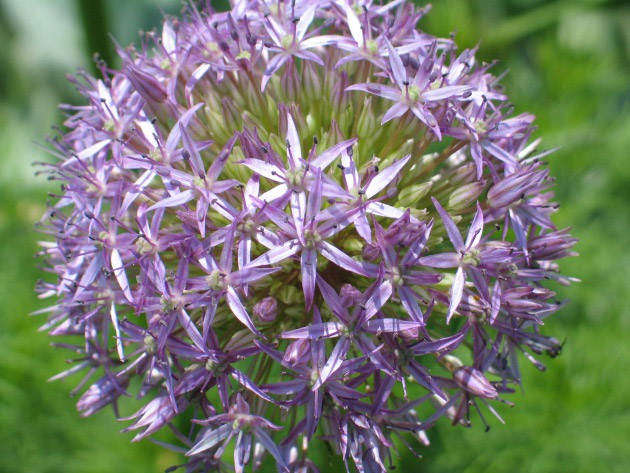
")


 We have been dedicated bird watchers this winter! Needless to say I was thrilled to hear that Annie, from