Healthy Snacks for Kids
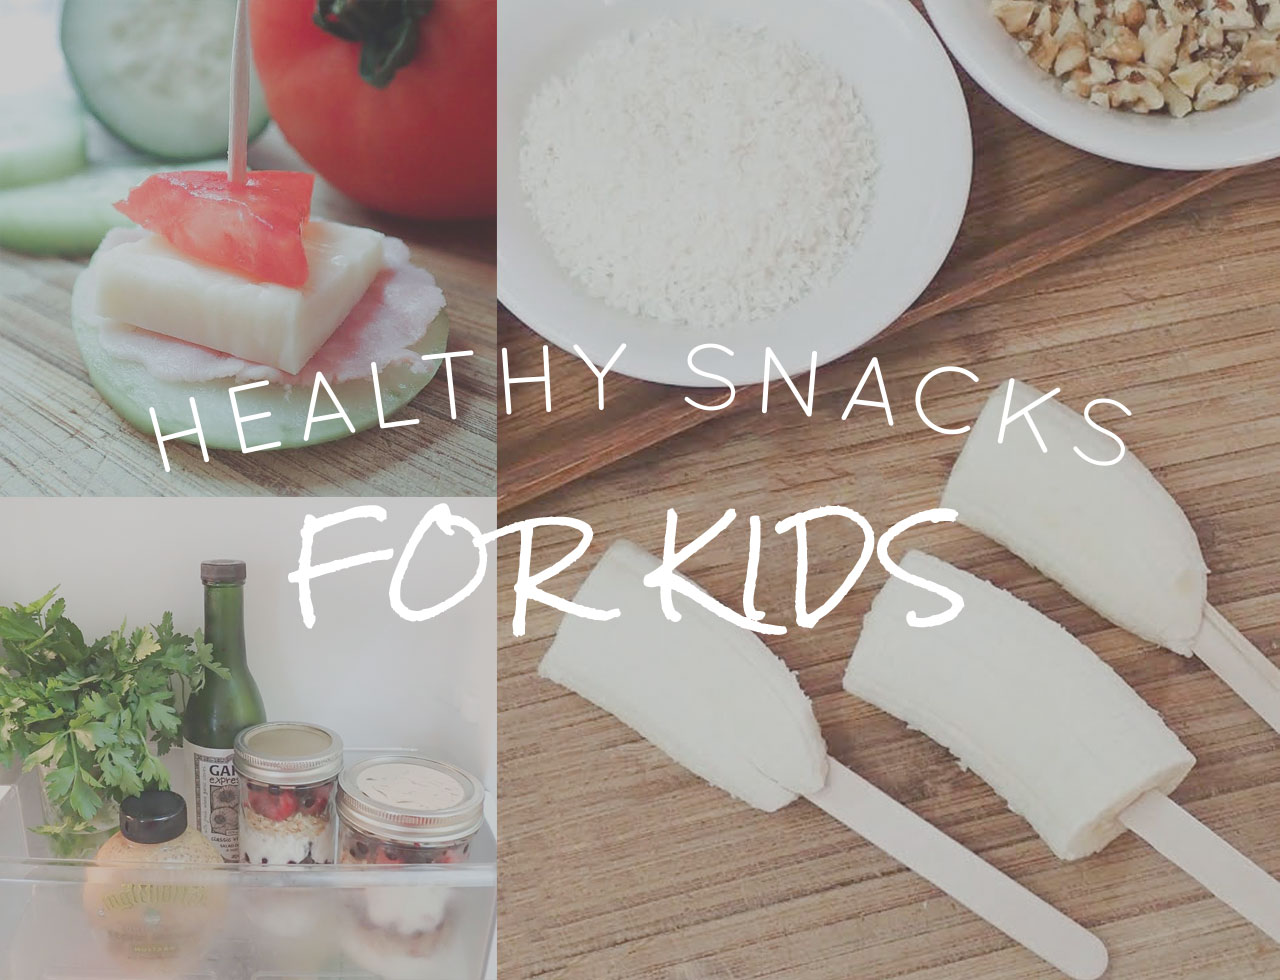
During a recent girls’ group, my daughter and her friends expressed an interest in learning some healthy snacks that they can make for themselves after school-a time that they need a nutritional pick me up. It’s easy to grab a piece of fruit and some crackers, but kids want something more exciting and they like feeling independent in the kitchen. Here are some snacks that fit the bill (tested and approved by kids):
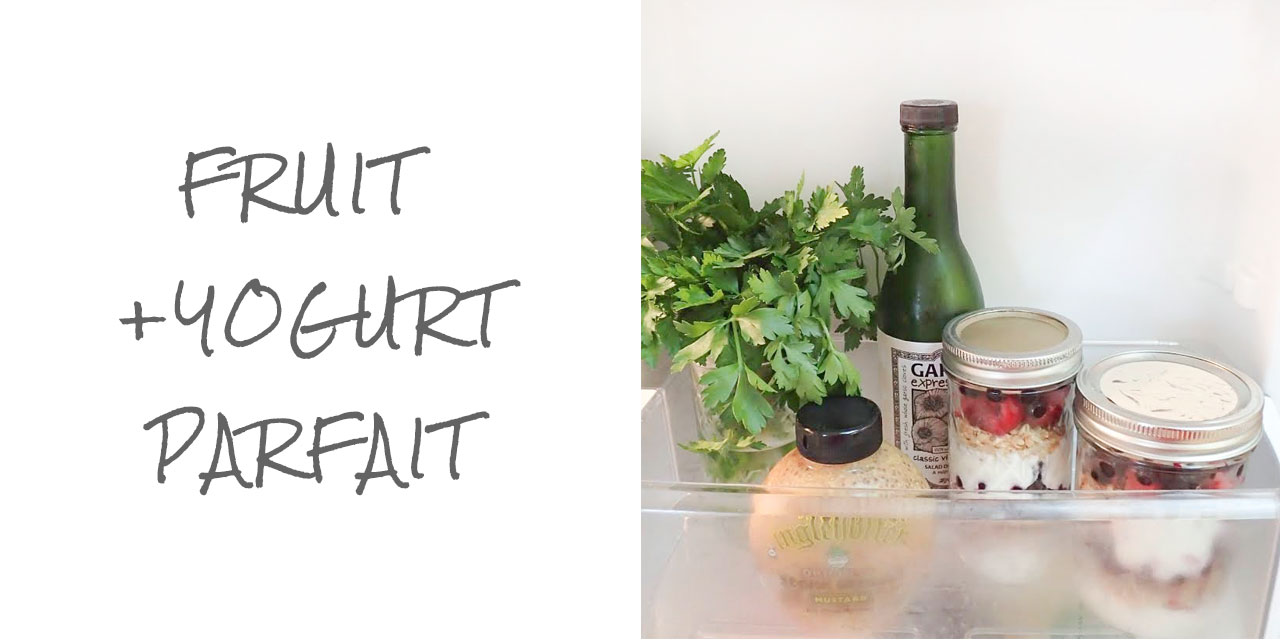
This snack is so simple and can be eaten right away or kept in the fridge for an easy grab-and-go snack or even breakfast. It can be made in a large batch but we prefer to make it in single serving size containers (short, wide mason jars work well). All you need are your favorite:
- granola
- yogurt
- fruit (fresh or thawed blueberries, strawberries, mango, blackberries, raspberries)
Start with a layer of yogurt, then granola, then fruit. Repeat. That’s it. Be sure to leave some space at the top to get a spoon in!
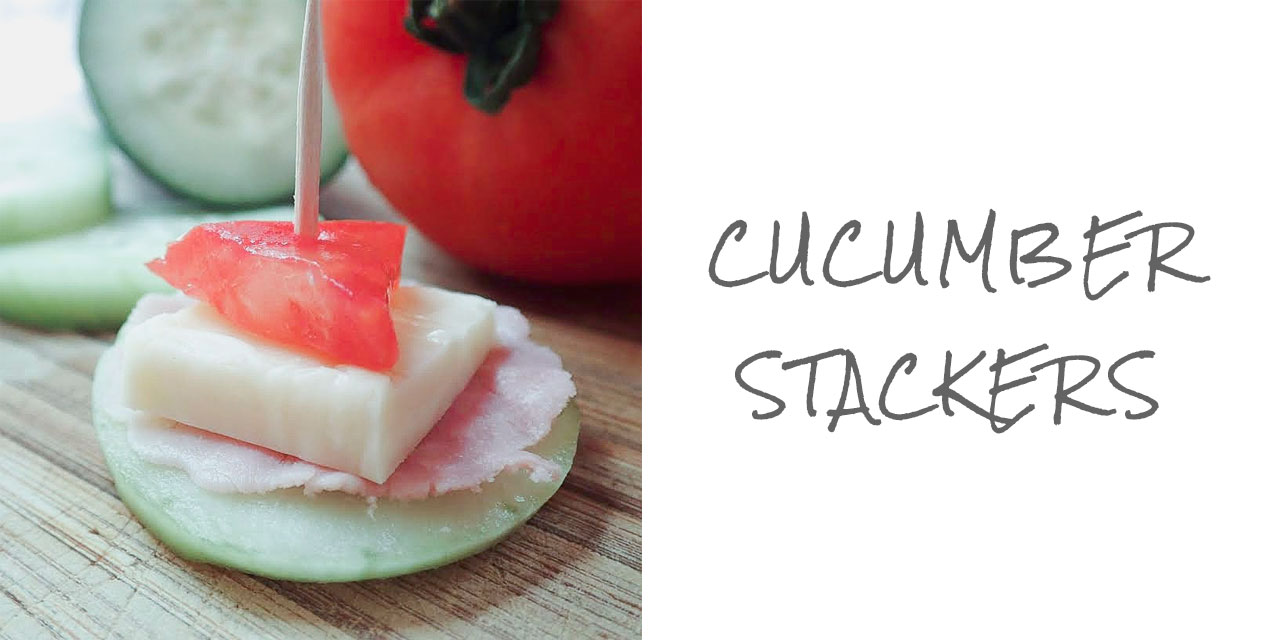
My kids love these so much they request them for lunch. Depending on your child’s age, you could prepare a platter of toppings, or let your child do it all from start to finish. Here are some ideas:
- cucumber slices, of course
- cheese slices
- cream cheese
- hummus
- ham or turkey slices-add a playful twist by letting your child use a small cookie cutter to cut out fun shapes
- tomato slices
Starting with the cucumber as the base, layer toppings in your desired order . We like adding the cheese or spread first. If you like, keep it together with a toothpick.
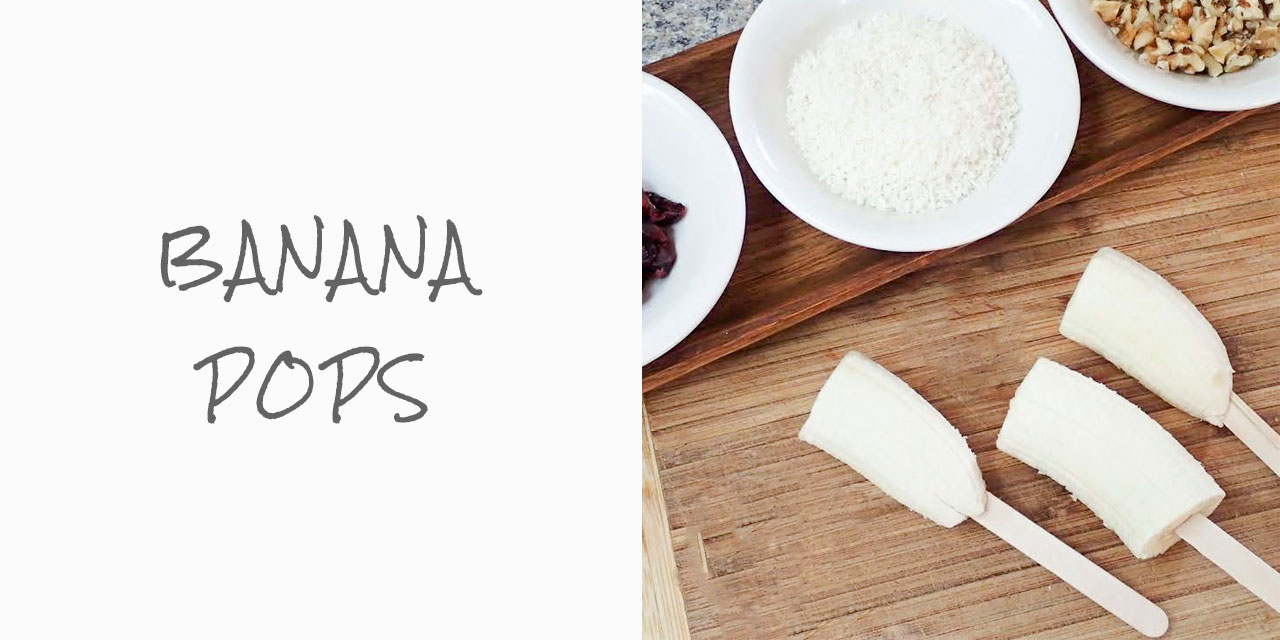
This one is a little sweeter treat and involves some wait time, but it’s worth it! Either make them a day ahead or, on a non-school day, make them a few hours before snack time. We gathered our favorite toppings and followed these directions:
- dark chocolate chips (for melting)
- mini chocolate or peanut butter chips (for coating)
- nut butter
- chopped nuts
- granola
- shredded coconut
- chopped dried fruit
Don’t they look delicious?! I hope your child enjoys these healthy DIY snacks and is inspired to try others.
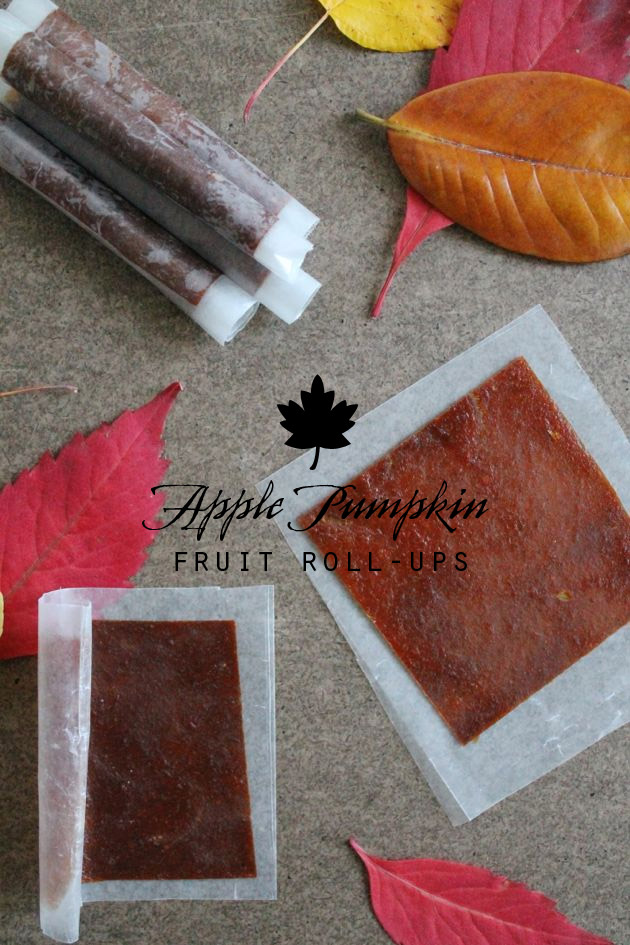
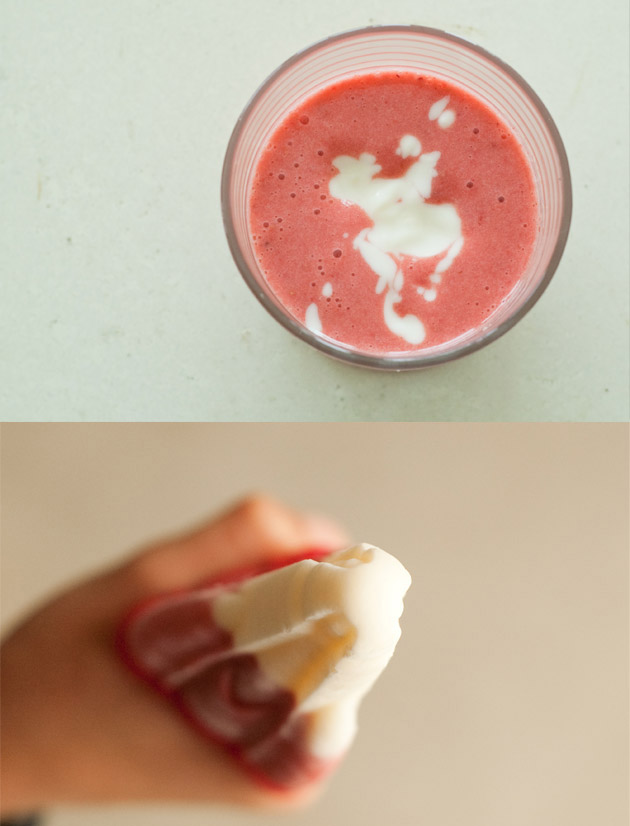
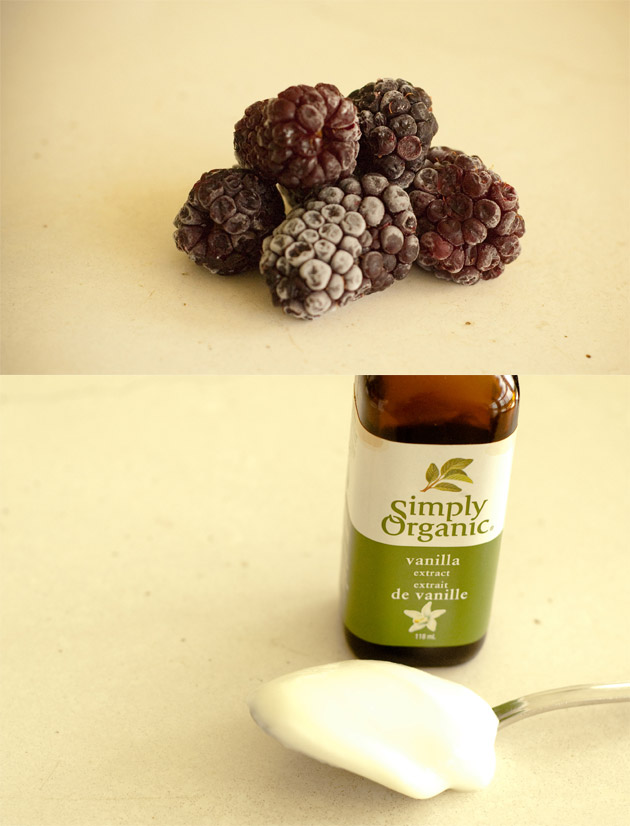
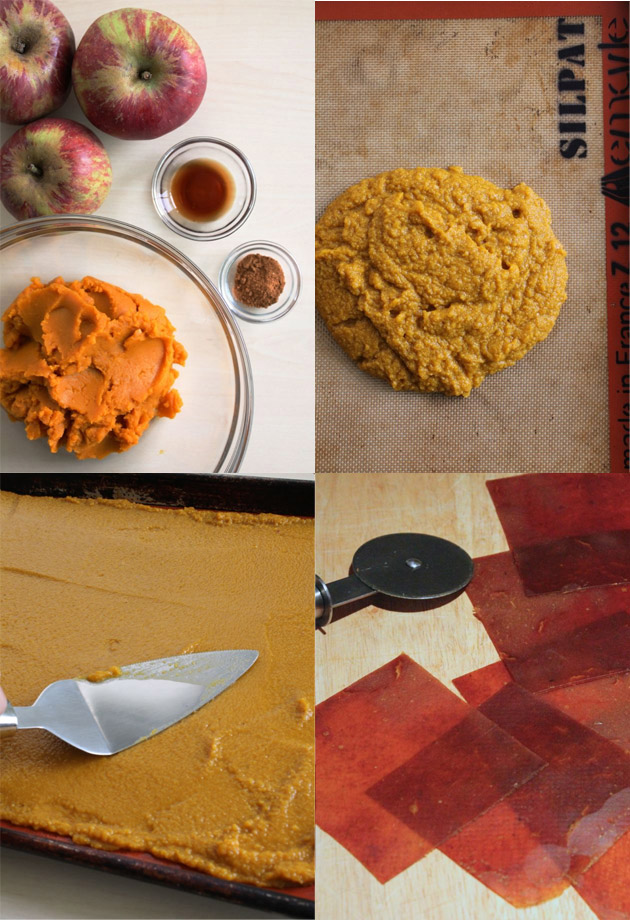 Preheat oven to its lowest temperature (170 degrees). Combine ingredients in a mixing bowl, dividing mixture onto the sheet pans. Spread until about 1/4” thick, uniform at the edges. Place in the oven and allow to dehydrate over the course of 5-7 hours, until the center is set completely. Turn off the oven and cool to room temperature before peeling back. Trim the crispy edges, and cut the fruit leather into 6″ squares. Roll up in wax paper, securing with a piece of tape.
 Emma from