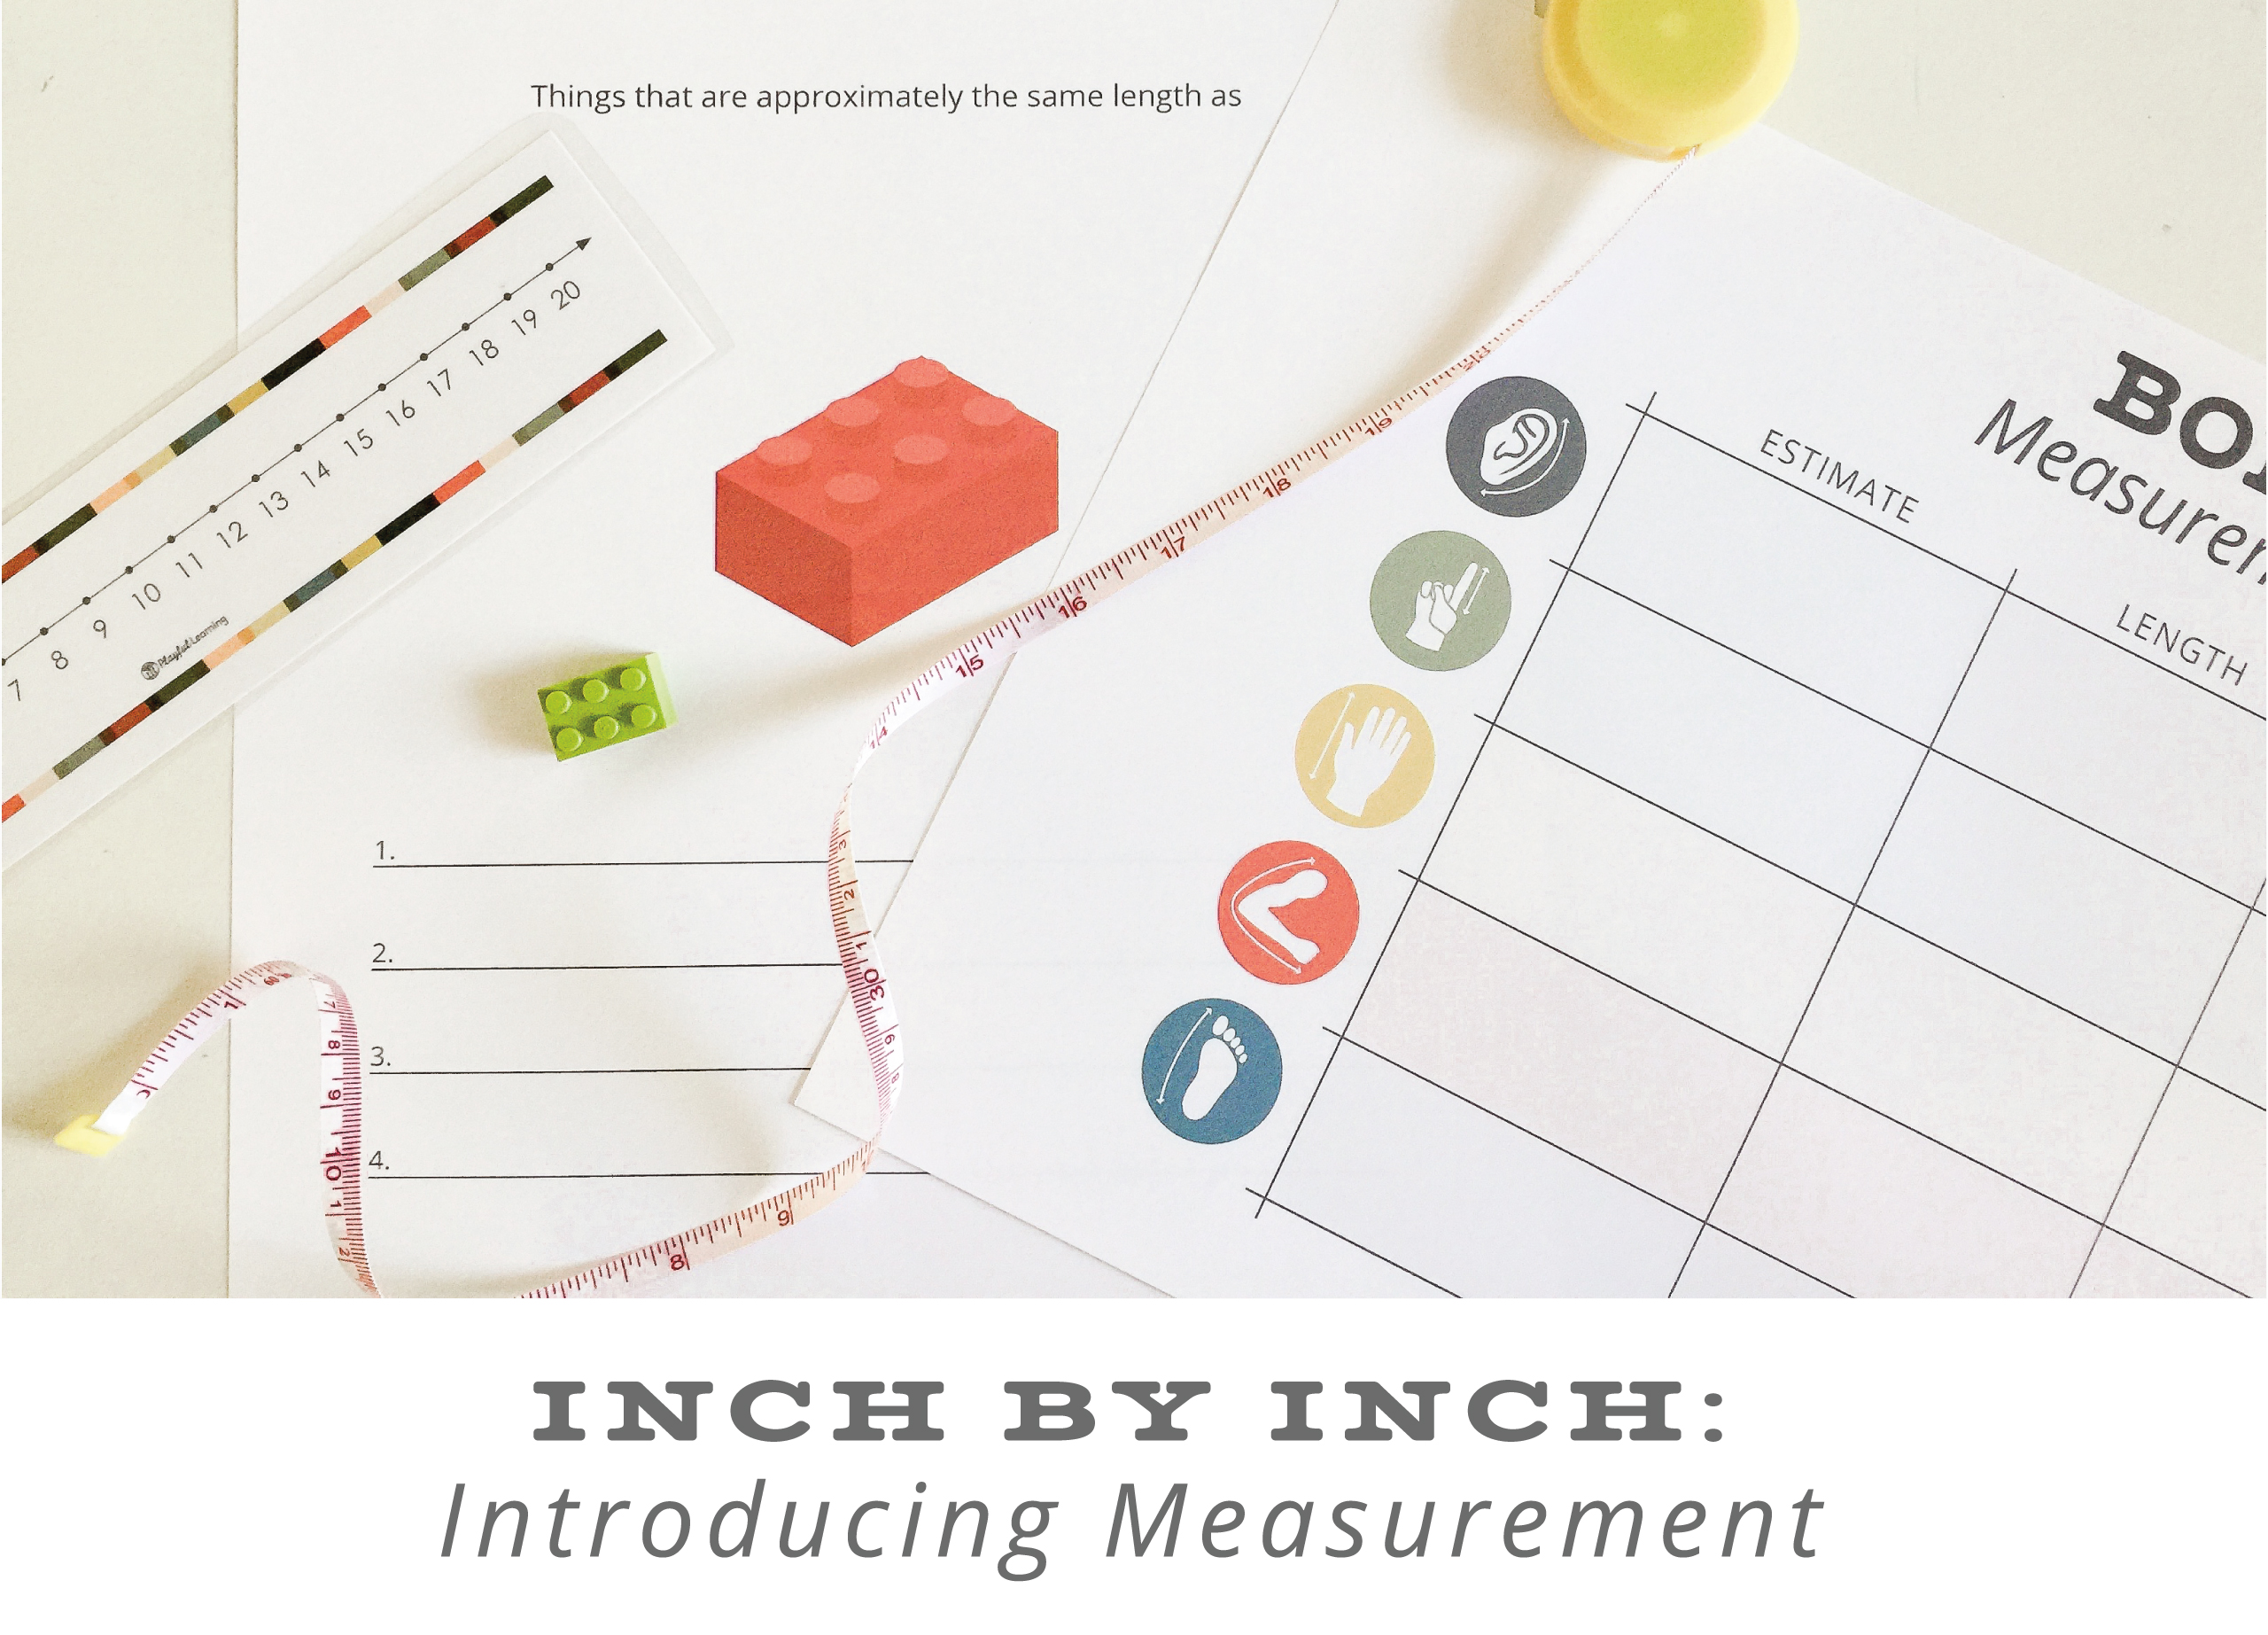
Inch by Inch: Introducing Measurement
Learning to measure our world is a welcome experience for young children. Children love being able to use “real tools” to measure things that they encounter on a daily basis. This experience introduces children to both standard and non-standard measurement and helps them to develop the important skill of estimation. For the younger mathematicians this activity is great for number formation and identification
Materials
- One small Lego® (approx. 1 inch)
- Ruler and/or Tape Measure
- 12 by 2in. piece of paper
- Lego measurement sheet (see below)
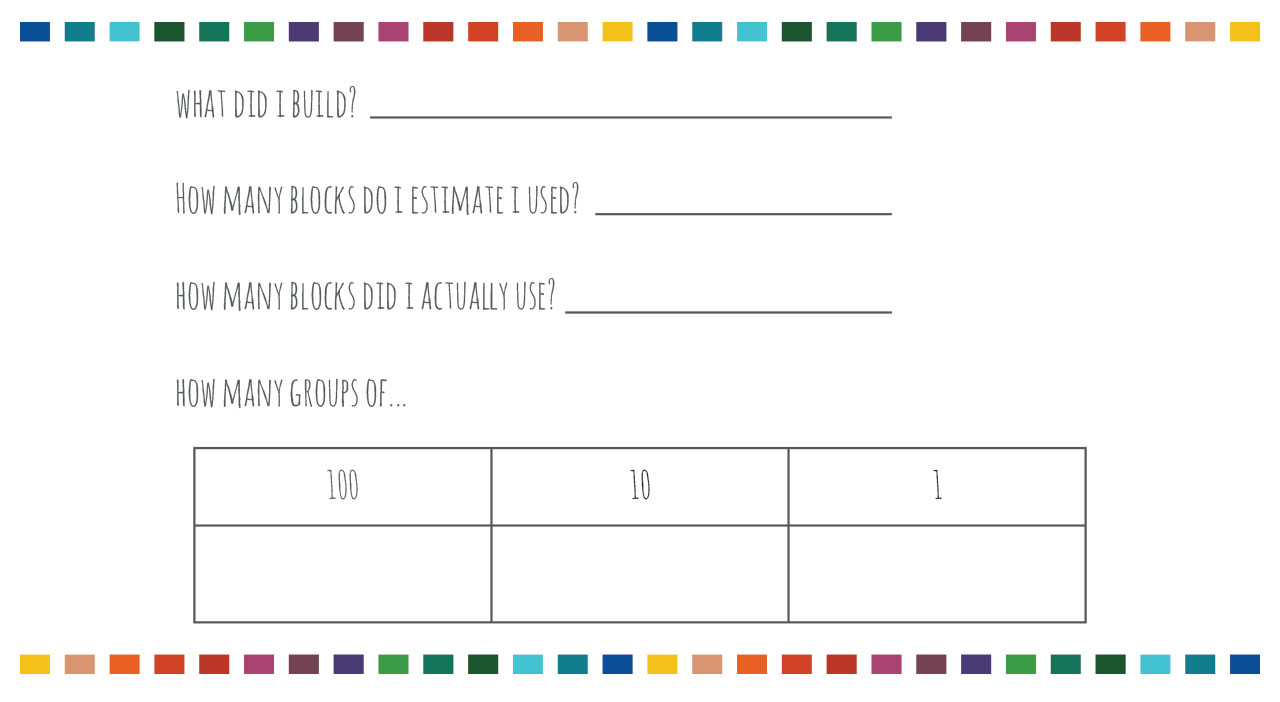
- Body measurement sheet (see below)
The Process
- Start with a small Lego® (approximately one inch) and the Lego® measurement sheet (printable M14). Ask your child to hunt around the house and see how many items they can find that are approximately the same length as the Lego®. It is fun to you’re your child a clip board, which makes the search that much more “official.” Encourage your child to record her/his discoveries on the measurement sheet.
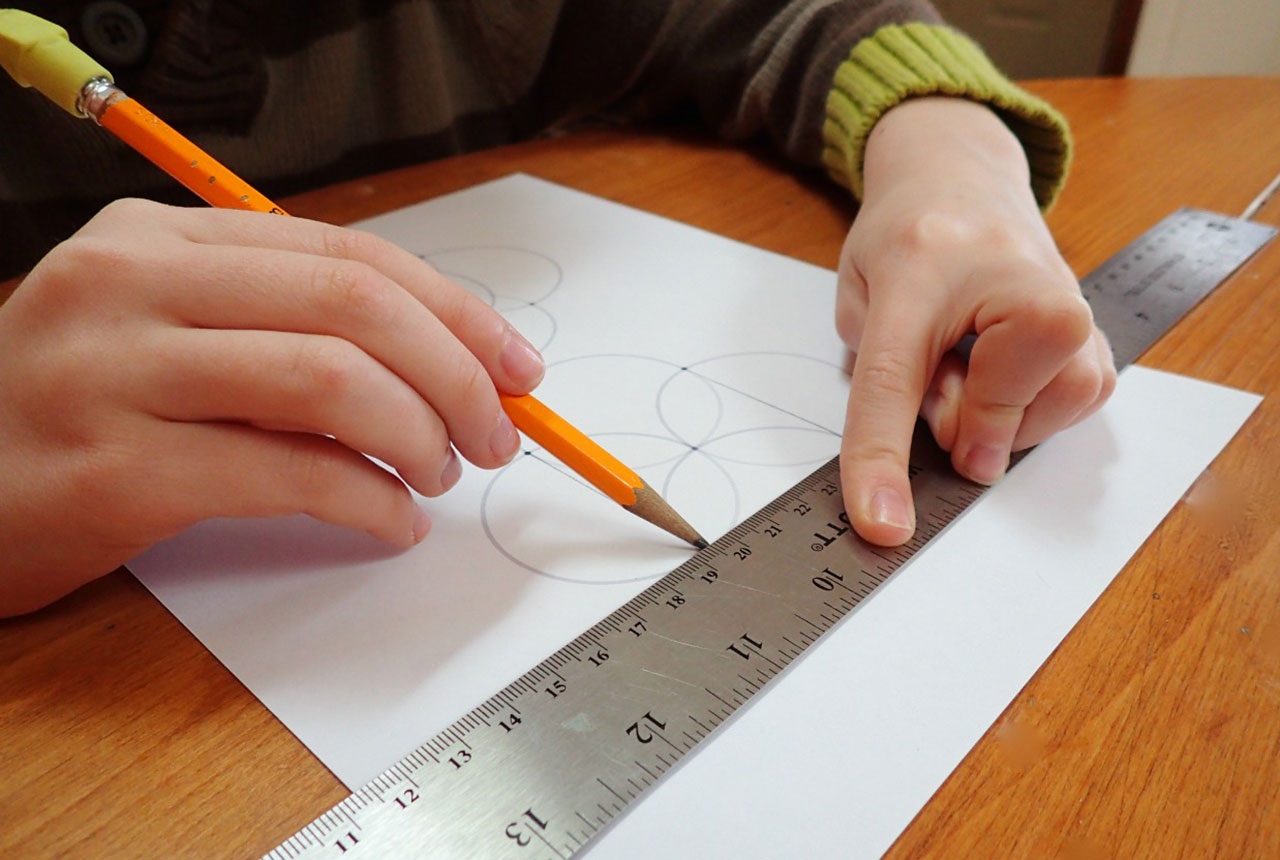
- When your child is finished, explain that grown-ups do the same thing when they want to know how long an item is—but instead of using Legos® they use rulers or measuring tapes. Next, take out the 12”x2” pieces of paper and invite your child to make her/his own ruler. Explain that he/she can use their Legos® to make the marks (starting at one edge, making a mark after each Lego® all they way to the end of the sheet). When she/he is finished making and numbering their rulers, take out one of your rulers and show your child how similar they are. Your child may notice that each sheet had enough space for 12 Legos®. You can mention to her/him that those spaces are called inches. You can also bring up the fact that 12 inches makes one foot.
- It is helpful to remember that for this experience it is not important that your child’s measurements are exact. What is important is that your child begins to create mental images of items that are approximately an inch long. This will help them tremendously when it come to estimating measurement as well as gives them internal mechanism for knowing if their results are in the right ball park.
- Once your child’s handmade rulers are complete you can encourage her/him to put her/his new tools to work. Print out the body measurement sheet (printable M15) and invite your child to measure the various parts of her/his bodies (it is nice to work with a partner for this part of the experience). Explain that she/he can start out by estimating how long an item will be, then have her/him measure the item and finish by trying to figure out how far off she/he was from the estimation.
- It is fun to compare and contrast the different sizes of nose, fingers, etc. among your family members
Book Love
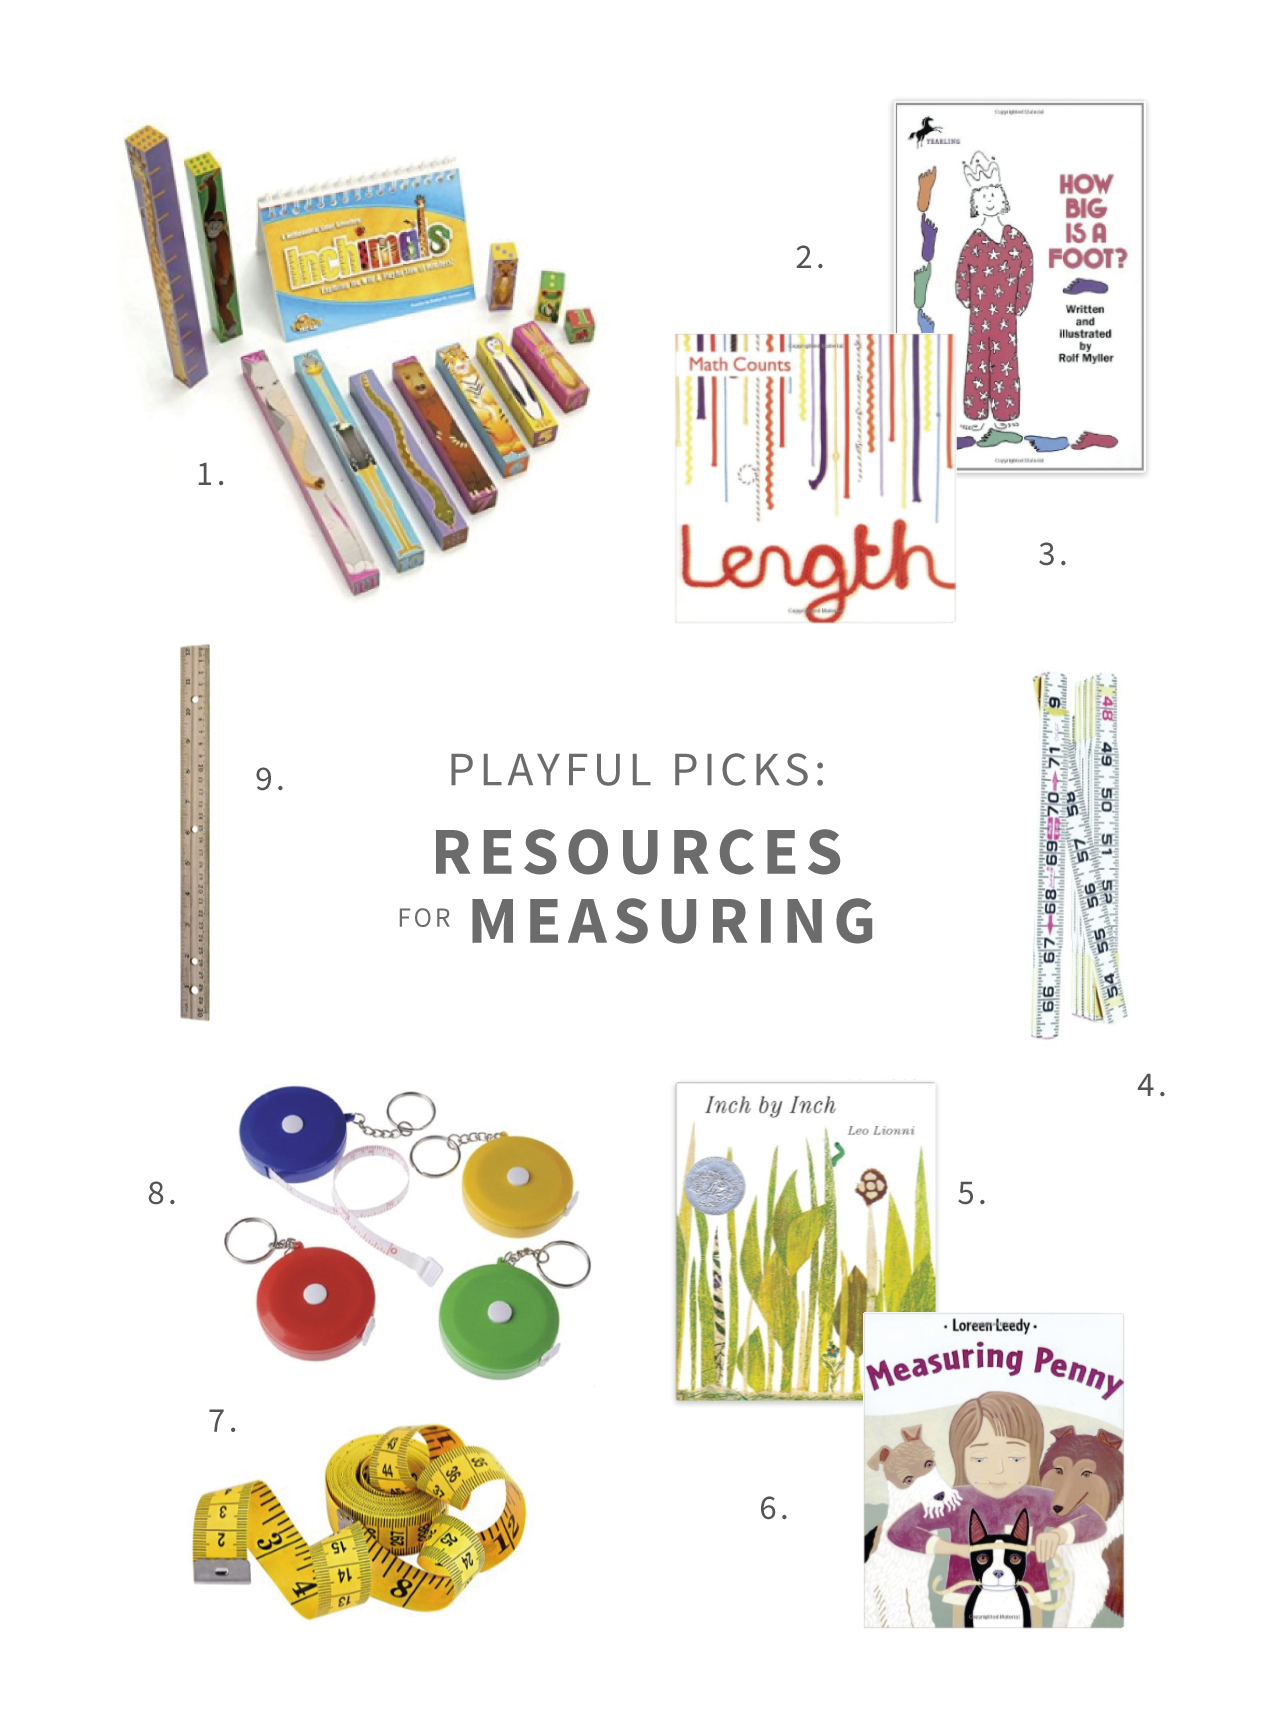
- How Big is Foot? by Rolf Myller
- Length by Henry Pluckrose
- Inch by Inch by Leo Leonni – One of our favorite authors!
- Measuring Penny by Loreen Leedy
- Make sure to check out our, Playful Picks for Teaching Measurement
More to Explore
After your child is comfortable measuring items by the inch, you can repeat the same process with the smallest Lego® piece (see bottom portion of printable M14) and introduce the centimeter as another unit of measurement.
Challenge your children to measure longer items with the use of a tape measure (keep an eye out for hurt fingers) or yardstick.
Maker sure to check out our Playful Picks for Introducing Measurement.
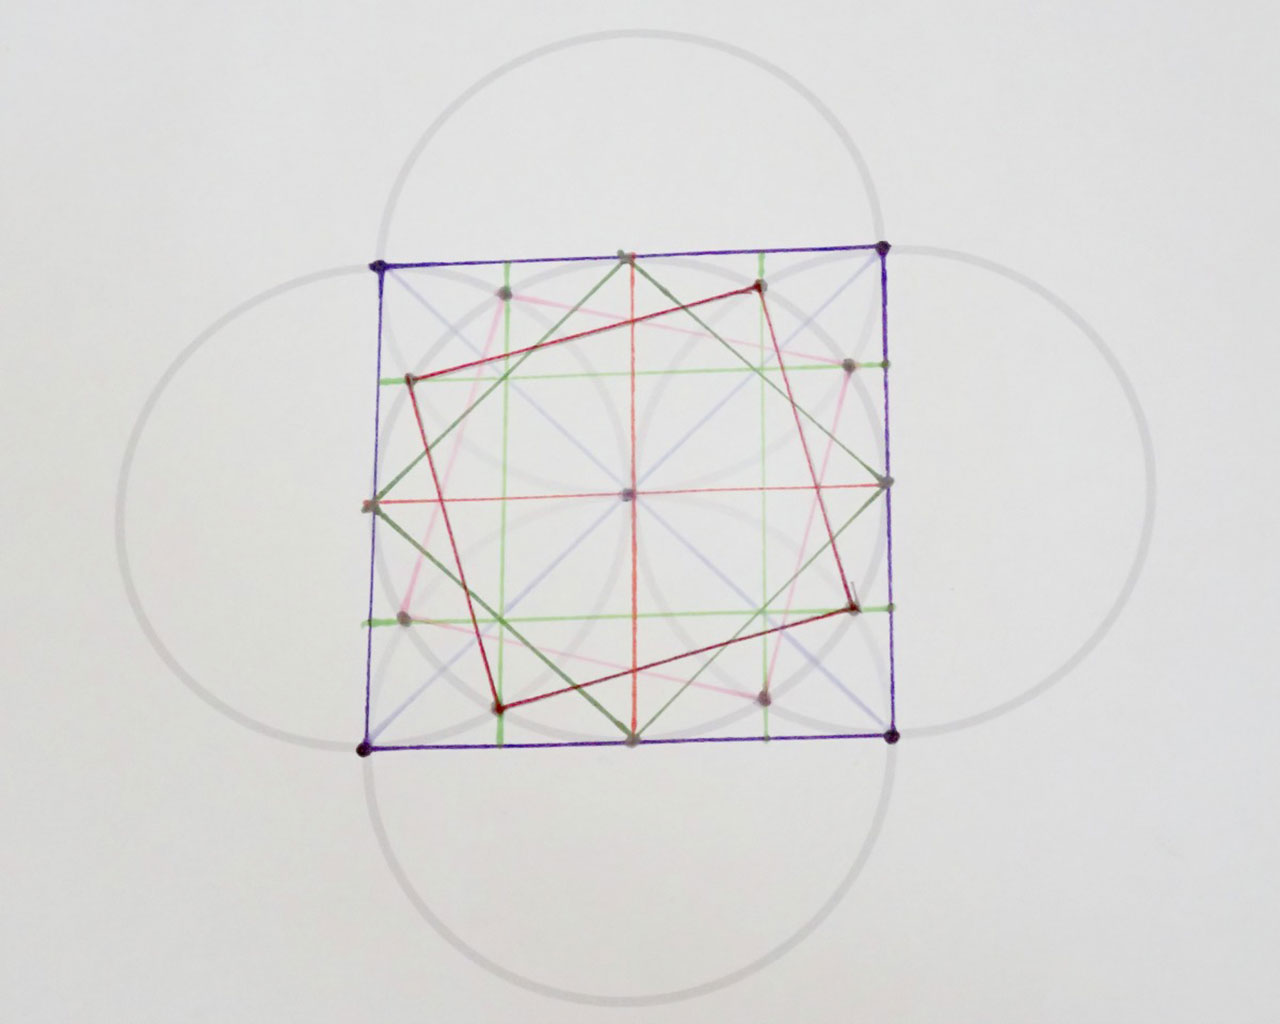
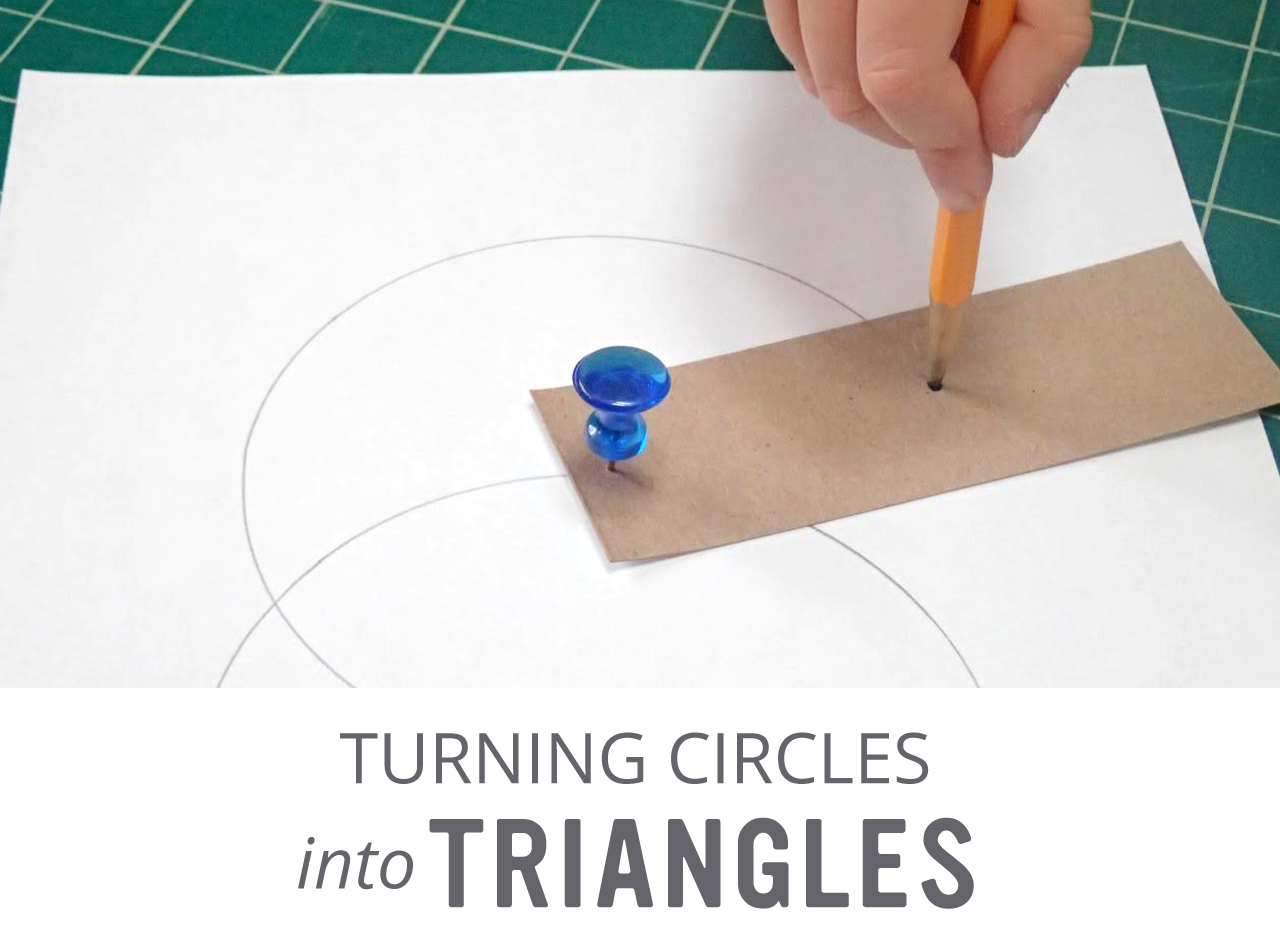
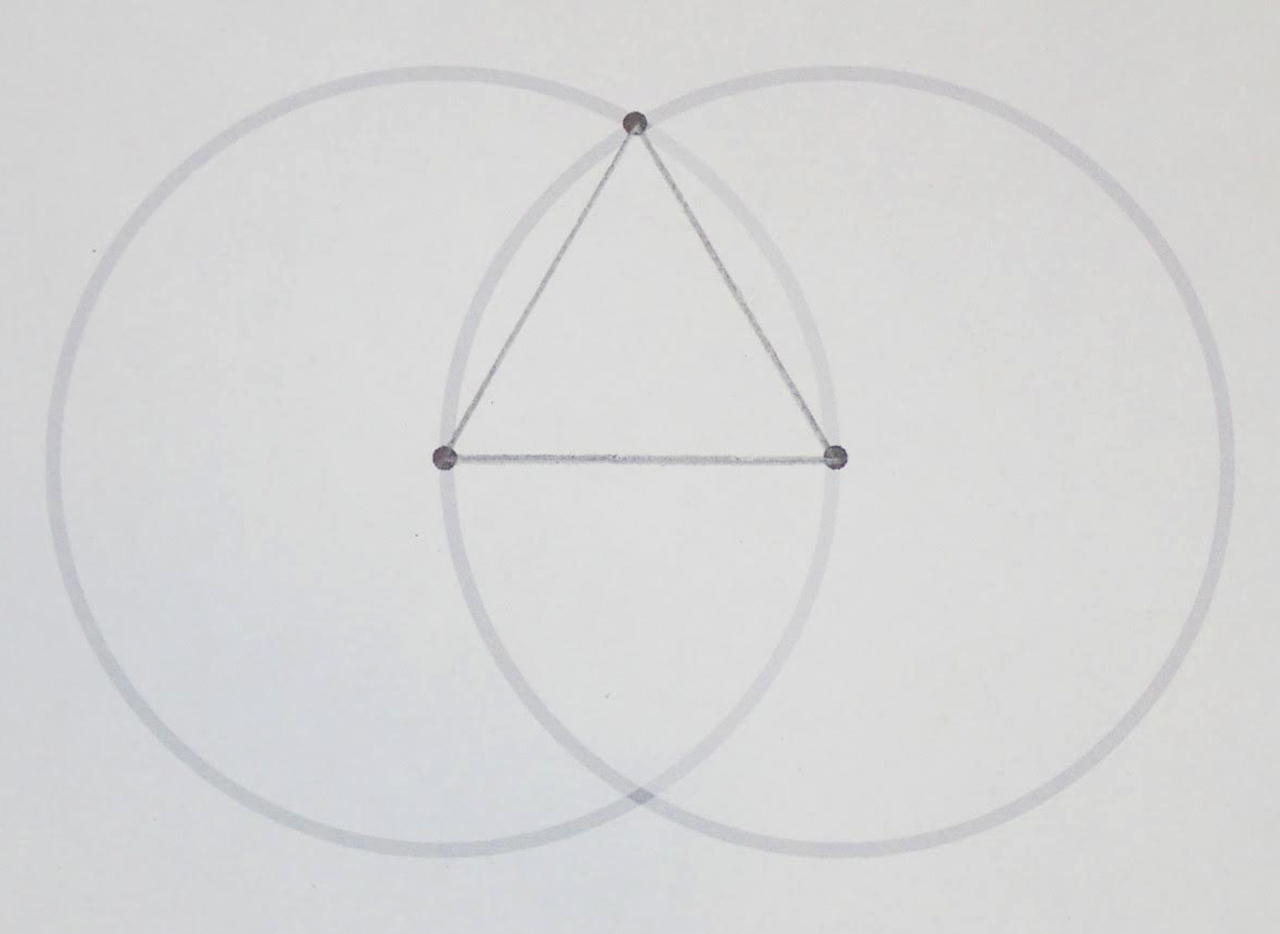
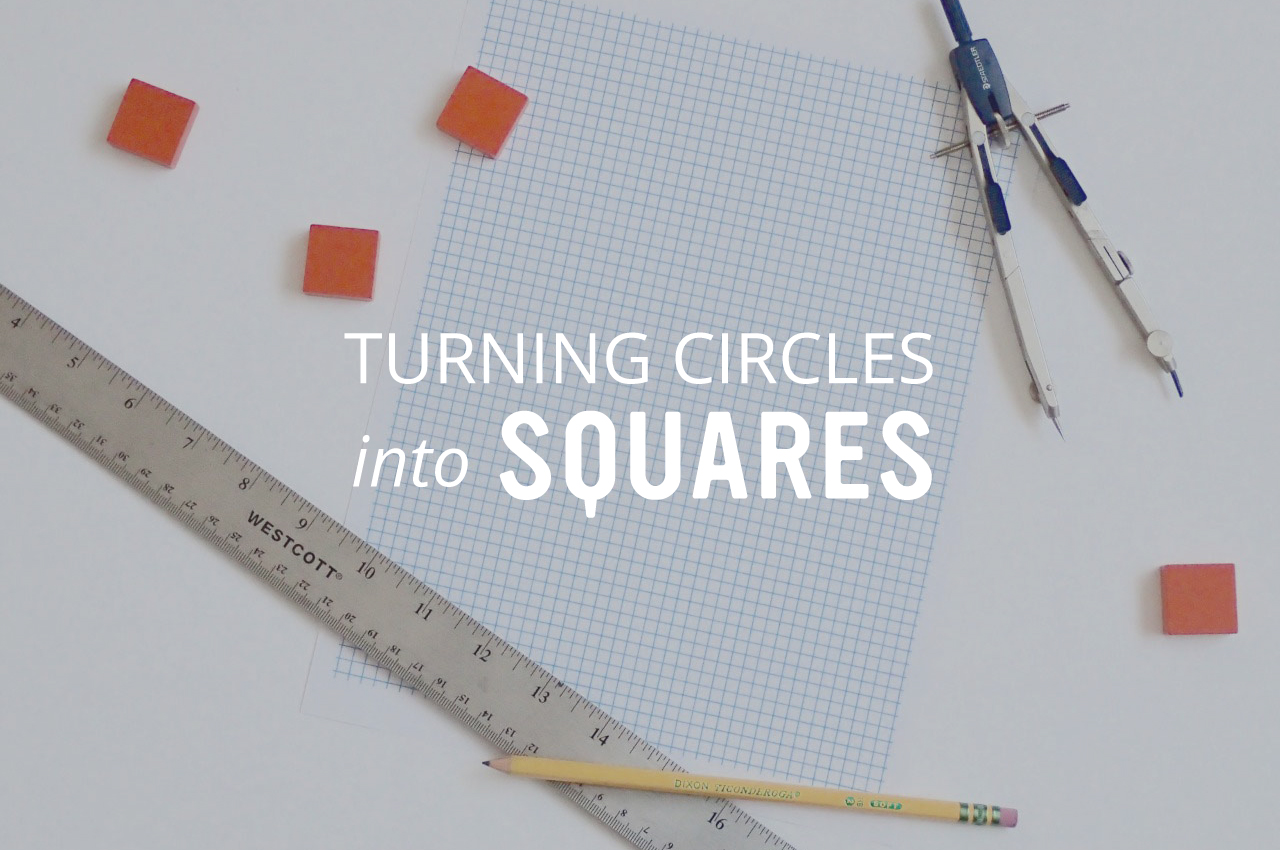 Have you tried the Playful Geometry activity,