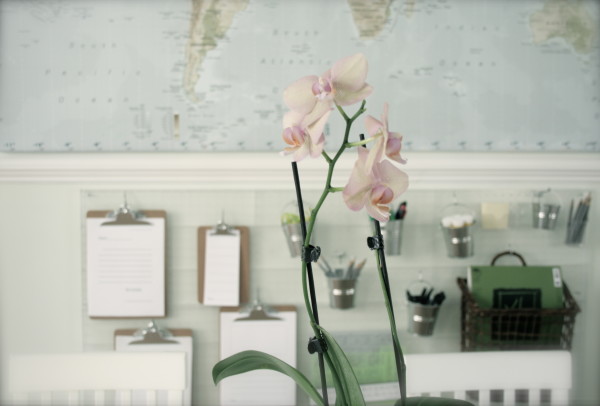
My little daughter Sarah is almost two. She is a mischievous little girl, but also oh so inquisitive and curious. She wants to explore everything. She is at such a great age; still exploring most everything with her senses, but also starting to ask questions and express what she sees and hears and feels. Every fortnight or so, sometimes monthly, I bring out some new materials for Sarah (and her almost 4 year old brother Jack) to play with and explore. Here’s what we have on our playroom shelves at the moment.

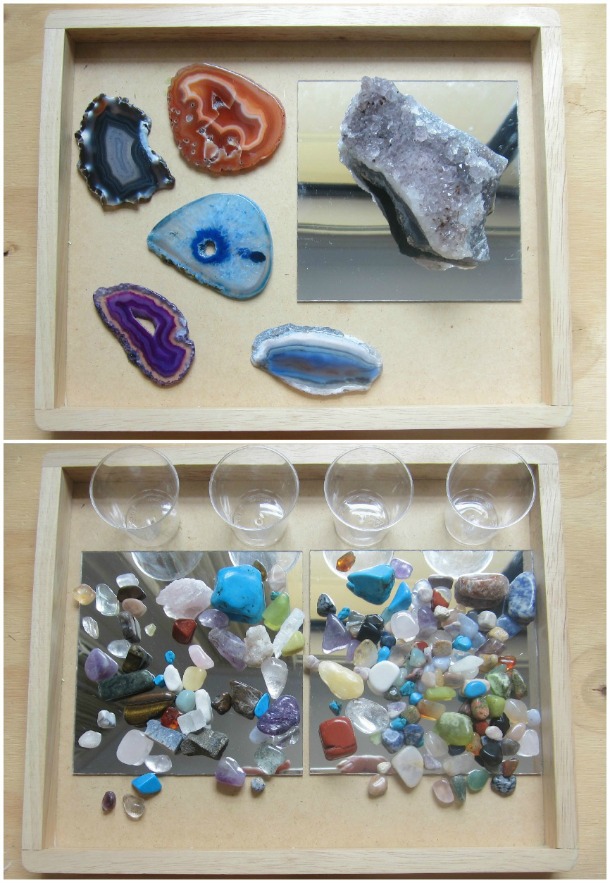
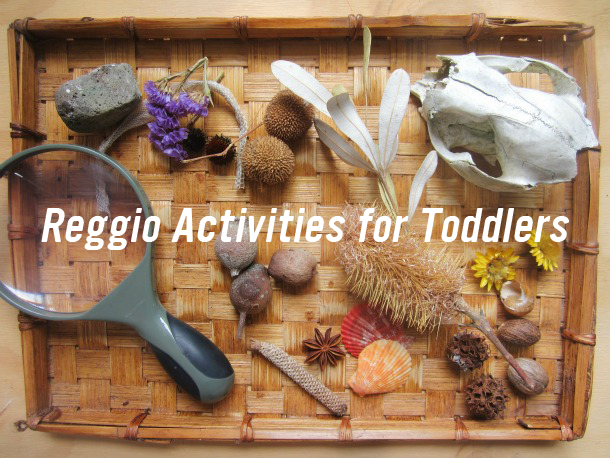
Natural gems & rocks: A tray of uniquely textured rocks and gems is very appealing to little people. My daughter enjoys the colors and smoothness of the agate as well as the sharp spikes of the amethyst.
The smaller gems, with their brilliant colors reflected in the small acrylic mirrors, instantly caught Sarah’s attention. Each one with a different weight, shape and color. She likes to run them through her fingers as well as use the small cups to drop the stones into as she listens to the sounds they make.
I try to use natural materials whenever possible. At almost two, Sarah still explores heavily through her senses. I bought these stones from a local science store. Although collecting stones and pebbles, or maybe sea glass if you are lucky enough, would be just as appealing.

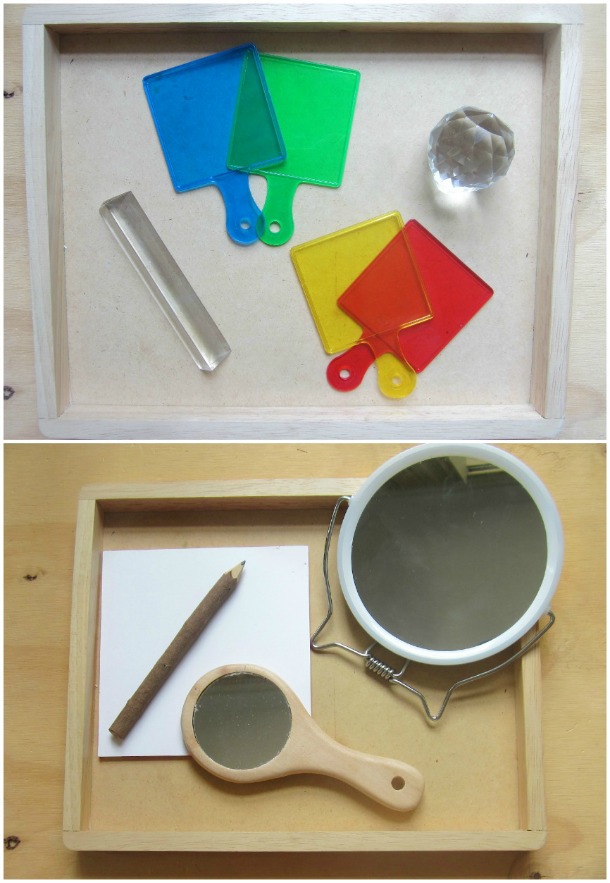
Exploring color & light: This exploration is a favorite at our house. Careful experimenting is needed to make the crystal ball and the prism cast rainbows across the walls. While the color paddles make the world change color when placed up to a little one’s eye.
Playing with mirrors: Right from when Sarah was a newborn, she has had mirrors to gaze into. She never seems to tire of watching her face move. Mirrors can be used for a simple exploration like this one, or to add a different perspective to investigate, like in the gems exploration above. I like acrylic mirrors as a base as they won’t break, but when using the mirror to investigate her own reflection, I prefer glass as the image is clearer. These are shaving mirrors I picked up from the supermarket and a home ware store.
Sarah is still scribbling, she isn’t drawing figures yet, but she enjoys mimicking her older brother, who is a prolific drawer, and so this exploration has a small pencil and paper. The mirrors alone though are enough to engage her curiosity.
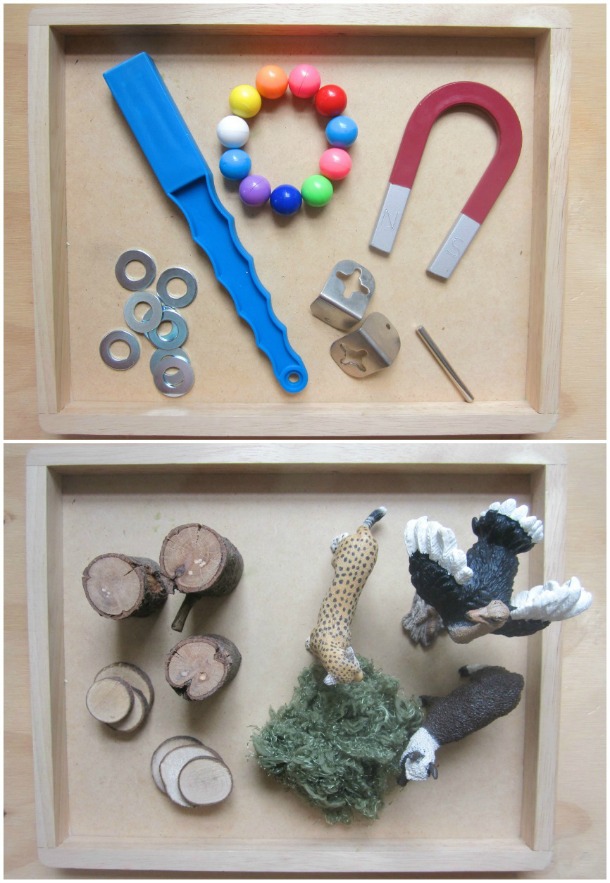
Magnets: This is another exploration which is continually on our shelves. At first I had some non-magnetic items on the tray but Sarah soon tired of these, not interested in distinguishing between the two, instead more fascinated by the way the magnets worked and how many magnetic items should could pick up at the one time.
Natural materials for imaginative play: Everyday, Sarah’s pretend stories become more intricate. She started creating little stories when she was about 18 months old; small wooden people started to say ‘hello’ to each other. As her interests grow, I like to have a range of materials on offer for small world play. Natural materials make wonderful additions to any play scene. These simple tree blocks were made from a fallen branch and the green bush is simply fluffy wool rolled into a ball. Rocks and shells, sticks and flowers all add extra appeal.

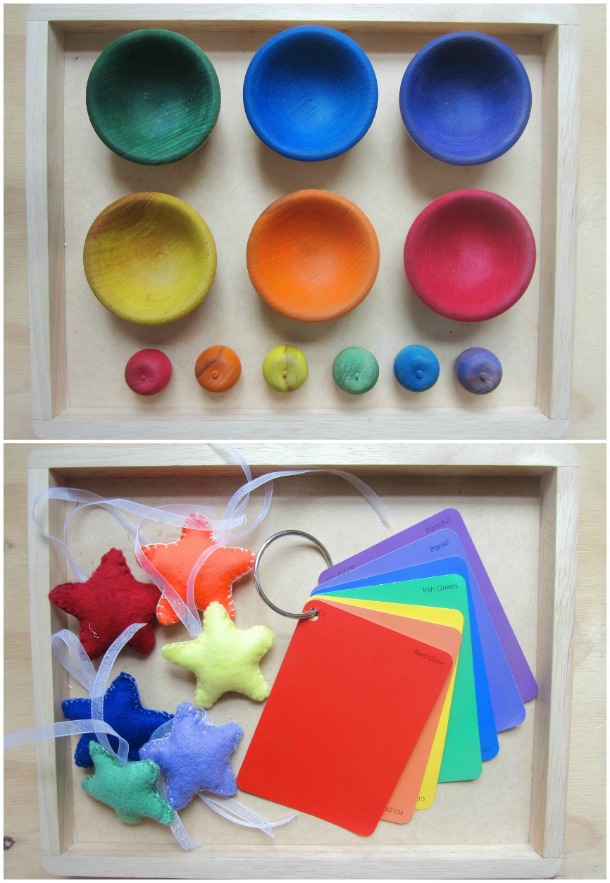
Playing with color: Do you remember when your child first understood that things could be different colours? For my son it was yellow. For Sarah it started with red, everything was red. These two activities help her to identify different colours. She enjoys matching the apples to the cup and the shooting stars to the colour swatch. I put the swatches on a keyring so Sarah can play with them when we are out. She likes to flip through them and say the colours, often incorrectly, but that doesn’t matter.
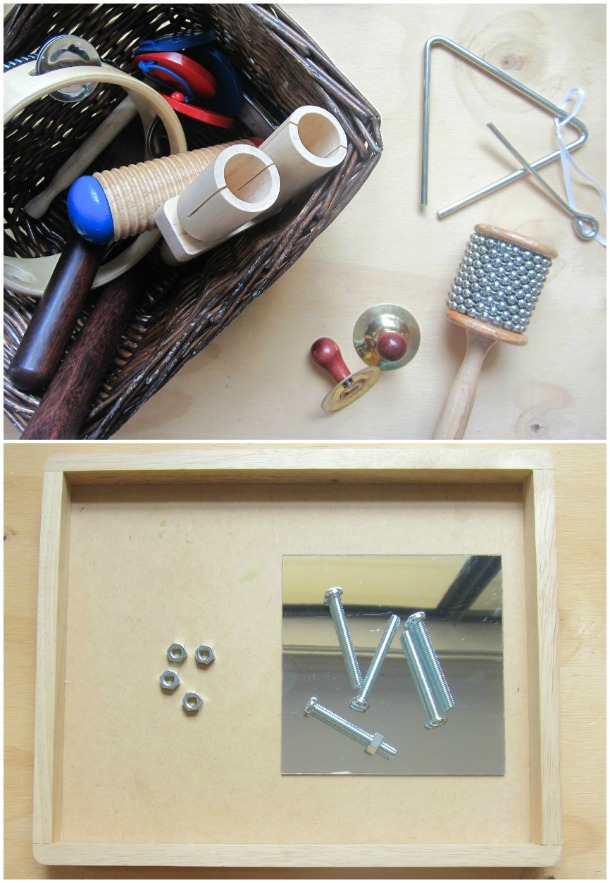
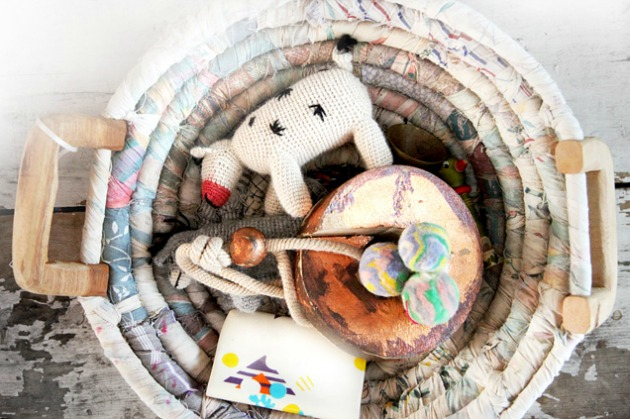
Using real musical instruments: Real percussion instruments are reasonably priced and are so much more pleasing than cheap plastic ones. Children are more likely to be attracted by the sounds of a genuine instrument and so will want to play. In our basket we have claves, finger cymbals, a cabasa, castanets, a triangle, guiro, harmonica, tambourine and a two tone block. Along with some small drums and bells. I like to keep them in a small basket next to some play silks for dancing.
Nuts & bolts: A simple and very engaging activity for toddlers. Considerable effort and persistence is needed for this activity. Although it’s quite challenging, my daughter finds it very rewarding. You can see I have one nut and bolt together, a subtle hint of how she might approach this activity.
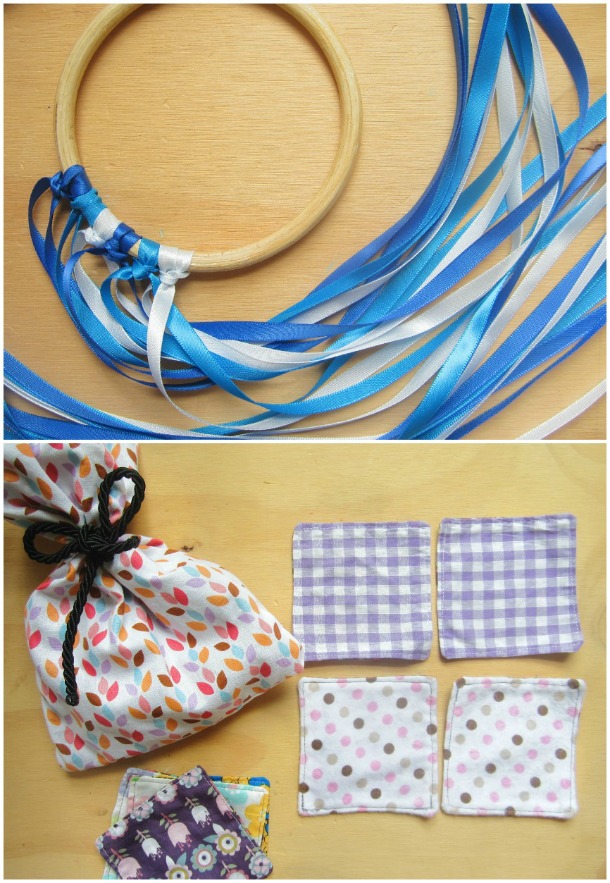
Wind wand: Six lengths of long ribbon and one small cane hoop and you have a wonderfully whimsical toy just perfect for spinning and twirling. Sarah likes to dance with hers to music, run throughout the house with it trailing behind her. Quite often we’ll take them to the park on a sunny day. We have several, in all different colors. They take no time at all to make and cost only a few dollars.
Perfect pairs: Sarah was given this set of 12 matching pairs for Christmas. It is just right for her age. Each fabric square is unique enough so she can find the matching square. Again, another simple project you can make. Each square is 10cm x 10 cm (4″x4″). Start with matching one pair, then two and once they have understood the idea, introduce more pairs.
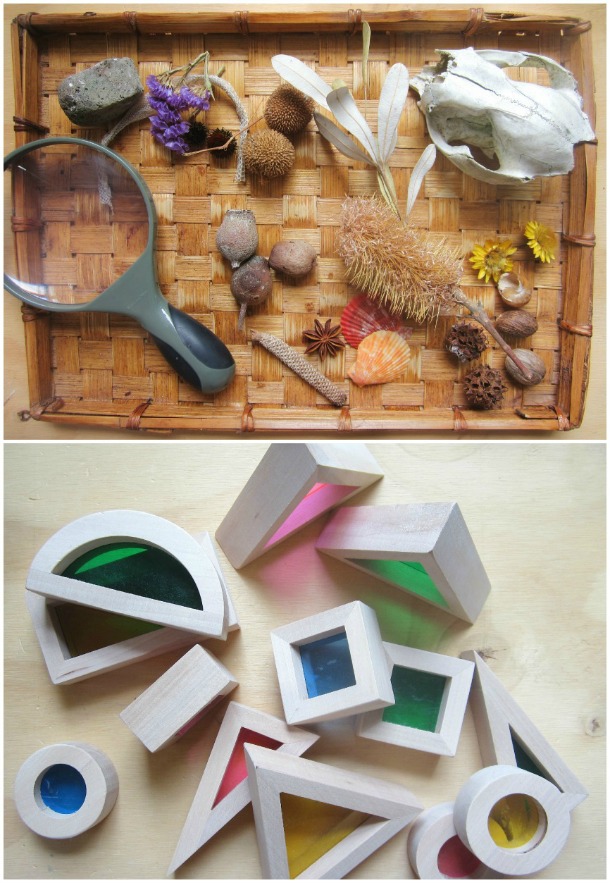 An evolving nature tray: A tray of interestingly textured natural materials is instantly appealing to little people. Sarah wants to investigate every item, holding it in her hands, pressing it to her face and crunching it between her fingers. This is one of the easiest explorations you can put together.
Colored window blocks: We love playing with these blocks in the morning light as they cast colorful shadows across the carpet.
An investigation is something that encourages your child to think, experiment and explore with their senses, and doesn’t have to be difficult to put together. It doesn’t have to be expensive either. I really enjoy thinking about new investigations to create for Sarah.
She is at such a wonderful age where almost anything engages her if presented in an appealing way. The best part for me is watching her play and explore, seeing the deep concentration she has when she is experimenting, and smiling when she sees something or feels something, for the very first time; that sense of wonder. That’s what it’s all about.
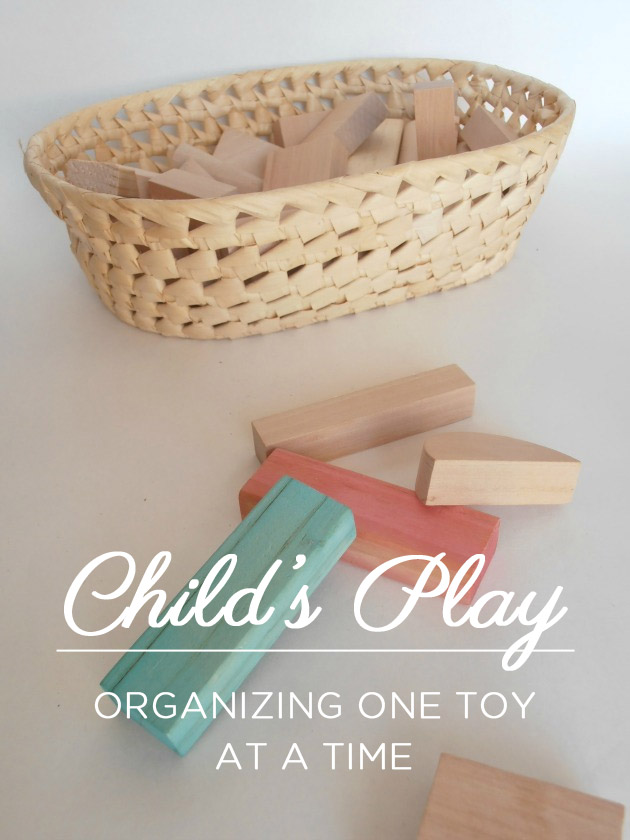


 1. Less is More…
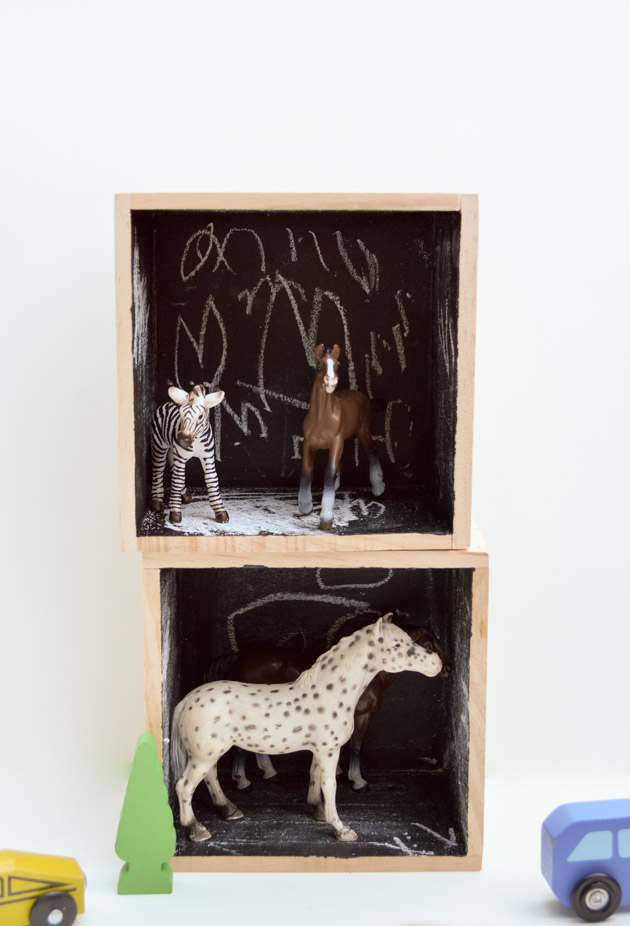
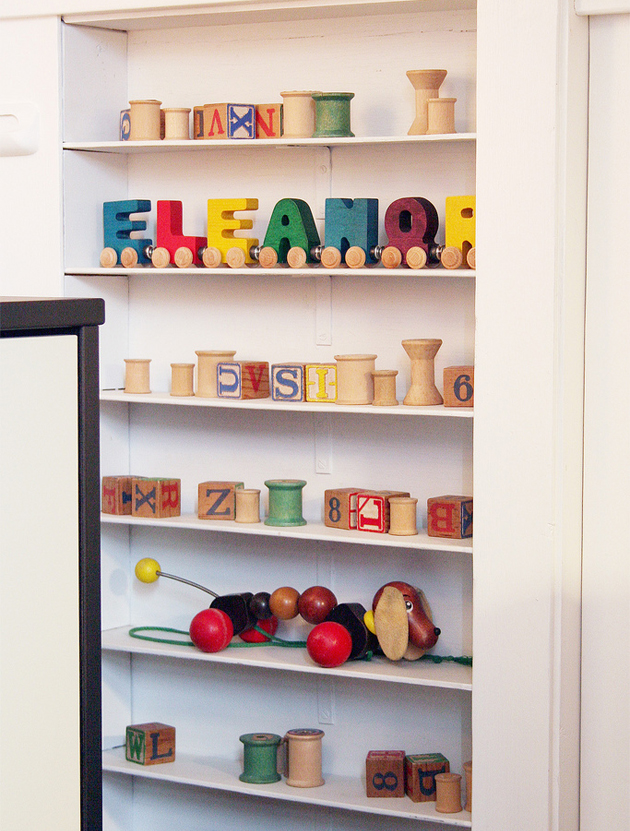 2. Start Collections…
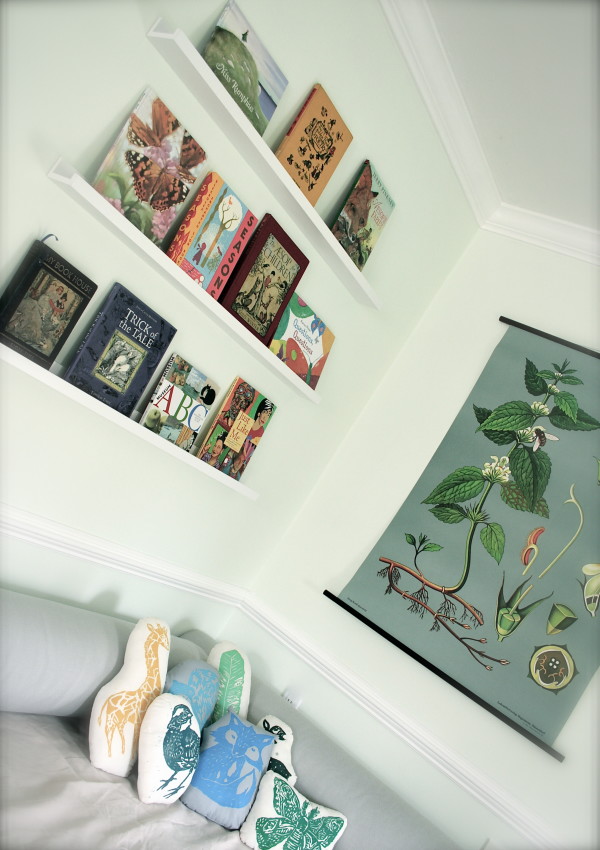
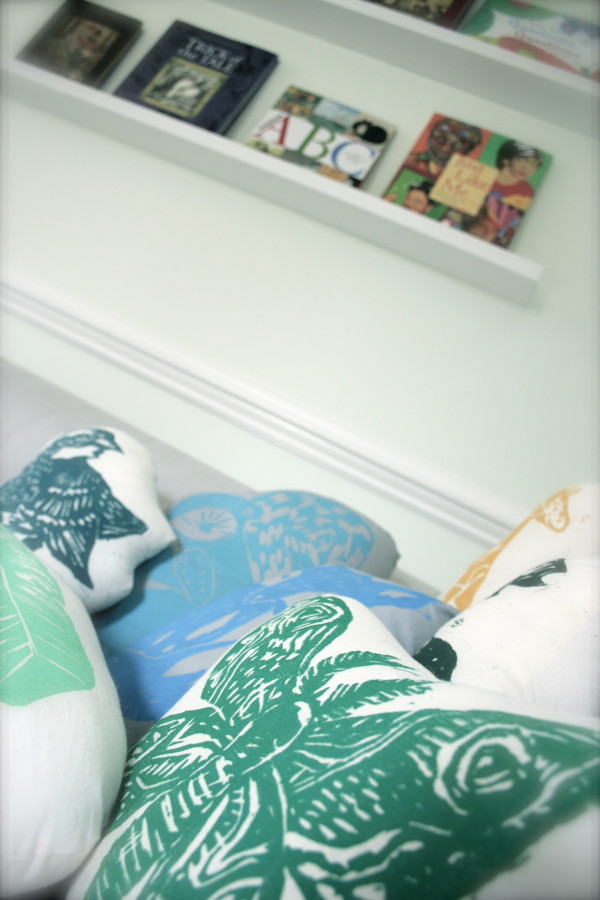
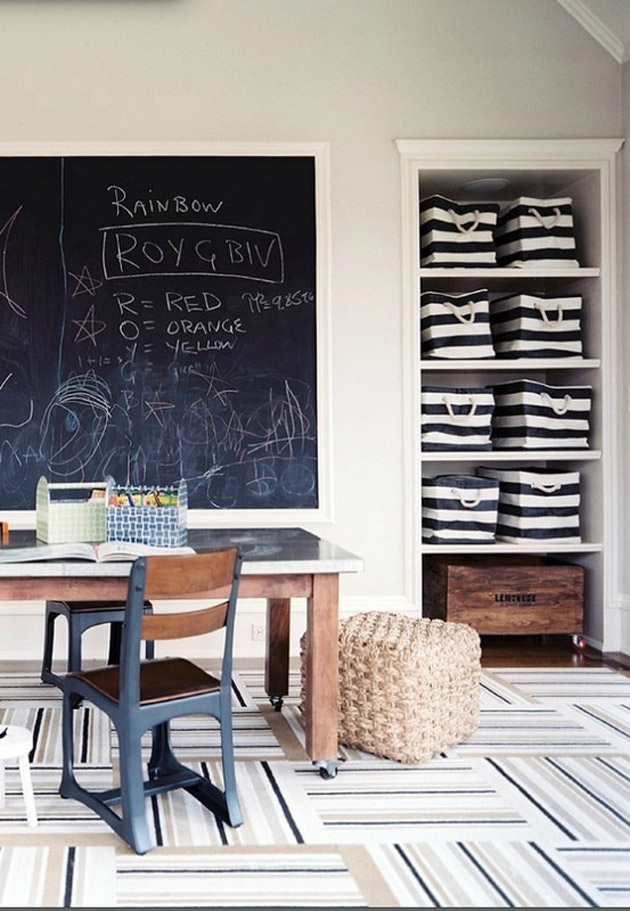
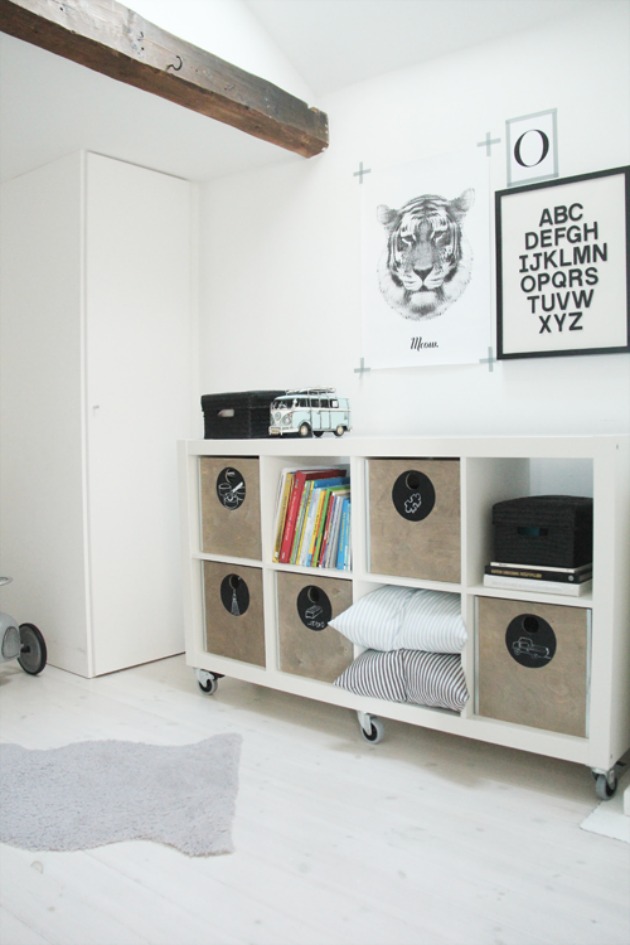
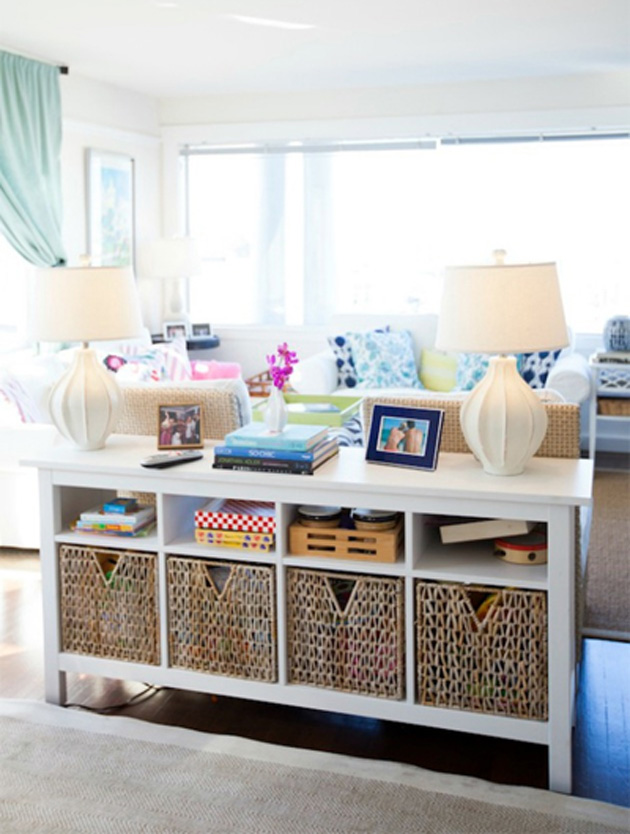
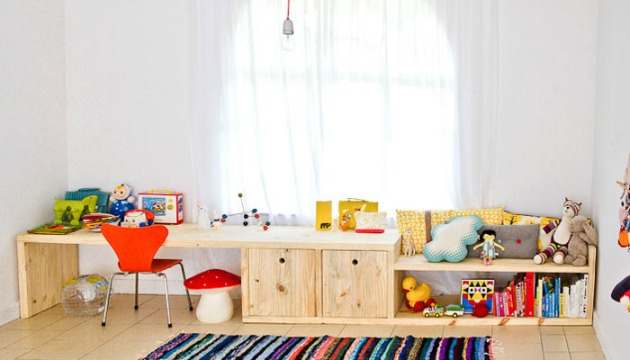 3. Store toys at a kid-friendly level:
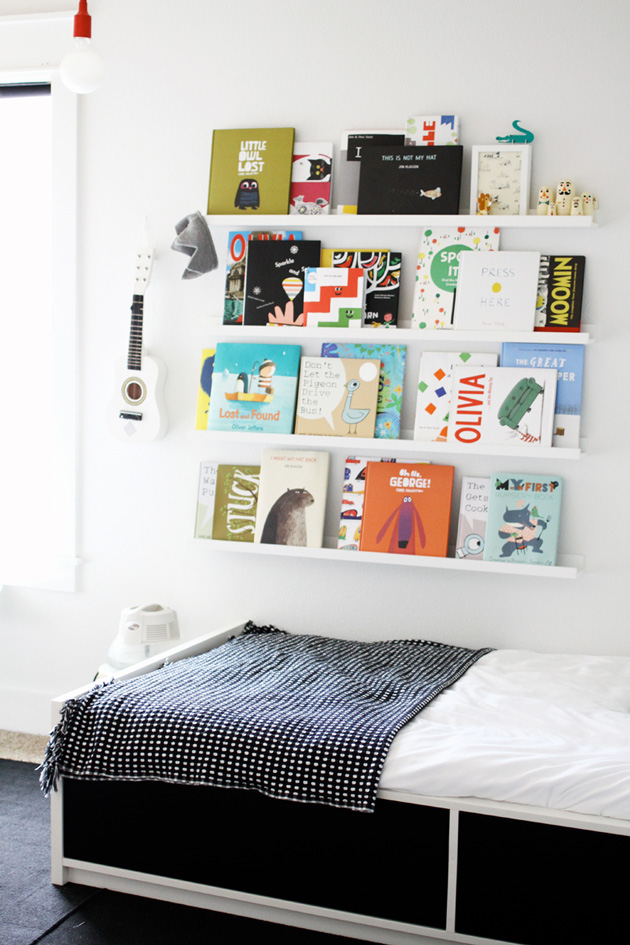
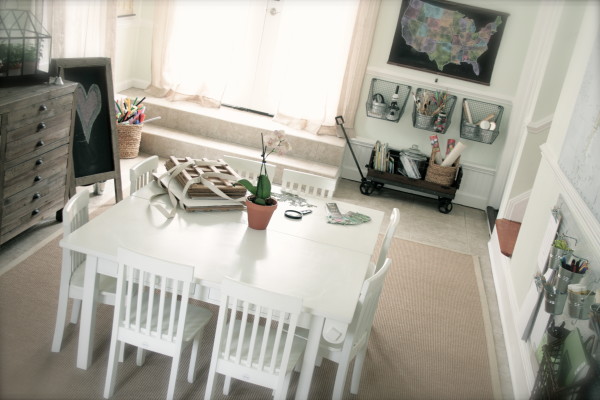
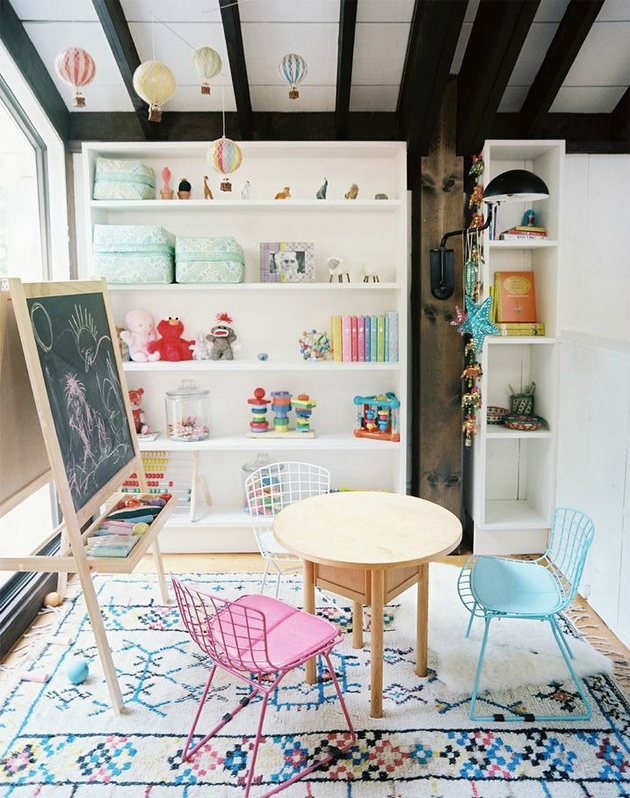
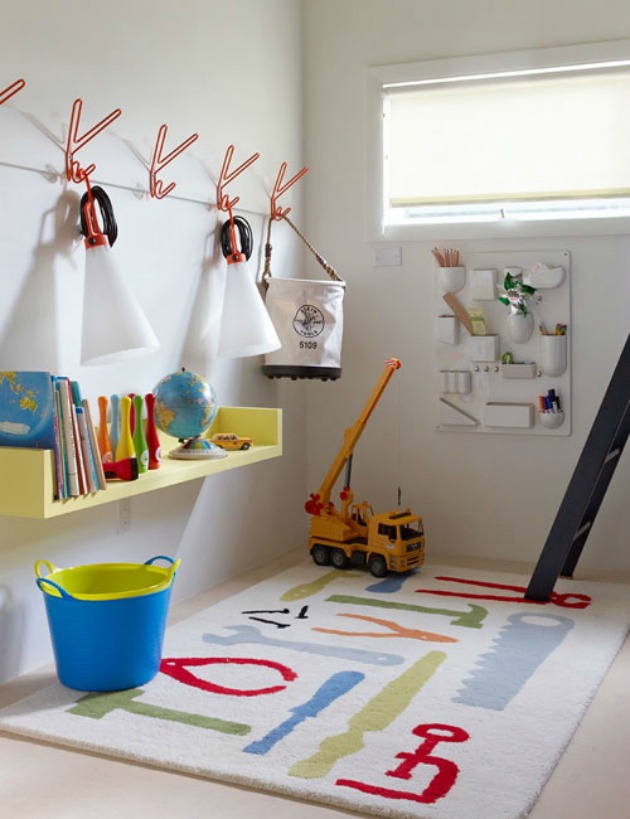
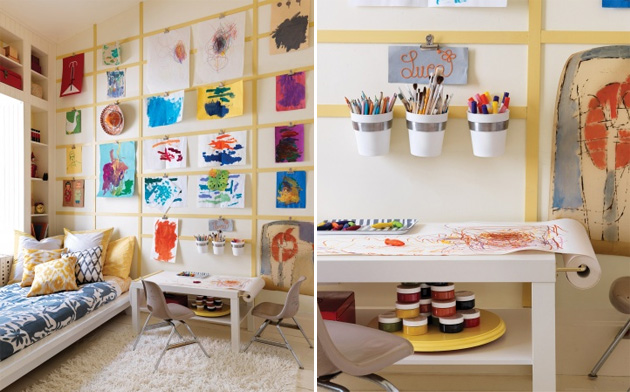
 4. Establish dedicated play zones