Category: Arts & Crafts


Learning with Circles

By Mariah Bruehl,

Learning with Circles

Joey from Made by Joey is with us today to share lots of inviting ways to engage our young mathematicians in meaningful and educational activities…

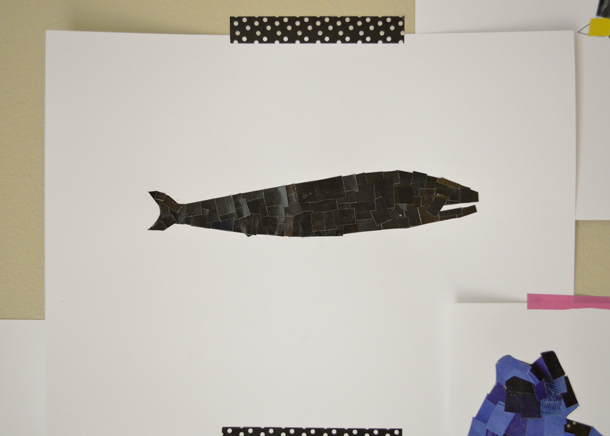
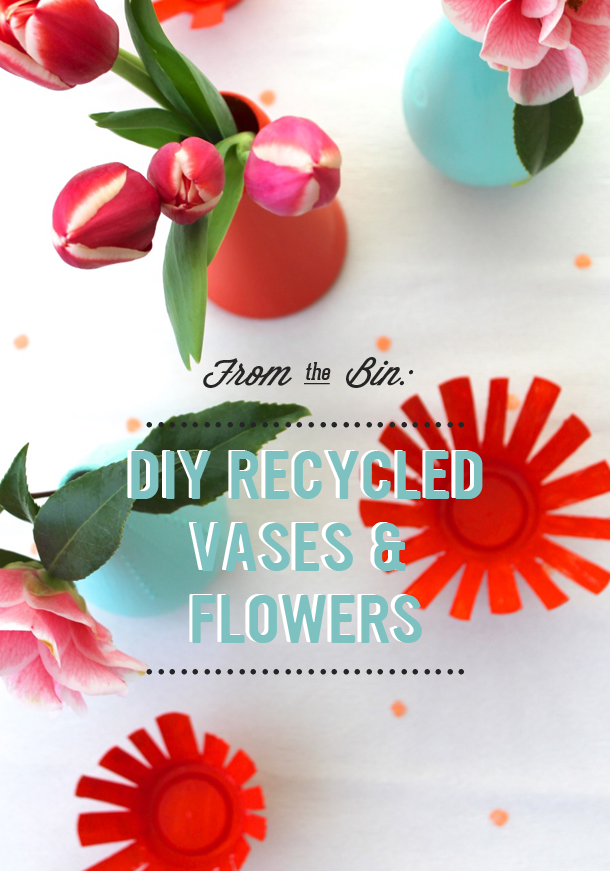
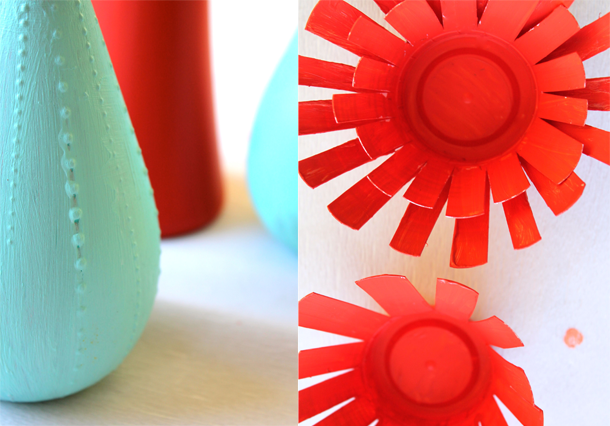
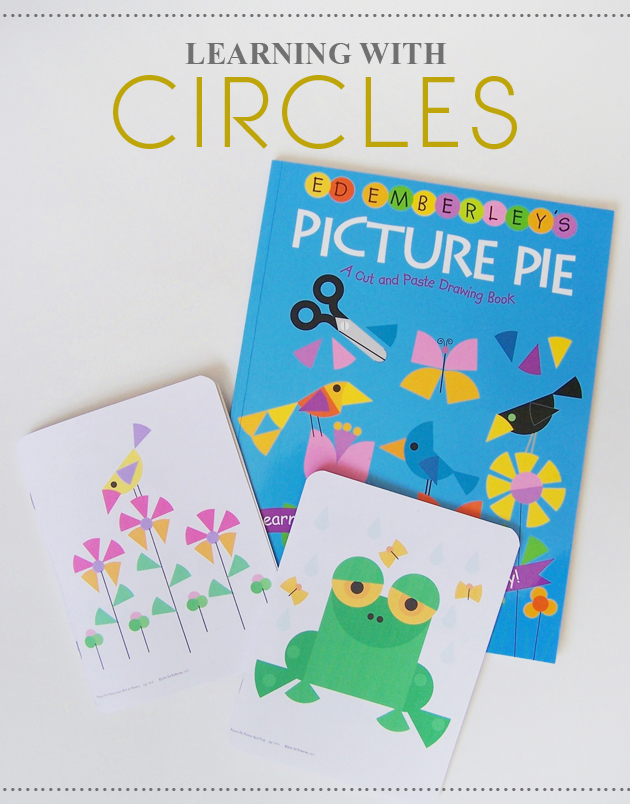
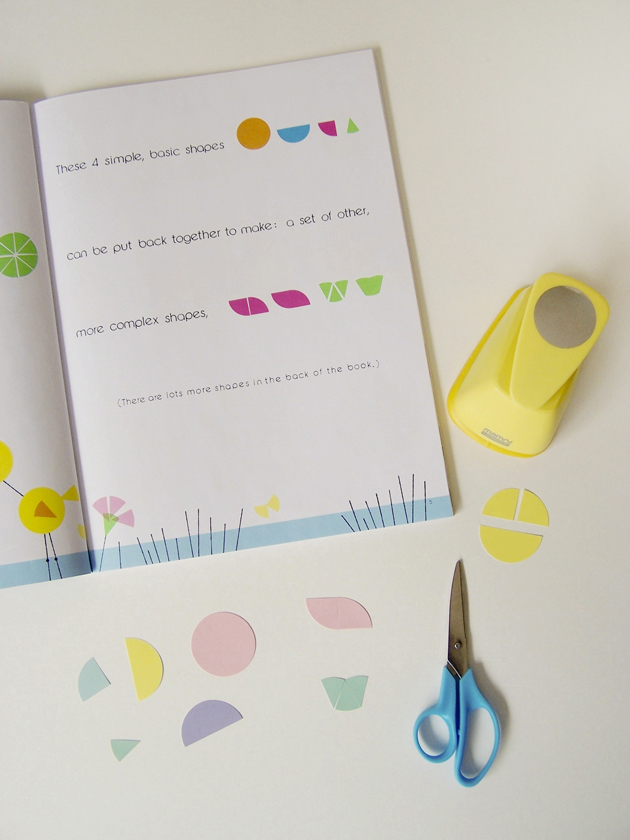
I just love it when art and learning go hand in hand!  We have several of Ed Emberley’s drawing books, so when I saw the books “Picture Pie” and “Picture Pie 2“, I thought-what a great way of introducing all kinds of learning!  Being a paper saver, I also love any opportunity to use up the small scraps of papers that we accumulate!

There are so many ways of using the activities in these books depending on your child’s age and abilities…

Learning with Circles

For early learners:

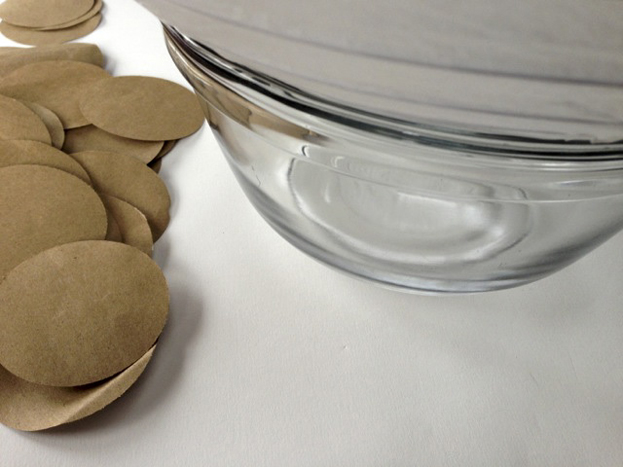
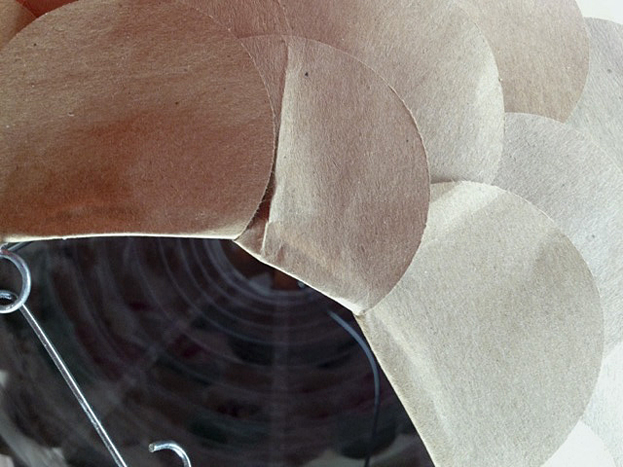
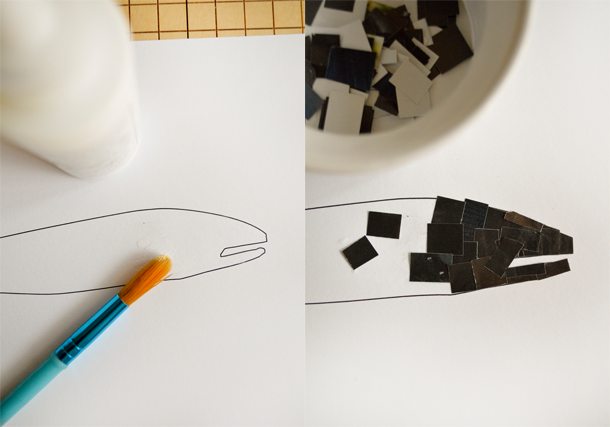
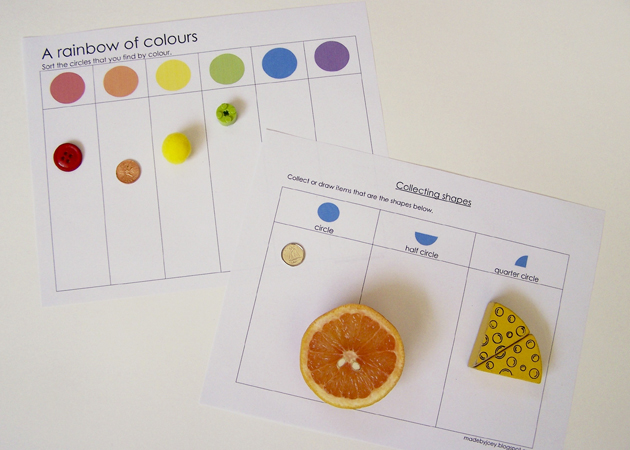
Adults can help children cut circles and shapes in a variety of sizes and colors.  Matching colors and shapes is an excellent way of starting the first step of recognition.  Finding other circles (and parts of circles) in your home or drawing pictures of items is another way to  help your child recognize circles.  Have  your child watch you arrange the shapes and ask “What have I made with these shapes?”

*note:  with young children always be cautious of choking hazards when collecting things for these activities.

Learning with Circles

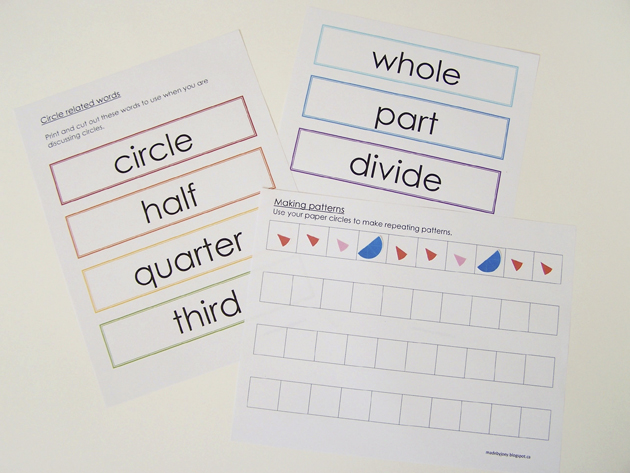
For preschoolers/kinders:

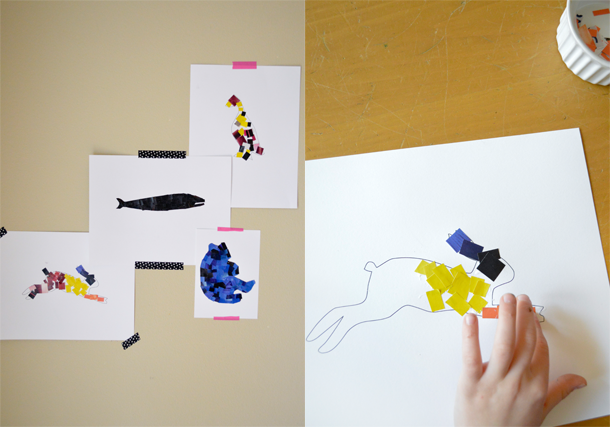
With supervision, preschoolers/kinders can begin to trace/cut their own circles with child safe scissors, draw circles on paper and find items around the house or classroom. (have them collect items in a basket like a scavenger hunt!)  Print the words: circle, half, quarter, third, whole, part, and divide on paper for the children to “read”.  Use the paper circles and shapes to make patterns (for example:  red circle, blue half, green quarter, red circle, blue half, green quarter)  Believe it or not, understanding patterns is a very  important step to learning math concepts in future grades.

Learning with Circles

For school aged children:

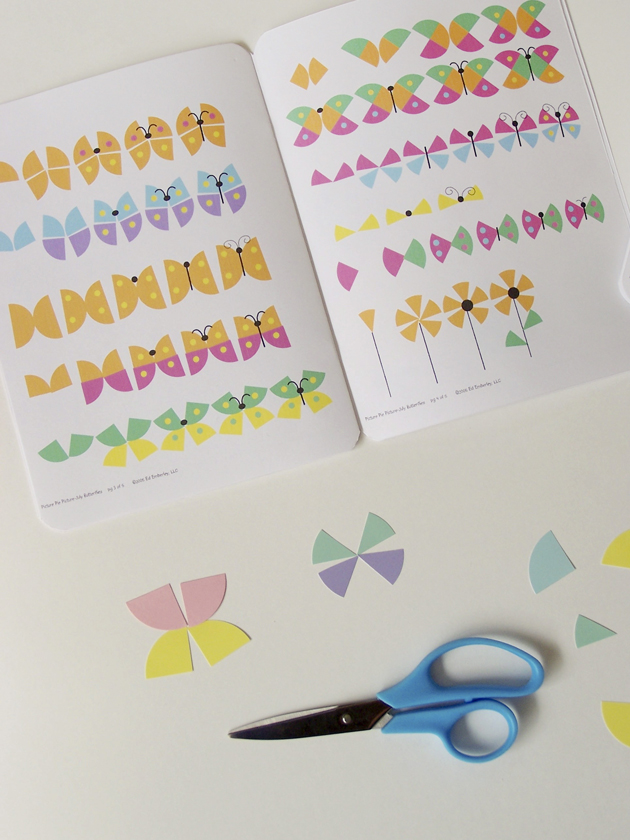
Children can begin to work more independently with the Picture Pie books by following the directions to make specific patterns.  Working with and understanding how to divide the circles into halves, quarters, etc. and then combining those parts can aid in learning division and fractions.  Hands on learning for these types of mathematical concepts are excellent as the children can see and manipulate the shapes themselves.

Learning with Circles

Supplies needed:

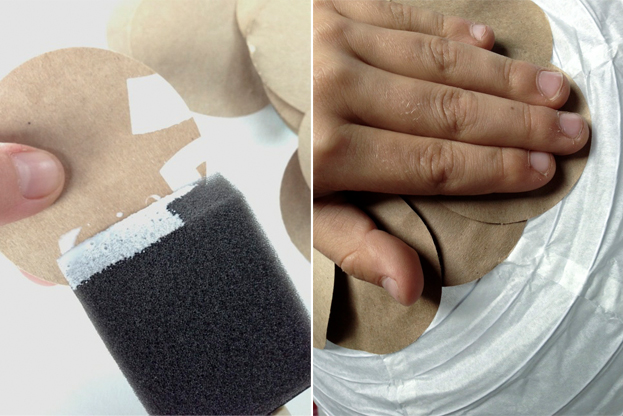
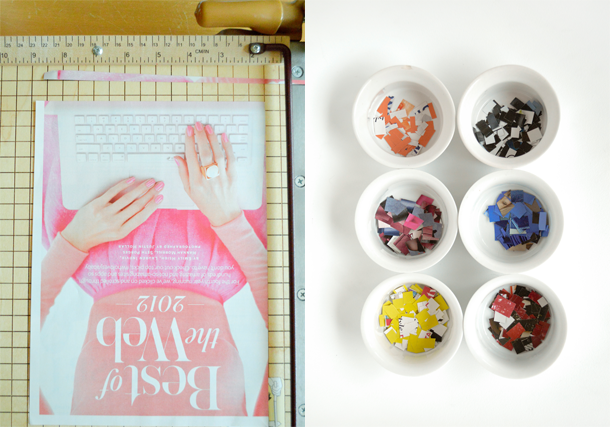
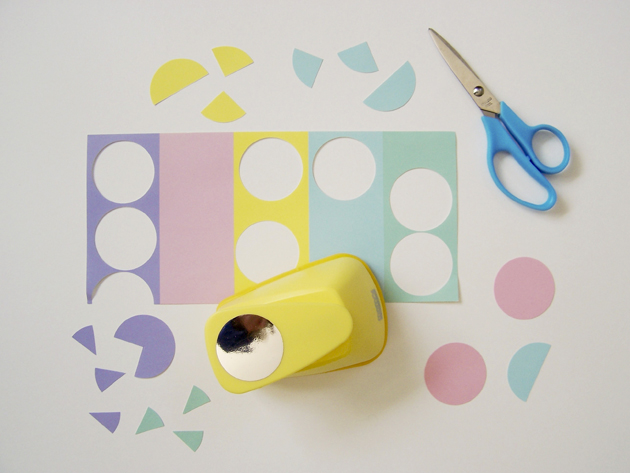
  • Circle punch (in a variety of sizes) *Note:  children can cut the circles by hand or you can print the “Picture Pie Parts” from Ed Emberley’s website.
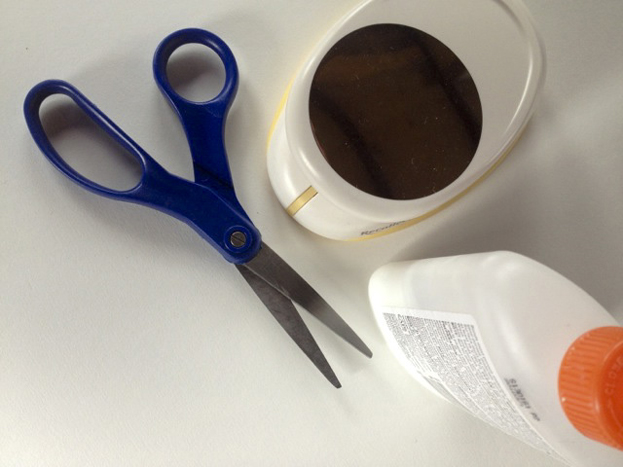
  • scissors
  • glue stick (for some of the activities)

Learning with Circles

Printables to use:

On Ed Emberley’s website there are free printable booklets that are available to download here.  Each month offers different seasonal projects that use the Picture Pie method.

To print any of the projects into a handy little booklet:

:: select the project

:: click on the “printer icon”

::  select the “multiple” button

:: select “print on both sides of paper” and “flip on short edge”

:: select the “booklet” button

::  click print

Trim the pages down if you wish and round the corners (always a nice touch for children’s materials), staple down the spine and you are ready to start making art, learning and recycling!

Learning with Circles

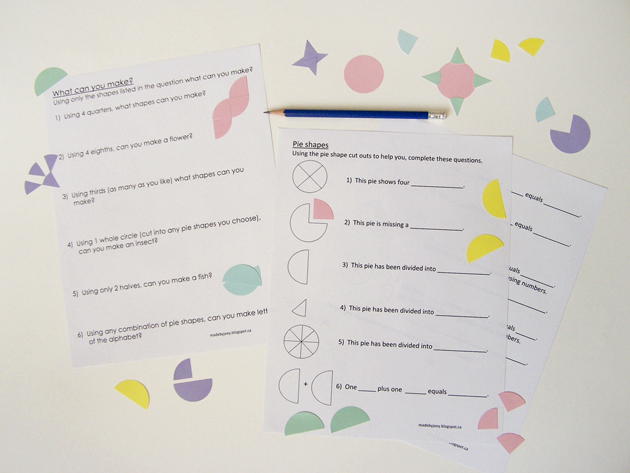
I have also designed a few free printables that can be used for learning with different age groups.

*Note:  you may need to download the file from Google Docs in order to see all of the shapes on some of the documents.

Learning with Circles for Early Learners

Learning with Circles for Preschoolers

Learning with Circles for School aged children

Authentic Art Materials for Toddlers Part 2: Charcoal

By Mariah Bruehl,

Authentic Art Materials for Toddlers Part 2: Charcoal

Kate from An Everyday Story is here to share the next post in her series about introducing authentic art materials to toddlers. Today she is exploring charcoal…

Hi everyone. So tell me, how did your little one enjoy playing with clay? Today I thought I would talk about one of our other favorite art materials; charcoal.

Charcoal is another inexpensive art material that is really responsive to a toddler touch. The dark contrast of the black on crisp white paper really invites a little one in to explore.

I often find that when presented with black, particularly with painting or oil pastels, it seems to dominate the other colors. Sarah will use the black more heavily than any other color. Now I offer black by itself and charcoal is the perfect medium.

Authentic Art Materials for Toddlers Part 2: Charcoal

I think a little bit of effort to create an inviting art activity goes a long way towards an authentic experience. You might like to consider:

  • a plain table cloth so as not to distract from the materials and activity
  • crisp white paper
  • a shallow bowl or tray for the charcoal
  • a clipboard or background for the paper – to focus your little one’s attention on the materials

While your toddler is exploring you could encourage them to:

  • hold the charcoal in their hand
  • explore the texture of the charcoal
  • see what happens when you press lightly, or really hard
  • see what kinds of marks they can make

Authentic Art Materials for Toddlers Part 2: Charcoal charcoal-4

After they have had a chance to really explore this new medium, maybe after a few sessions, you could:

  • show them how to blend the charcoal by dotting their finger on the paper
  • press down and run their finger across the page
  • see what happens when they use their whole hand
  • show them how to rub the long side of the charcoal across the page
  • introduce some coarser, thicker paper and see how this changes how the charcoal moves

My daughter Sarah is still discovering how charcoal works; how it moves and how much pressure it takes to make a mark. She isn’t creating representational drawings yet, rather still enjoys the rhythmical motions of moving the charcoal round and round and back and forth across the page.

These early experiences with authentic art materials allow her to become highly familiar with a range of art mediums. Toddlers explore mostly through their senses and so this is a wonderful time to introduce different art materials, like charcoal and clay.

So, have a damp cloth handy for wonderfully blackened hands, set out some charcoal sticks and enjoy exploring with your toddler.

Have fun and I’ll see you again next month for the 3rd part of our Authentic Art Materials for Toddlers series.


DIY Tin-Can Stilts

By Mariah Bruehl,

DIY Tin-Can Stilts

Randi from Swoon is with us today to share a wonderfully nostalgic DIY on how to make stilts for the children in our lives…

If your children are anything like mine, they have days when they grow weary of their usual toys and games and boredom creeps in. With summer just around the corner, I’ve been looking for simple and engaging activities for my children that can be completed fairly quickly, but enjoyed for days to come. These “stilts” are super fun and have the added bonus of encouraging the children to go outside and move. They can be made fairly quickly with materials you may already have on hand. Hopefully you will enjoy racing and running through the yard with these as much as we have!

DIY Tin-Can Stilts

To make one pair of stilts, gather: 2 28-oz tin cans, hammer, medium or large nail, string or twine, tape, scissors, hole punch, paper, and markers or crayons.

1. Remove label from cans. Wash in warm soapy water, rinse, and dry.

DIY Tin-Can Stilts

2. Cut two pieces of paper that are 13.5″ wide x 4.25″ tall. Decorate with crayons or markers!

3. Punch two holes in each strip of paper, about 3.75″ in from each end and about 0.5″ from the top.

4. Turn cans over (bottom side up), wrap paper strips around each one (hole-punched side on top), and secure with tape.

DIY Tin-Can Stilts

5. Using a hammer and nail, punch holes in each can where the holes in the paper are. Do this by tapping the nail in with the hammer and then carefully pulling it out. You should end up with two holes opposite of one another on each can. The nail pictured above didn’t give me a big enough hole, so I switched to a slightly larger nail (not pictured).

6. Grab one end of a roll of twine or string and push it through one of the holes in your can. Pull the string through the inside of the can and push it out through the other hole. Keep pulling string through until the strings on either side of the can reach thigh-height on the operator of the stilts. Tie a knot at the top of the strings, creating a loop.

The operator of the stilts will make them work by standing on the cans and pulling up tightly on the string loops as they walk. With a little practice, your children will be running around with these in no time!

DIY Tin-Can Stilts

Make Your Own Sidewalk Chalk!

By Mariah Bruehl,

Make Your Own Sidewalk Chalk!

Since I started making my own play dough last year,  I’ve been wanting to try out more homemade versions of childhood favorites. Sidewalk chalk is a Springtime favorite for us.  We could spend a whole sunny afternoon coloring on the ground.

Make Your Own Sidewalk Chalk!

I found a few recipes,  and cobbled together a recipe that yields a firm, but not brittle, quick-drying chalk.  I used wrapping paper tubes rescued from the recycling bin as molds, as they have a smaller diameter than toilet paper or paper-towel tubes, better for small hands.  You could also use the tubes found inside aluminum foil, plastic wrap etc.

Make Your Own Sidewalk Chalk!

Gather your materials:

  • Tempera Paint (use primary,and mix secondary colors)
  • Plaster of Paris
  • Water
  • Wrapping Paper Tubes
  • Wax Paper
  • Masking Tape
  • Sandwich baggies (for piping bags)
  • Scissors

Instructions:

Make Your Own Sidewalk Chalk!

Cut the tube into 5 inch segments.  Line the interiors with wax paper, tape the base to seal one end, and set aside.

Make Your Own Sidewalk Chalk!

The following is the recipe proportions for one color:

Mix 2-3 tablespoons of tempera paint with 1/2 cup of water.  Stir in 3/4 cup of plaster of Paris.  Spoon the mixture into a sandwich baggy and snip the end.  Squeeze the contents into the tube. Prop straight up (I used the masking tape ring to support my 6 tubes).

Make Your Own Sidewalk Chalk!

Allow to dry at room temperature for at least 12 hours.  Enjoy!


From the Bin: Paper Bag Lantern

By Mariah Bruehl,

From the Bin: Paper Bag Lanterns

Heather from Poppy Haus is with us today with another inspiring DIY project using re-purposed products from the the recycling bin. I don’t know about you, but I have been eyeing these lovely textured lantern lights for sometime. I love that we could make one together as a family…

Hi there! I’m back with another project using materials that usually make it into my recycling bin. This one involves the paper grocery bag stash that I accumulate when I forget to bring reusable bags to the store. Today’s project is both decorative, and if you drop a light inside, quite functional. Kids get to operate a punch, and learn about layering and proportion. My six year old got in on the action with this one.

From the Bin: Paper Bag Lanterns

From the Bin: Paper Bag Lanterns

Step One: Gather Materials:

  • Rice paper lantern*
  • 6-8 paper grocery bags
  • scissors
  • school glue
  • circle punch*
  • a wide bowl
  • wine for hanging

From the Bin: Paper Bag Lanterns

Step 2: Punch circles from paper bags.


From the Bin: Paper Bag Lanterns

Step 3. Assemble lantern and place in the bowl (to act as a pedestal).


From the Bin: Paper Bag Lanterns

Step 4. Starting at the base of the lantern (the non-hook end) layer the first row of circles using a little school glue to secure, keeping the overlap to about 1/3 of the circle.


Step 5. Continue up the lantern, beginning each row slightly off center from the previous row.

From the Bin: Paper Bag Lanterns

Step 6. Once you’ve reached the top layer, fold the top of the circle over into the lantern to create a clean finish.


Step 7. Hang using twine, or drop a light cord in to use as a pendant!

From the Bin: Paper Bag Lanterns

Another idea: Use left-over wrapping paper, colored on construction paper, anything with a clean side. Use different punch shapes like inverted hearts, just keep to the simple layering technique.

*Sources:

Readers of my blog, Poppy Haus know that I love to make things with paper lanterns. These rice paper spheres are inexpensive and readily available at stores like Cost Plus, IKEA, and Pier One. You can also hang using a colored cord (fun!) which I’ve seen at Cost Plus and West Elm (online). For this project I used a 16” lantern, and a 2 1/2 inch punch found at Michaels craft store.


Authentic Art Materials for Toddlers: Introducing Clay

By Mariah Bruehl,

Authentic Art Materials for Toddlers: Introducing Clay

Kate from An Everyday Story is here to share the first in a series of posts about introducing authentic art materials to toddlers. Today she is exploring clay as a medium and I am sure that by the time you are finished reading you will want to get your hands “dirty” right along with the young artists in your life.

What’s so special about clay? Why not just use play dough? They serve similar purposes, don’t they? Sensory exploration, sculpting, working fine-motor skills, developing hand and wrist muscles; play dough can do all that. And, play dough doesn’t get all over your hands…and everything else.

Clay is natural, it comes from the earth. It is cool to the touch and soft on our skin. It has a deep earthy smell which invites you in. Clay can be sculpted far more intricately than play dough. Just by covering it over, clay can be returned to day-after-day, added to, sculpted, encouraging sustained inquiry and creativity.

Clay is strong, it can be sculpted higher and higher, on a much larger scale, encouraging problem-solving and critical thinking as your child tries to negotiate how to build a roof, or determine why their bridge keeps collapsing.

Authentic Art Materials for Toddlers: Introducing Clay

But clay isn’t just for children to sculpt into visual representations (an elephant or a rocket…) The relationship with clay can start much younger. What does clay feel like? How can you manipulate it? What happens when you poke it, squeeze it? What happens when you add a little water? What sound does it make between your fingers? Is it cool to the touch? What does it smell like? It starts with the senses.

The wider the range of possibilities we offer children, the more intense will be their motivations and the richer their experiences.

~ Loris Malaguzzi, founder Reggio Emilia Approach

So grab yourself some clay. I bought ours from a local Potters’ Society (much cheaper than an art supply store). For my daughter Sarah (23 months) her first experience with clay was purely sensory. Have a bucket of water and a towel ready for clean up and then let your little one explore. No tools, no creating figures, just explore.

During the exploration you can encourage your toddler to…

  • Poke the clay
  • Lift the clay
  • Feel its weight
  • Scrape the clay with their fingers
  • Pinch it
  • Press their whole hand into it
  • Watch it change shape

Authentic Art Materials for Toddlers: Introducing Clay

After a few initial explorations, why not introduce a few simple provocations such as…

  • Putting a mirror underneath
  • Presenting the clay differently (maybe a flat slab or several small balls) to see how this influences their interaction with the clay.
  • Adding a little water. How does water change things?

Authentic Art Materials for Toddlers: Introducing Clay

It will probably be another year or more before Sarah starts to create visual representations with the clay. That doesn’t mean it’s not worthwhile her using clay; quite the contrary I think. Through exploring clay freely with her senses she is developing ideas and discovering possibilities as she shapes the clay in her hands, stacks pieces on top of each other, squeezes it through her fingers and rolls it with her palm.

Each one of these important steps is building towards a gradual mastery of skills as she learns how to form clay, roll coils and balls and eventually, joining pieces together to create a model or a sculpture.

Toddlers enjoy using authentic art mediums and clay is a wonderfully sensory medium to explore.


Crafts for Kids: Animal Mosaics

By Mariah Bruehl,

Animal Mosaics

Randi from Swoon is with us today and is sharing a wonderful mosaic project that is not only good for developing fine motor skills, but serves and a great invitation to learning about the world of animals.

Do your kids love to cut and paste paper as much as mine do? I remembered a paper mosaic project I did in a college art class the other day and decided to modify it a bit for little hands. According to Wikipedia mosaic is the art of creating images with an assemblage of small pieces of colored glass, stone, or other materials. 

You can modify this concept to be as easy or hard as you would like. I’ve included four simple animal shapes to fill in, but you could also use the same technique with a more complicated picture with several sections and colors.

You will need: Old magazines or pieces of colored paper, scissors, a template or a drawn shape to fill in, glue or glue stick, paint brush (optional)

Animal Mosaics

1. Choose your colors and cut! Use scissors or a paper trimmer to cut small squares of similar color out of paper.You can use pages ripped from magazines or colored paper of your choice. Searching through magazines is more time consuming, but I love the dimension the varied squares add to the final product. Plus it’s a good time to talk about colors as you search! We chose blue, yellow, pink, black, and orange.

Animal Mosaics Animal Mosaics

2. Glue your paper down. Working in small sections, apply glue to shape first and then carefully stick pieces of paper down, staying within the shape. A glue stick is easiest to work with for little hands. I used a bottle of glue and spread it with a paintbrush. Older children will be able to fill the shape with squares carefully enough to cover it completely and not go over the lines. You may need to trim a few pieces to fit within the shape. This process can be challenging for little ones, so it’s best to just let them have fun gluing squares wherever they want!

Animal Mosaics

Click on the pictures below to download the corresponding template. My children really enjoyed this rainy day craft and I hope yours do as well!

Bear TemplateDuck Template


Rabbit TemplateWhale Template


From the Bin: DIY Recycled Vases & Flowers

By Mariah Bruehl,

DIY Recycled Vases & Flowers

Heather from Poppy Haus is back today with another creative craft project, where the materials can be gathered directly from your recycling bin. I love that these projects show children the value of reusing everyday items as well as how to think outside of the box when it comes to pursuing creative endeavors and making the ordinary extraordinary.

I have always been a sucker for well-designed packaging.  The teardrop shape of Method soap containers are one of my favorites. I’m particularly smitten with the look of their recycled ocean plastic bottle, and using that means you are up-cycling recycled ocean plastic. How’s that for being green?  Obviously the best thing to do with an empty Method container is to refill it, but if you have a few extra empties lying around, I have an easy project using their soap bottles, and some empty yogurt cups to pretty up your house for Springtime, or decorate the table for Easter brunch.  Try mixing your own paint colors to experiment with hues and tints, and be creative!  I stamped a leftover crepe paper sheet using a pencil eraser to make the polka dot runner, and used flowers from our yard to decorate our table.

DIY Recycled Vases & Flowers


DIY Recycled Vases & FlowersMaterials: Method soap bottles, or any other plastic container to be used as a vase

Yogurt cups

Acrylic paints (white plus colors)

Scissors

A heavy book (to press)

Fresh flowers

DIY Recycled Vases & Flowers

1. Wash and dry the plastic containers

2. Mix paints to desired color

3. Paint 2-3 coats on vases, allow to dry between coats

4. Cut vertically down the yogurt cups, dividing first into quarters to keep even

5. Gently open up the cup, and press with a book for about 10 minutes

6. Trim the cup into shorter petals

7. Paint the flower cups a contrasting color

8. Fill the vases with water and flowers

DIY Recycled Flowers & Vases

Books to Inspire…


From the Bin: DIY Art Caddy

By Mariah Bruehl,

From the Bin: DIY Art Caddy

I am so happy to welcome our newest contributor Heather Jennings, who is the creative force behind the inspiring blog Poppy Haus. She is sharing a great way to make an art caddy out of everyday items that you can find in your recycling bin.

Hi there, I’m Heather Jennings from the blog Poppy Haus. I’ll be doing a series called “From The Bin” featuring upcycled DIY’s for kids.

In our kitchen we have a little white recycling bin that has become the source for many an art project.  Egg cartons become dinosaurs, toilet paper rolls become binoculars, and other crafty play things, but sometimes we upcycle our containers into more permanent, well- designed objects for our home. As the mom of two little boys, I find myself back in college, age 35, studying interior design.  My homework involves a lot of graph paper and sketching, which peaked the interest of my 6 year old son.  I wanted to explain what I’m doing in a way that he could really understand, so I came up with this art caddy project for us to do together.  It’s example of how younger school-aged children can measure, draft patterns, build objects, and consider finishes, using materials found around the house.

Do you want to make an Art Caddy too?

DIY Art Caddy

DIY Art Caddy

Steps:

1.  Remove paper from cans, wash and dry completely

2.  Using a piece of string, measure the circumference of the can.  Mark length on graph paper.

3.  Using a popsicle stick, mark the height of the can.  Mark the height on graph paper.

4.  Count the squares to find the length and height, marking the corners, and draw the rectangle

pattern.

5.  Place the pattern over the craft foam and mark the cut lines.  If you are using smaller pieces

of foam you may need to cut multiple pieces.  Try to keep them even in size to hide the

seams when connecting in step 11.

6.  If using cork to line the interior base of the can, trace around the top of the can and cut out.

DIY Art Caddy

7.  Have a parent help spray paint the interior, rim and base of the cans, allow to dry completely.

8.  Heat the glue gun, carefully draw a line of glue on one end of the foam.  Younger children will

need help with this step.

9.  Attach the glue-lined side to the height of the can and wrap tightly around, marking a second

glue line and pressing to seal the cover.  Glue additional pieces if necessary.  Finish all the

cans.

10. If applying cork bottom, slip in and press to attach.

11. Arrange cans, make sure to face seam lines together.  Apply lines of hot glue along the

seams and press for about 10 seconds to seal.

12. Fill your caddy with your favorite art supplies. Way to upcycle


Crafts for Kids: Printable Bunny Mask

By Mariah Bruehl,

Printable Bunny Mask Craft

Now that Valentine’s Day is behind us, we have a serious case of Spring fever around here. When stuck indoors for many days in a row, finding things for your children to do can seem a daunting task. Here’s a little bunny mask craft you can pull out on the inevitable rainy day in the near future. We made these the other day, and lo and behold, the sun showed up!

Printable bunny mask

To make a mask you will need: Mask template (download and print here), scissors, markers or crayons, hole punch, and two pieces of string or ribbon.

Printable Bunny Mask for Spring

1. Print template on to heavy paper and fold in half lengthwise.

2. Cut your bunny out! Older children can do this by themselves, but little ones may need help with the eyes.

3. Unfold mask and flip to the backside. Color the tip of the nose with crayon or marker. We kept things simple for the sake of photos, but if you’re kids love to color, get busy coloring the whole thing! You could even print the template on watercolor paper and let them paint their masks (allow drying time before moving to the next step).

4. Flip mask back to the front and fold the nose down over the front of the mask. Fold the whole mask in half on the crease to make nose lie flat. Unfold mask, poke holes in side tabs, and tie on some string!

If you love to do paper projects with your kids, here are a few great books to have on hand:

Taro Gomi’s Play All Day

We are Paper Toys by Louis Bou

Paper Wonderland by Michelle Romo