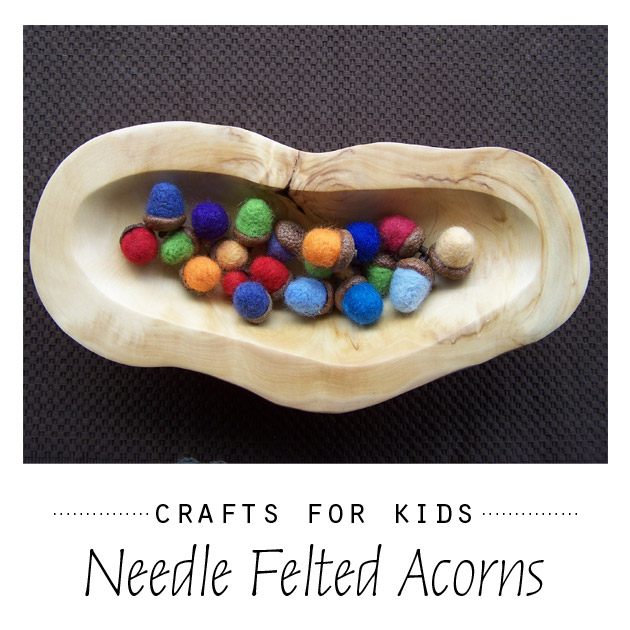
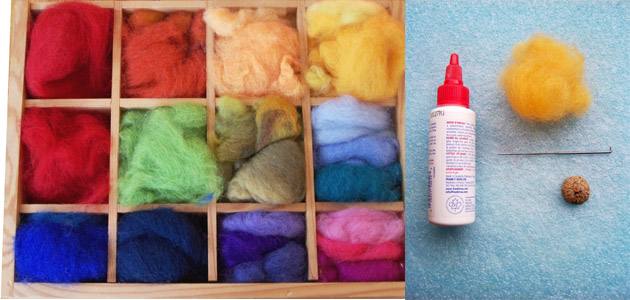
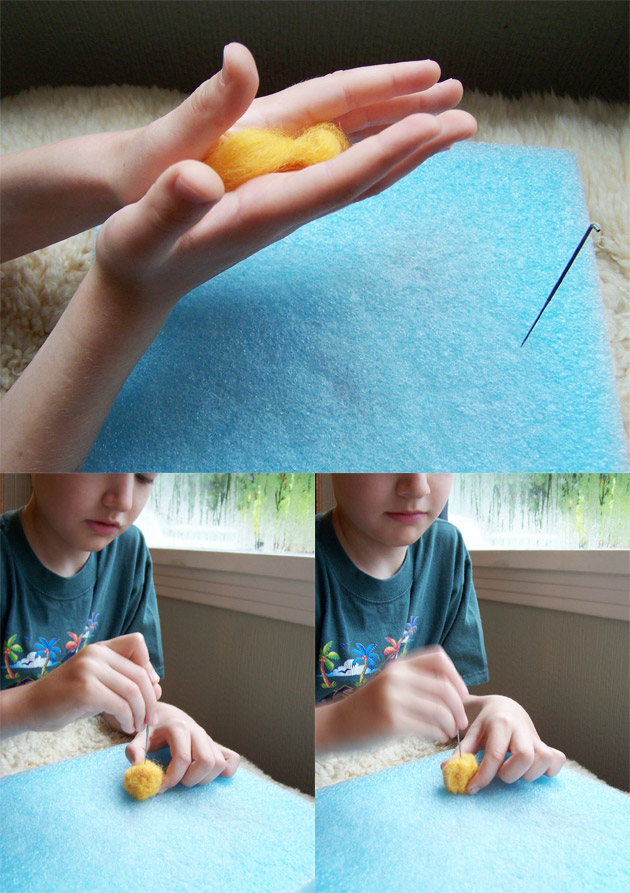
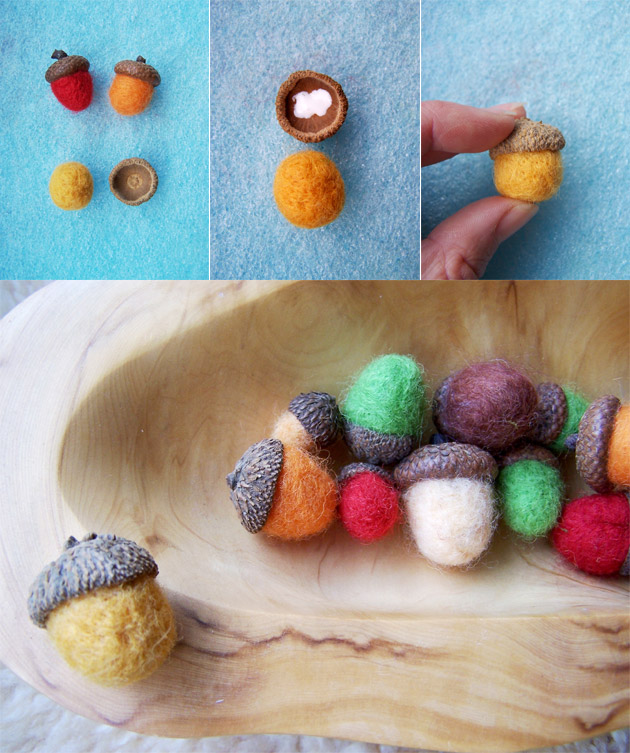
Nature in Your Craft Box

Joey from Made by Joey is with us today to share some ideas and inspiration for encouraging the little makers in our lives.
Including natural objects in your craft box not only expands the creative experience but opens up so many learning opportunities with your little ones.
Humans have been creating and learning with natural objects for 1000’s of years. The planet is abundant with natural supplies – some commonly found throughout the world, others unique to one specific area.
When out collecting natural materials from your area, always remind your child how delicate the earth’s ecosystem is, and that you will only be collecting a limited amount, so that other creatures also have what they need.
What kind of supplies should you collect?
Here are a few suggestions:
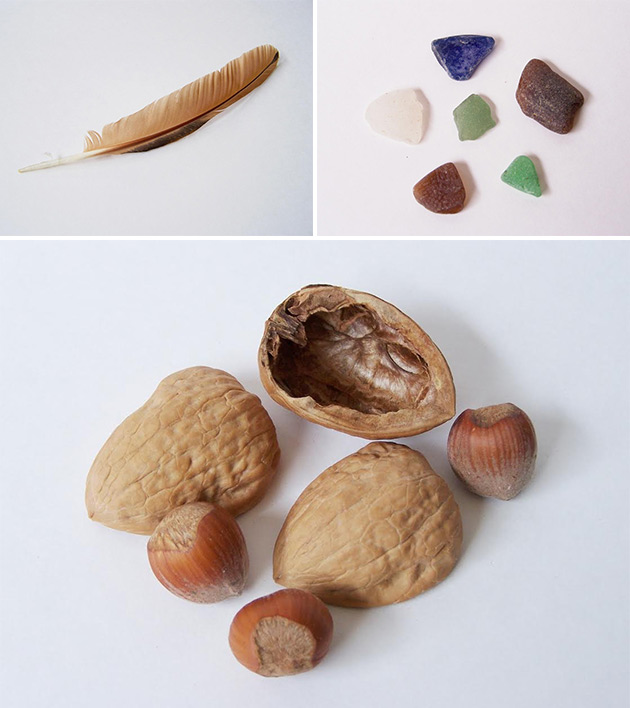
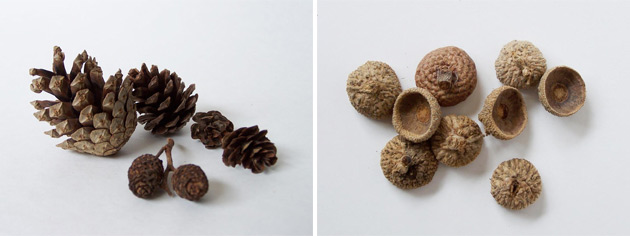
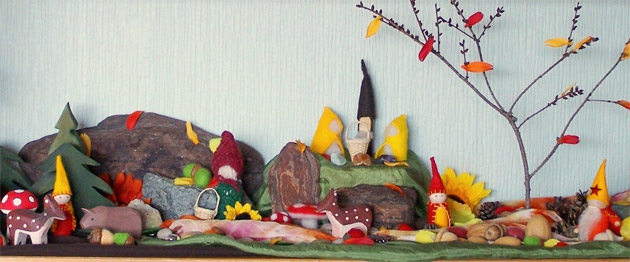
different colors and shapes of leaves * pine cones * acorns * empty nut shells * fallen bark * moss * rose hips * skeleton leaves * seed heads * different types of rocks * abandoned shells * driftwood * nut shells * flowers for pressing * abandoned egg shells * feathers
Continue to explore nature throughout the seasons to observe the changes that have occurred and to discover new supplies that are found only during specific seasons. Collecting fallen acorn caps and ‘conkers‘ (horse chestnuts) is something that our family looks forward to every Autumn!
While out searching for your new supplies, ask your child simple questions to start a conversation. As you pick up each leaf, seedpod or shell remark on what the piece reminds you of. For example a piece of driftwood may resemble the body of a duck, or a pine cone the chubby body of a gnome. This invokes the creative mind to see objects beyond simply what they are.
Or you may comment on how a certain shell reminds you of a storybook that you have read with your child or an interesting fact that you learned on a field trip together. Having the child recall the information about the book or experience stimulates the analytical mind and sparks curiosity.
Now what to do with your new found treasures?
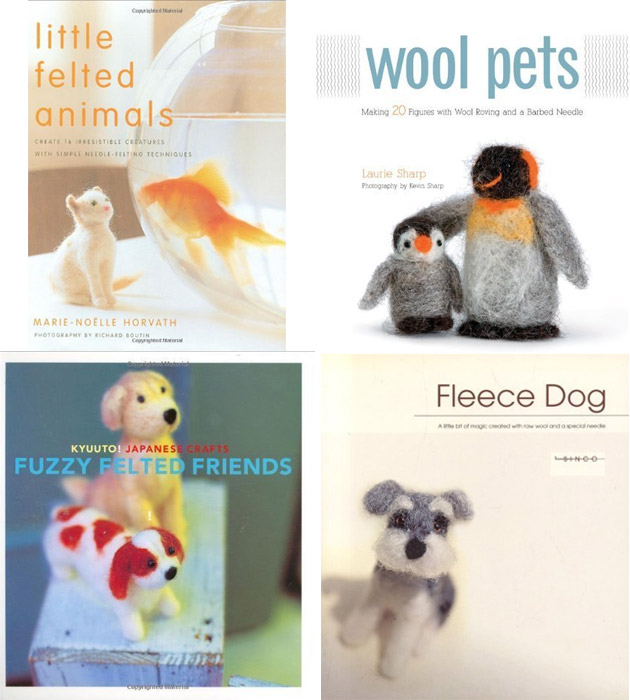
To stimulate the artistic mind, I have found the following craft books to be filled with great ideas, techniques and inspiration:
- Everything for Winter
- Everything for Spring
- Everything for Fall
- Nature’s playground
- Look what I did with a Leaf!
- Leaf Man
- Nature Smart
- All Year Round
- Earthways
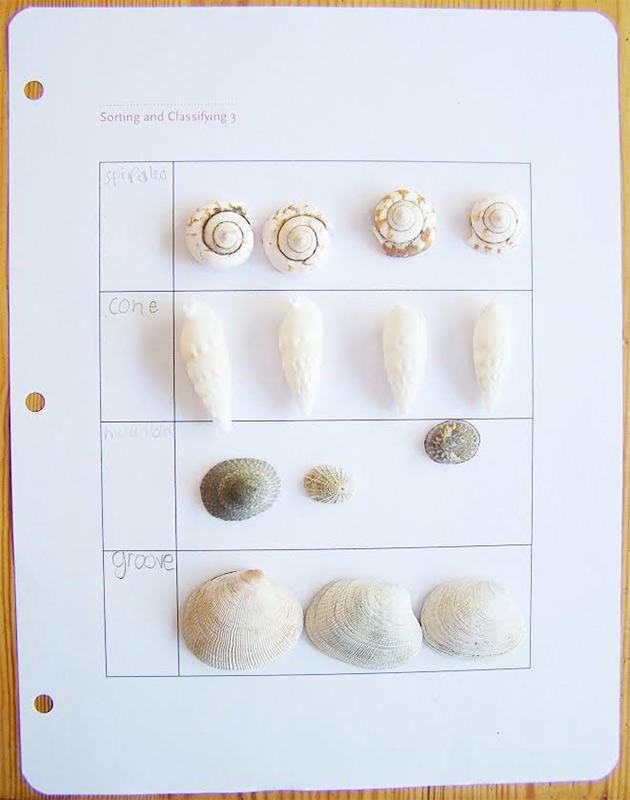
Seashell sorting using a Playful Learning
Mathematicians at Work #14 Printable!
To stimulate the analytical mind use the collected materials as learning aids:
- pebbles or shells for counters in Math
- create your own Nature Museum
- test magnetic principles, buoyancy (does is sink or float?), or electricity (does it conduct electricity?)
- botany (species of trees and plants)
- life cycles (plant the seedpod to see what grows!)
- early man (how they created tools from stones and branches or used berry juice and bark for writing)
- birds (empty egg shells, bones, feathers)
- paint letters or words on small stones for spelling and sentence structure
- look at the items under a microscope
Continue to think about using natural supplies when shopping for additional supplies such as:
- natural beeswax instead of paraffin wax
- wool felt instead of synthetic fibers
- cotton fabrics instead of polyester or rayon
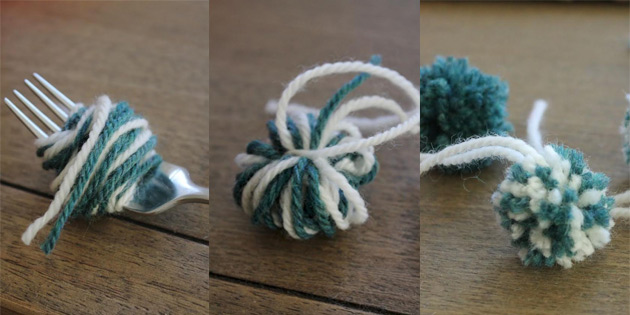
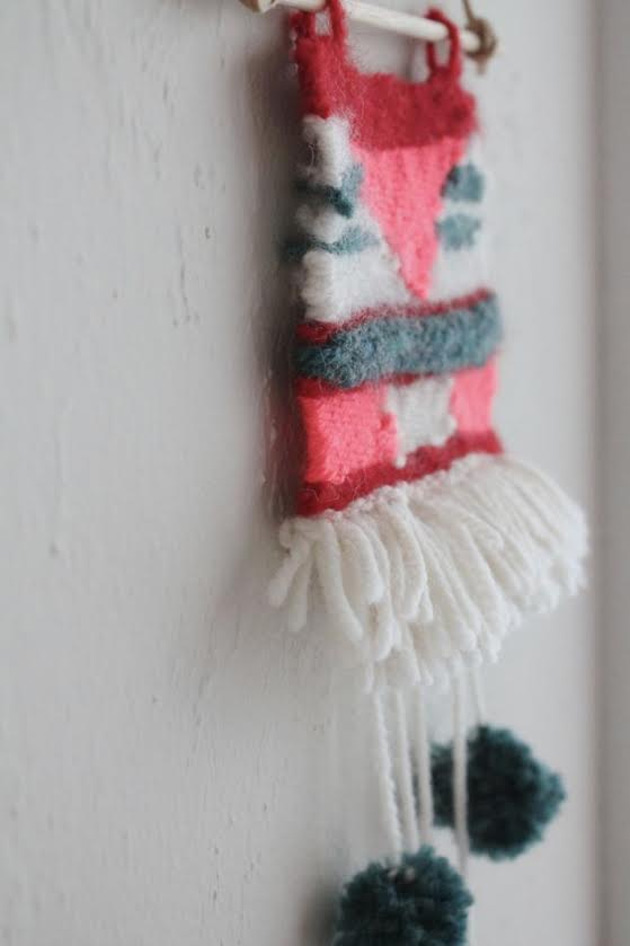
- wool or cotton yarn instead of acrylic blends
- wool roving instead of polyester stuffing
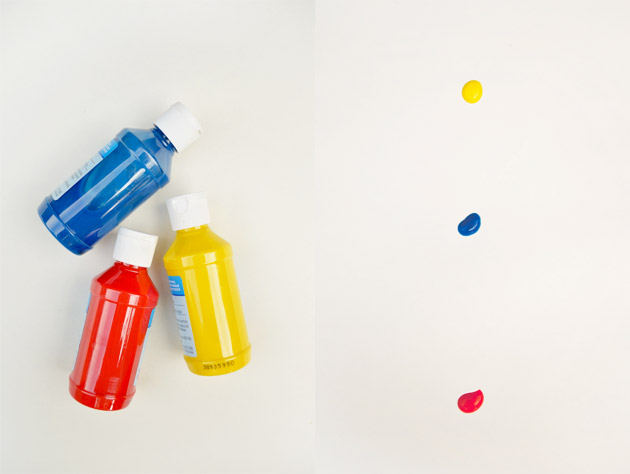
- natural watercolor paints instead of oil-based paints
- glass or metal containers instead of plastic options


