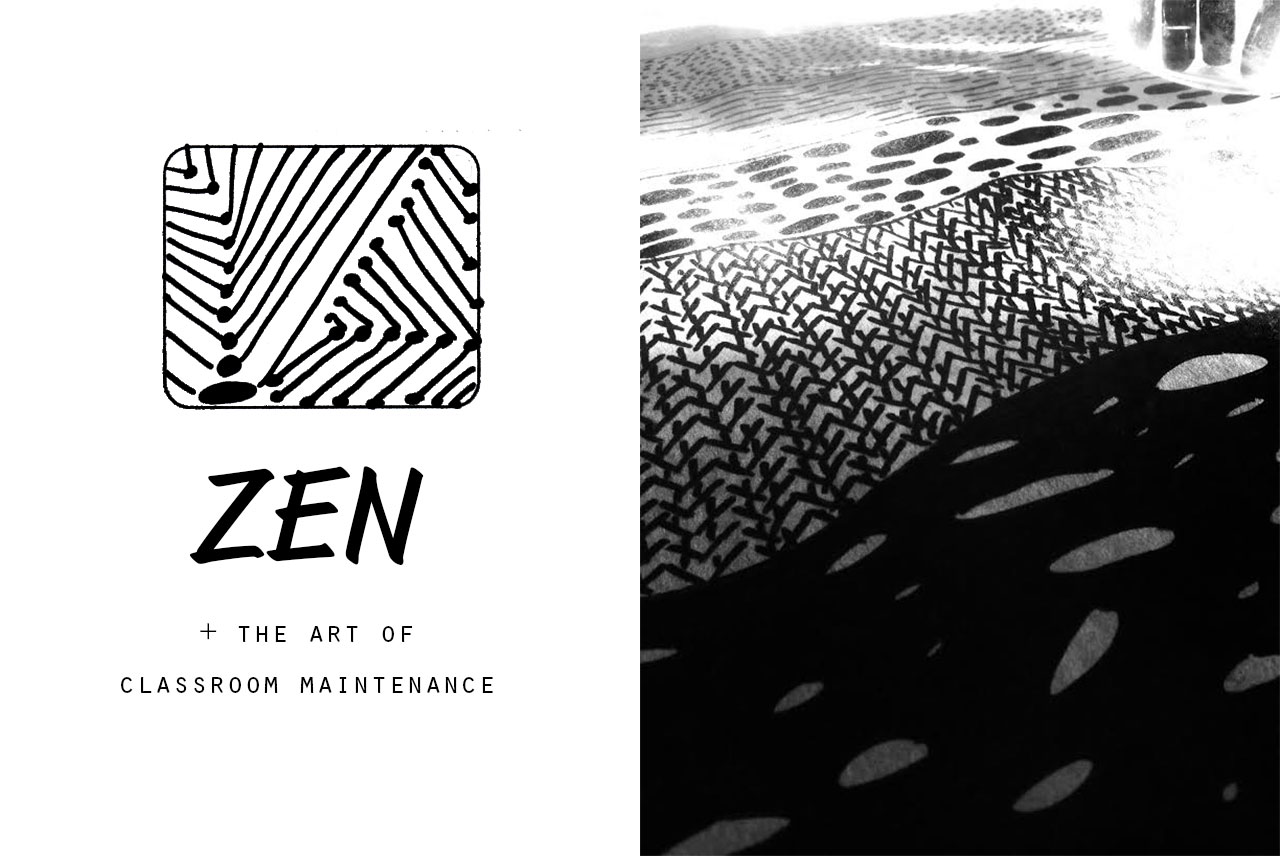
Zen and the Art of Classroom Maintenance
 Each classroom has a rhythm. For my fourth grade class, the stretch from winter until spring break develops a rhythm that can only be described as challenged. I have tried to figure out the reason, but it is proving difficult to locate the culprit. Some fourth grade teachers who have been doing this teaching thing for quite some time will tell you that the students come back as completely different individuals after winter break. No reason, just some intuitive and magical neuron that all fourth graders possess. I wonder if it is me as I become increasingly aware of the testing that is right around the corner. There also seems to be some intuitive and magical neuron in every fourth grade teacher that begins to demand product after product to make certain everyone has the greatest chance for success. All of these products and assessments seem to have the direction attached that they must be produced by the end of the period or end of the day. This unsurprisingly does not leave much time for student reflection, editing or ownership. Some days I think I am making them despise school and the fundamental right to enjoy learning. To help everyone involved (including my sanity), I introduce a project that focuses on process.
At the front of the room, during our regularly scheduled math or language arts block, I stand with a handful of black pens and large white paper. I then introduce them to Zentangle. Zentangle is a drawing method with websites and blogs dedicated to it. This is the original site run by the creators of Zentangle, Maria Thomas and Rick Roberts. We discuss the importance of having a project that might take more than a week to complete. We talk about letting go of exactly what you want as a finished product and just to focus on the moment as you are drawing. Then, each table group gets a sample sheet of different patterns that they could use somewhere in their design if they would like. Not all students choose to access these, but they are nice for the reluctant Tangler. The agreement is that for early finishers in other work and during down time in the room, their Zentangle can be a project they may choose to work on throughout the day. The kids love the choice and the freedom in this project. There is no due date and the only constraints are the edges of the paper. I love the quiet calm that descends on an otherwise busy and overly scheduled day. I love it so much, that I have added fine-point Sharpies to the fall supply list. I also have taken up the habit of drawing with them…I call it modeling. The pieces of art that are eventually produced are strikingly unique and could only belong to their individual creators. When a parent drops by, they are quickly shuffled by their student to their desk so that they can unroll their project and share the evolving work. Each year when I pull out the drawing paper and my stash of Sharpies, I know that our rhythm is going to get righted just a little bit more.
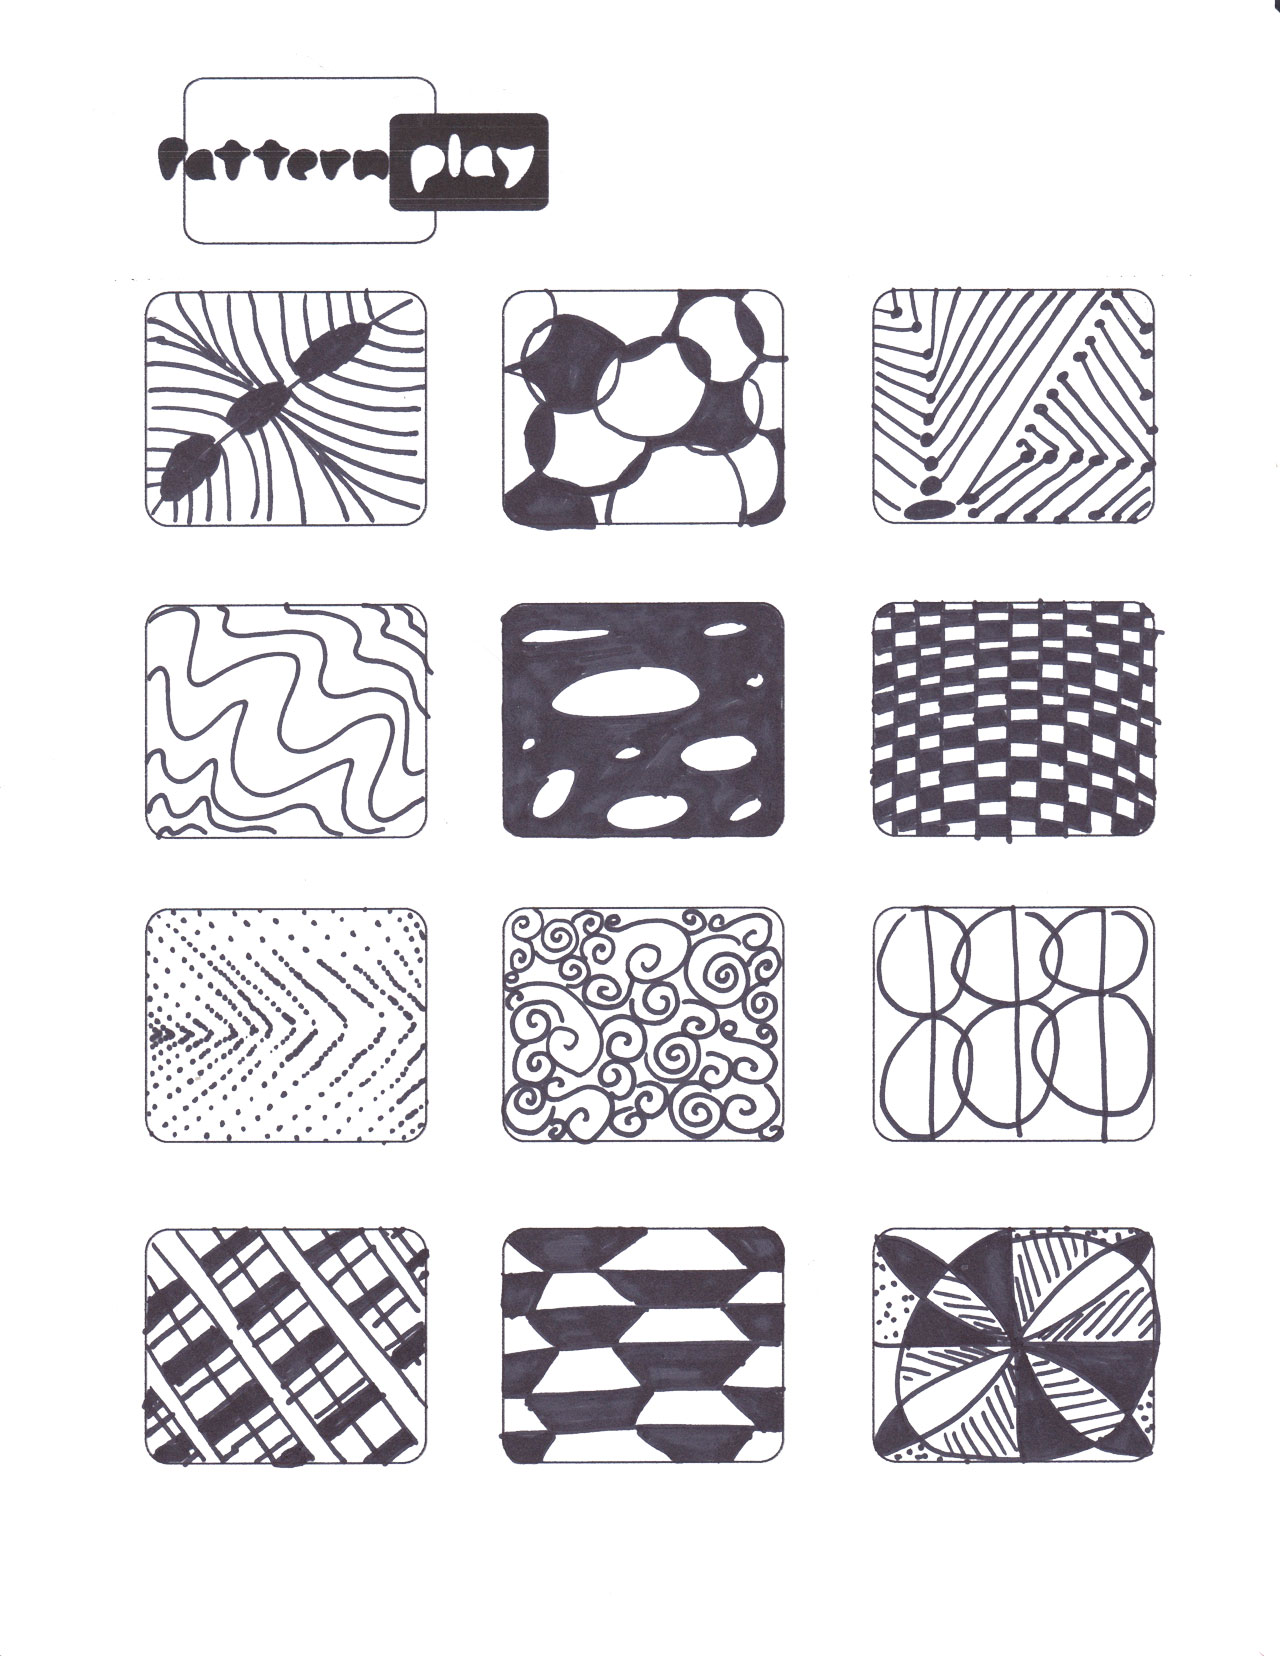
Included for you, as a very special parting gift, but really just for sticking with me through my monologue of classroom hiccups, are two printables to get you started. A little collection of patterns inspired by Zentangle and created by my students as well as a blank template based on artist Saul Steinberg’s “Continuous Miner”. This is a great printable to use with younger children or for the parent/teacher who is better than me and actually attempts to integrate art history and design principles into projects. Filling out a template is probably very frowned upon in the Zentangle community (it exists), but I say, if it gets someone interested, give it a try…or maybe a Tangle.