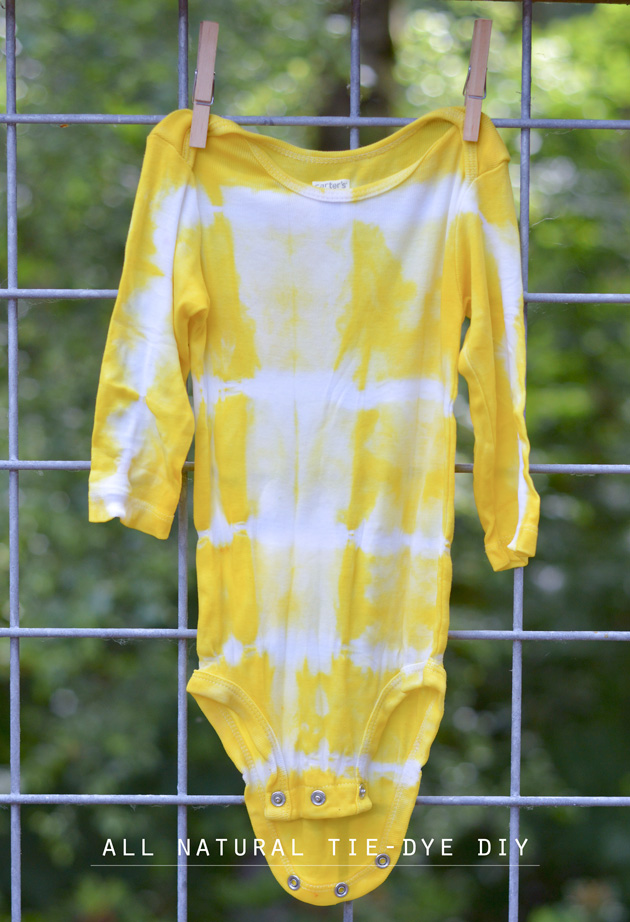
All Natural Tie-Dye DIY
You are in for a real treat today! Randi from Swoon is sharing some great recipes and techniques for making lovely natural tie-dye creations…
Over the past year I have completely fallen in love with the process of making and using natural dyes! Did you know you can make dye solutions from many things in your house and yard? Berries, vegetables, spices, flowers, and plants can all be used to make the most beautiful hues, using just a few simple steps. The muted colors made by Mother Nature herself are so pretty and the process is really fun for kids (and adults too!).
We recently combined our knowledge of natural dyes with the age old technique of tie-dyeing and wanted to share it with you too. This activity is perfect for a summer afternoon spent at home. The best part about using natural dye is the lack of harsh chemicals/odors, so you can even plan to do this inside on a rainy day!
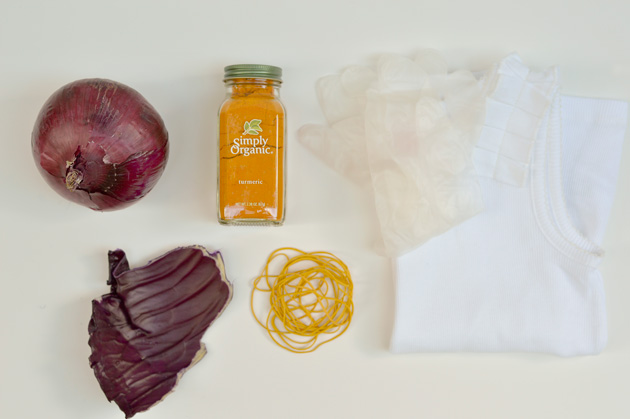
Materials: White cotton fabric for dyeing, rubber bands, gloves, vinegar or salt (to be used as a fixative), water, various pots and pans, stove, containers for dyeing, small strainer, and raw materials to make dyes. We used turmeric powder for yellow, red onion skins for pink, and red cabbage leaves for purple. Click here to see a list of possible fruits, veggies and flowers to use. There is a lot of information on the web, so grab your kids and do a search and decide together what you would like to use!
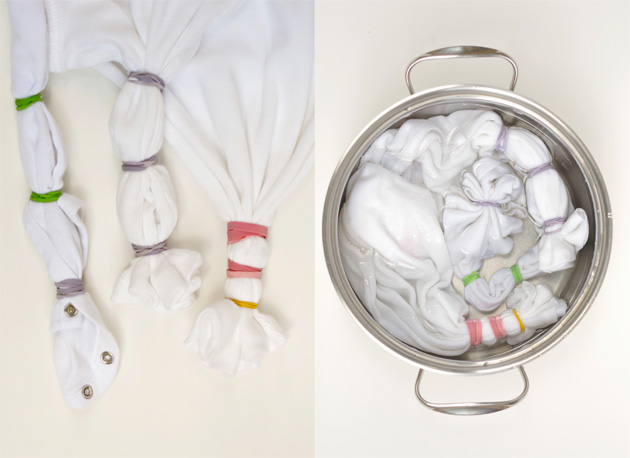
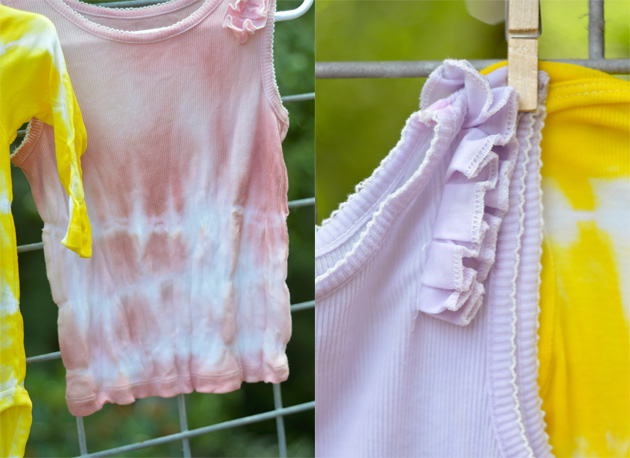
Step One: Prepare your fabric for dyeing. Use rubber bands to create a pattern on your fabric (for more information on this go here). Once you’re satisfied with your design, it’s time to treat your fabric with a fixative. If you are making a berry-based dye, mix 1/2 cup of salt with 8 cups of water and bring to a boil. Simmer your fabric in this solution for one hour prior to dyeing. If you are making a plant/veggie based dye, mix 1 part vinegar to 4 parts water and follow the same process. When done simmering, run under cool water and wring out a bit of the excess water.
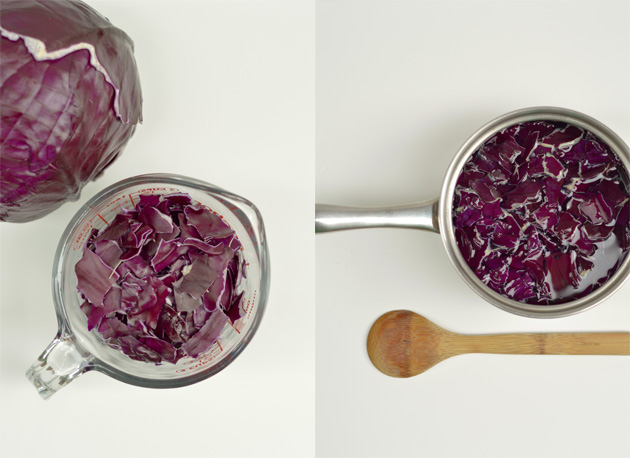
Step Two: Make your dye. Wearing gloves, cut or tear your raw ingredients into small pieces and measure. Throw it in a pot and pour in water (2 parts water to 1 part raw ingredients. For example: one cup of torn cabbage leaves to two cups of water). If you are using a spice, such as turmeric, the proportions will be 1-2 Tbs. of spice to 3-4 cups of water. Bring mixture to a boil and simmer for about an hour. The longer you simmer, the more intense your color will become. When done simmering, strain dye into a container or jar big enough to fit your garment or fabric. You will feel a bit like a mad scientist at this point, but just go with it!
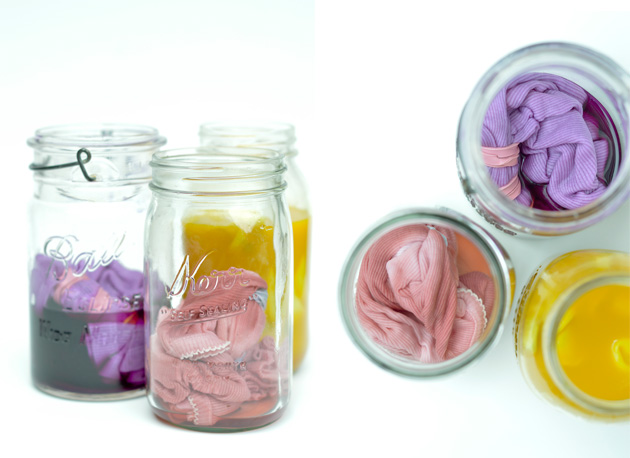
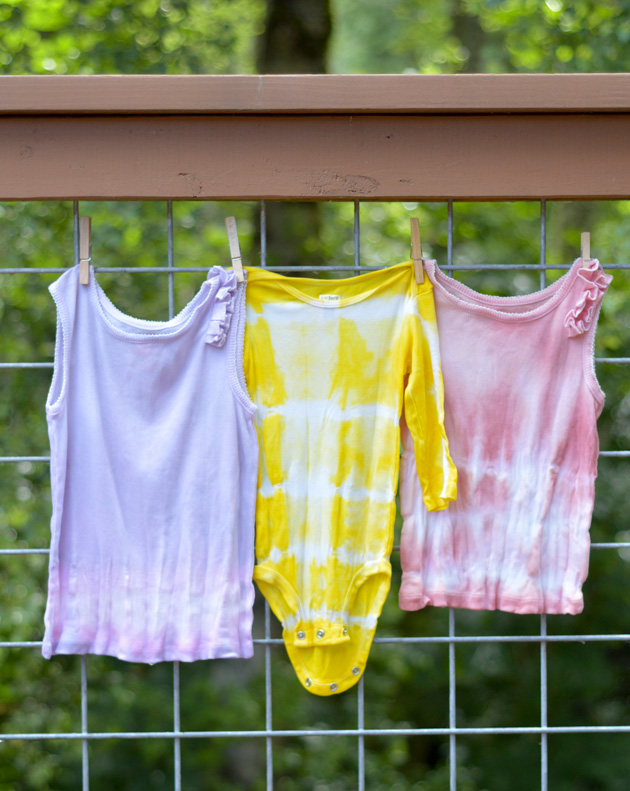
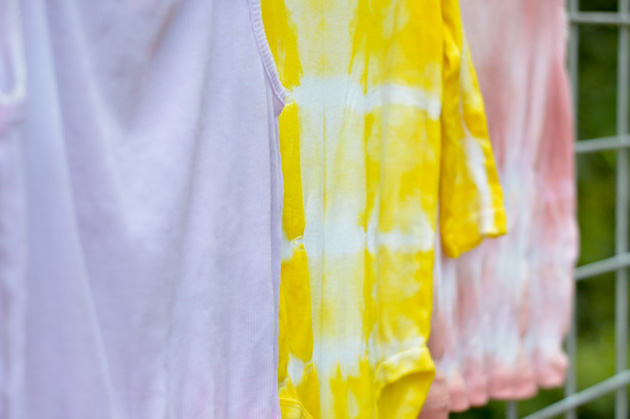
Step Three: Dye your fabric. Wearing gloves, place your fabric into dye containers and allow them to sit for a while. We didn’t play around with using multiple colors on one garment, but you could experiment with placing dye in a bottle with an applicator and squirting directly on the fabric as many people do when tie-dyeing. Once your fabric has reached the desired hue (remember, color will lighten a little as your fabric dries), pull it out of the dye and rinse with cool water separately until it runs clear. Remove rubber bands and hang to dry.