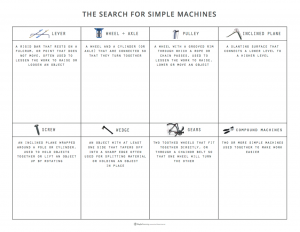
Science is so fascinating because it is literally all around us, and simple machines are the perfect examples! We use them daily, often without even realizing it.
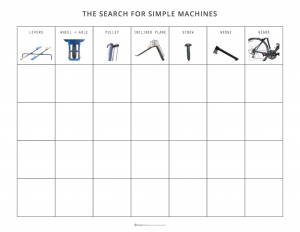
Enjoy the video below and have fun searching for simple machines in your homes and neighborhoods! Learn to see the world in a new way, identifying the simple machines that make up so much of what we use in our every day lives. Our full Simple Machines curriculum is available in the, Playful Learning Teachers’ Lounge.
A profound insight that I’ve gained from spending time (both professionally and personally) in the company of children, is the powerful connection between diet and behavior. Over the years I have seen consistent patterns between the food children eat and their performance in school.
As a classroom teacher, I learned very quickly that you simply cannot give a child a cupcake + candy and expect her/him to be productive or able to focus. It’s for this reason that we always had birthday celebrations at the end of the day.
This seems like a simple concept, but it has important implications for our children. We need to make sure that the food we feed them and the habits we nurture are in line with our expectations for their behavior.
Making healthy choices is the first step, we can help children take their health to the next level by encouraging them to cultivate the skills needed to prepare nourishing snack and meals for themselves and the people they hold dear.
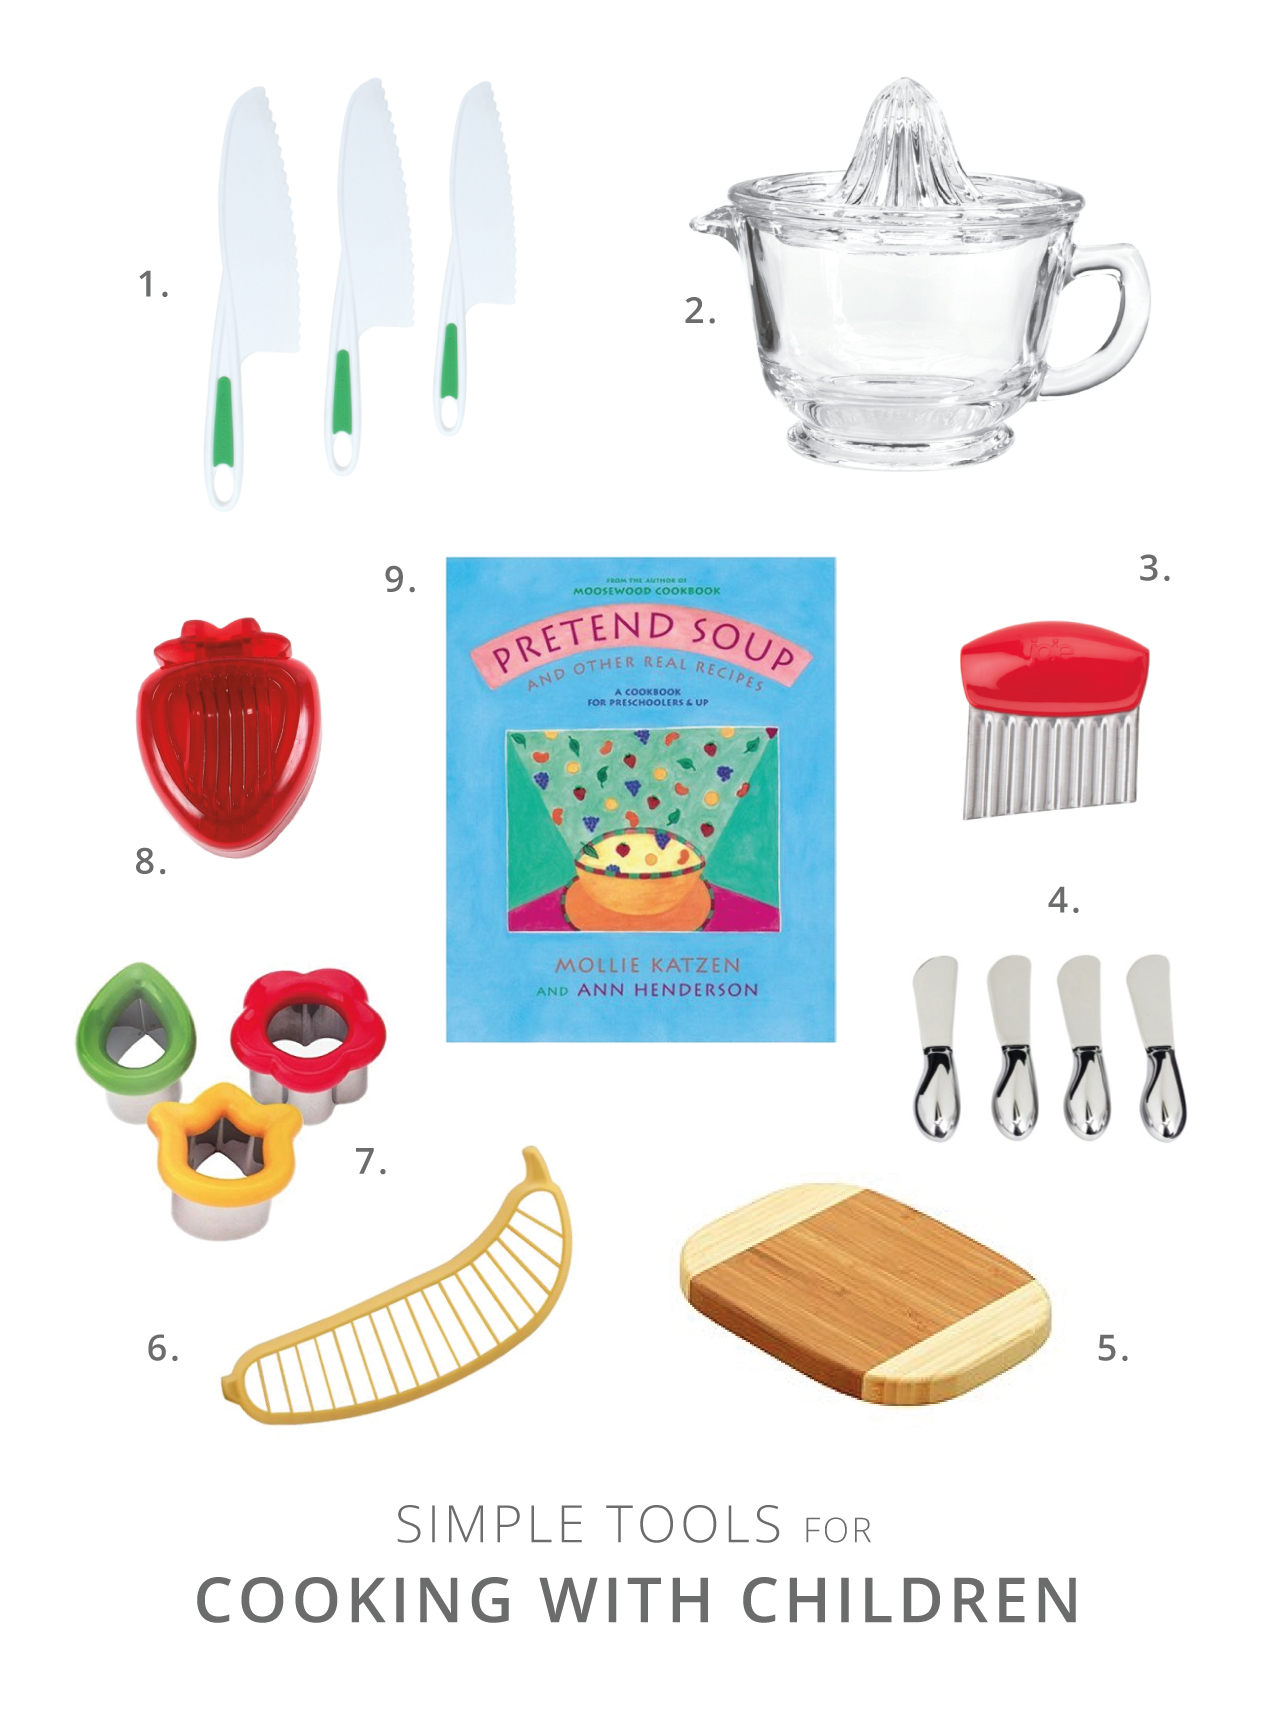
It’s for this reason that I’ve compiled my favorite tools for teaching even the youngest chefs important skills that will serve them well for years to come!
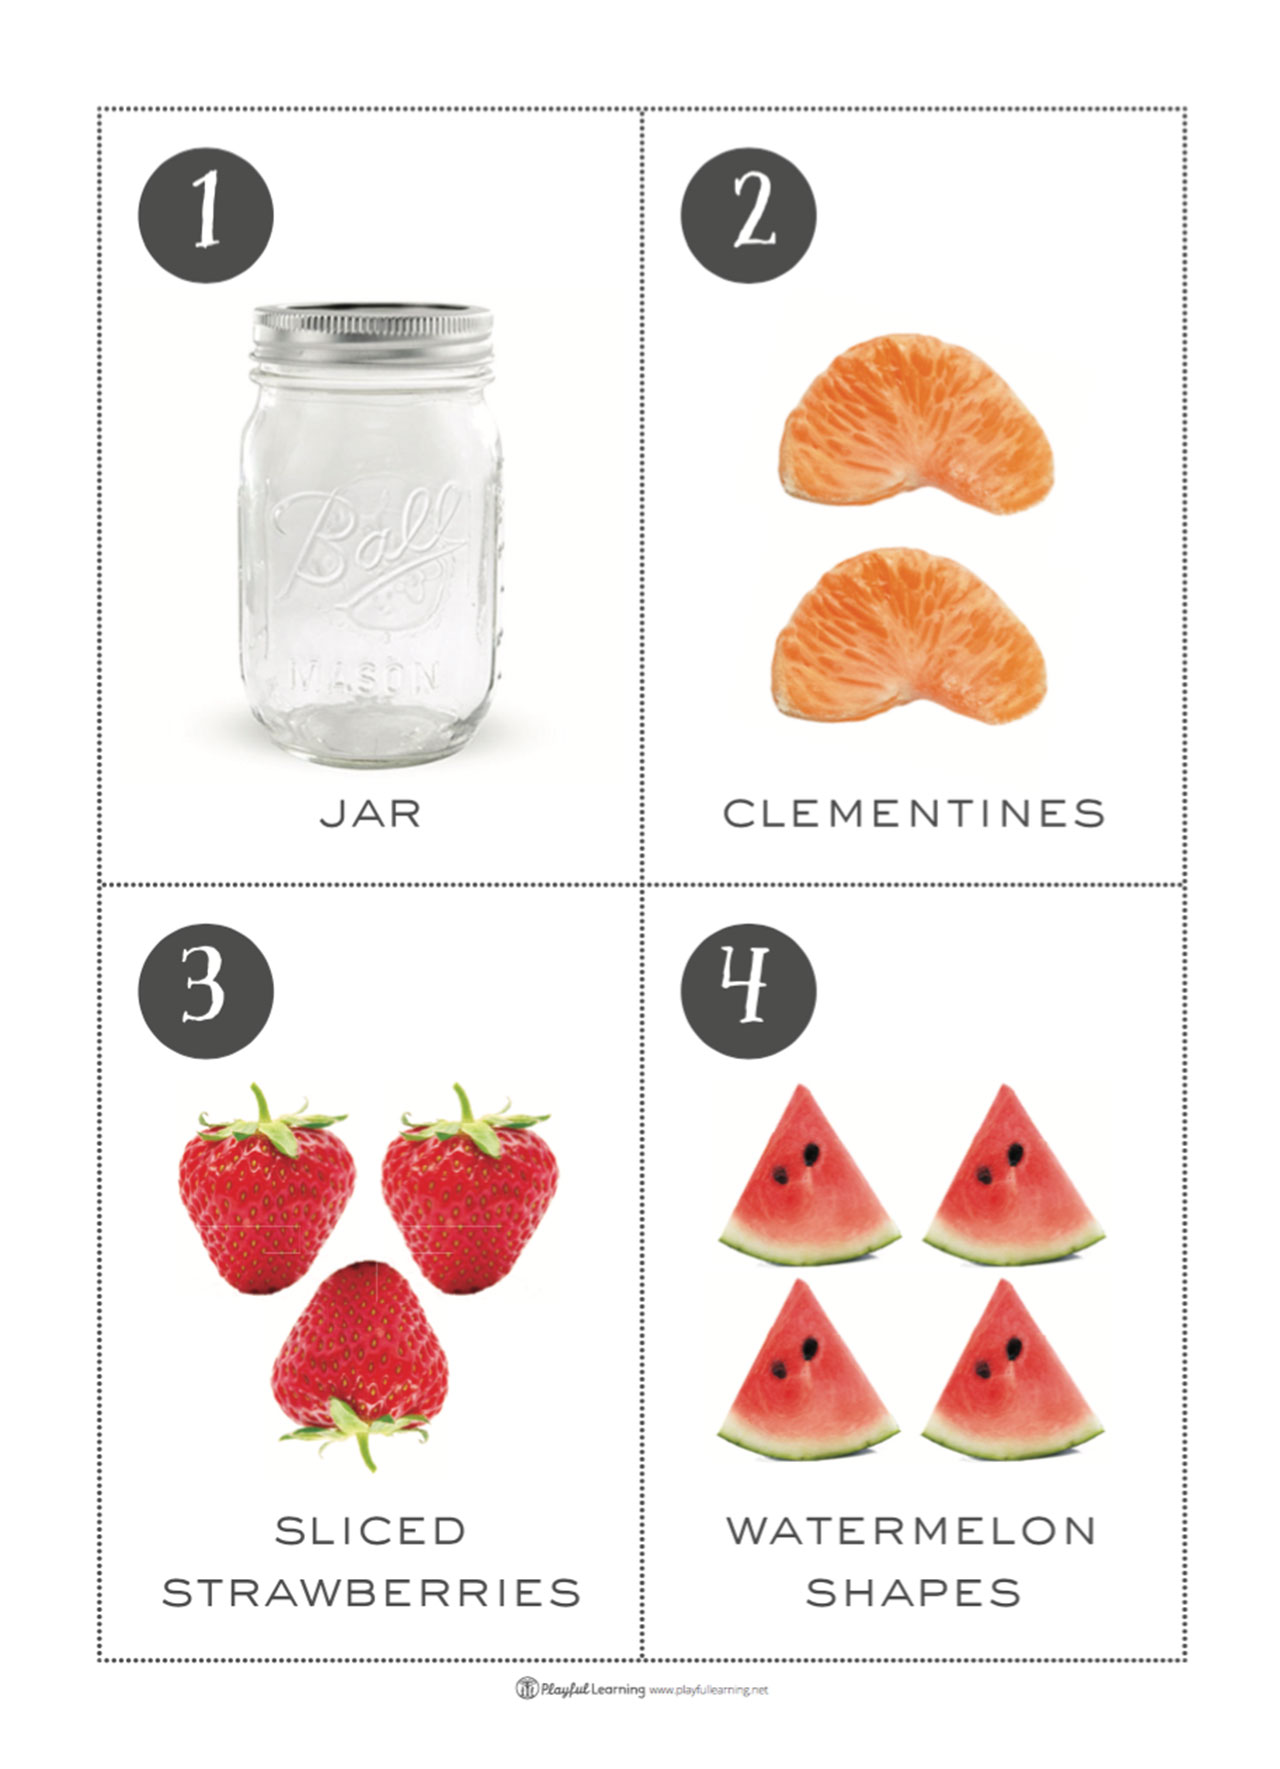
Below you will find recipe cards that you can cut out and use to make a delicious fruit salad using the tools we love! You can find our full curriculum on teaching children about nutrition and healthy eating in, Playful Learning Teachers’ Lounge.
What could be better than good literature, math explorations, and a dose of poetry? Good children’s literature naturally engages students and often initiates meaningful, rich discussions. Literature draws us in and keeps us together around a central theme, but also lets us enter based on our personal experiences and interests. Often, we can touch most, if not all children with a powerful story.
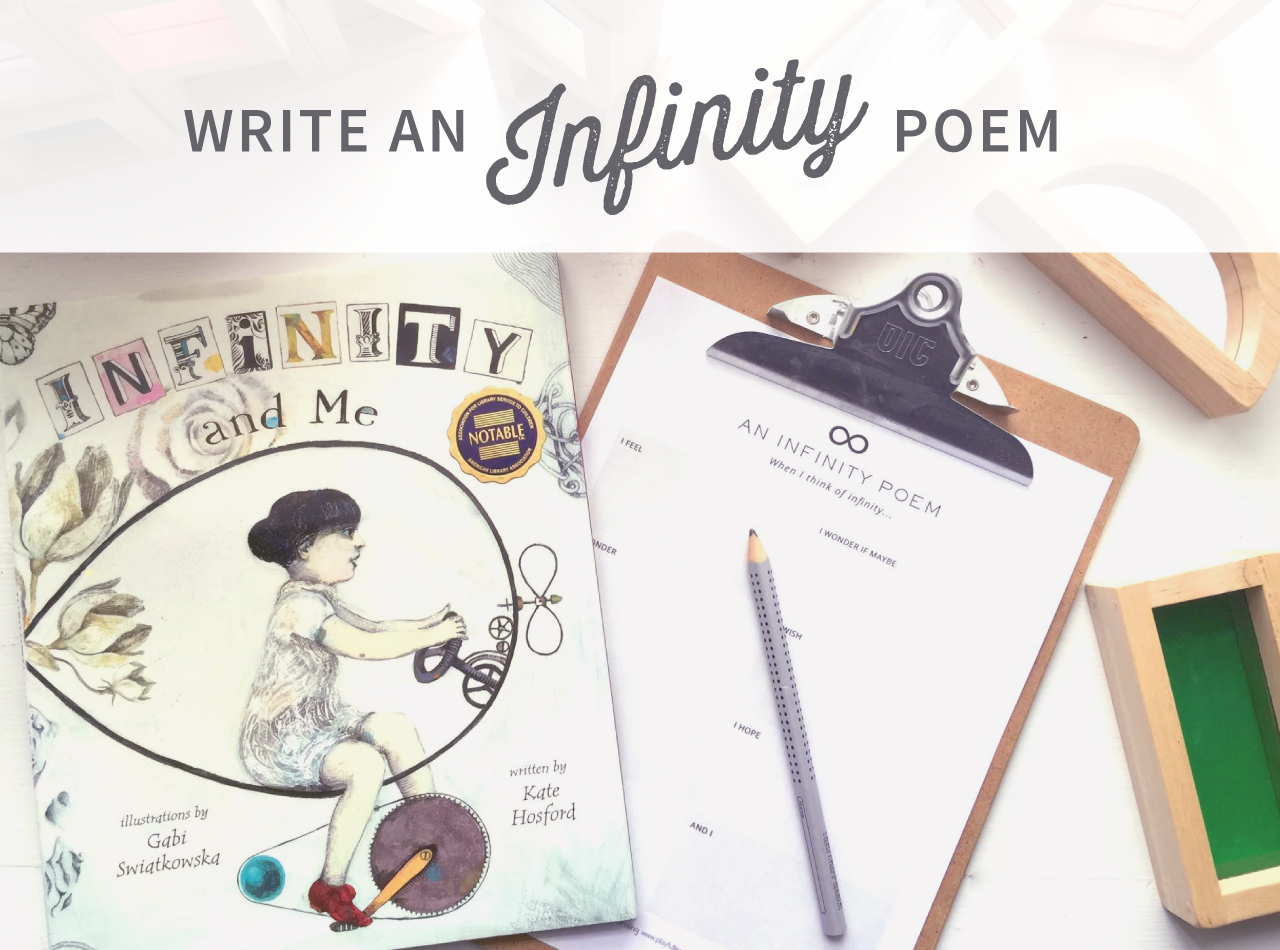
Kate Hosford has done a great job of personalizing abstract concepts in her book Infinity and Me. Her words along with Gabi Swiatkowska’s gorgeous illustrations personalize the concept of infinity. Uma, the main character, questions her friends and family members on how each person imagines infinity. The answers are varied and imaginative but also sweetly personal. Young readers will love to engage with this delightful story about a difficult, but now accessible concept.
After reading and discussing this book with your child, try writing an infinity poem:
Brainstorm ideas about infinity including: (1) feelings, (2) images, (3) activities one might want to do and (4) wonderings or questions.
Write a poem about the concept of infinity together to model writing to complete a sentence starter. Ask for ideas and show how to write these in sentence form.
Using the brainstorming list, have your child or students write a poem of their own.
Share finished poems with pairs or the whole class.
More to Explore…
Draw a picture to share one of the ideas you presented in your poem. Look closely at the illustrations by Gabi Swiakowska for ideas.
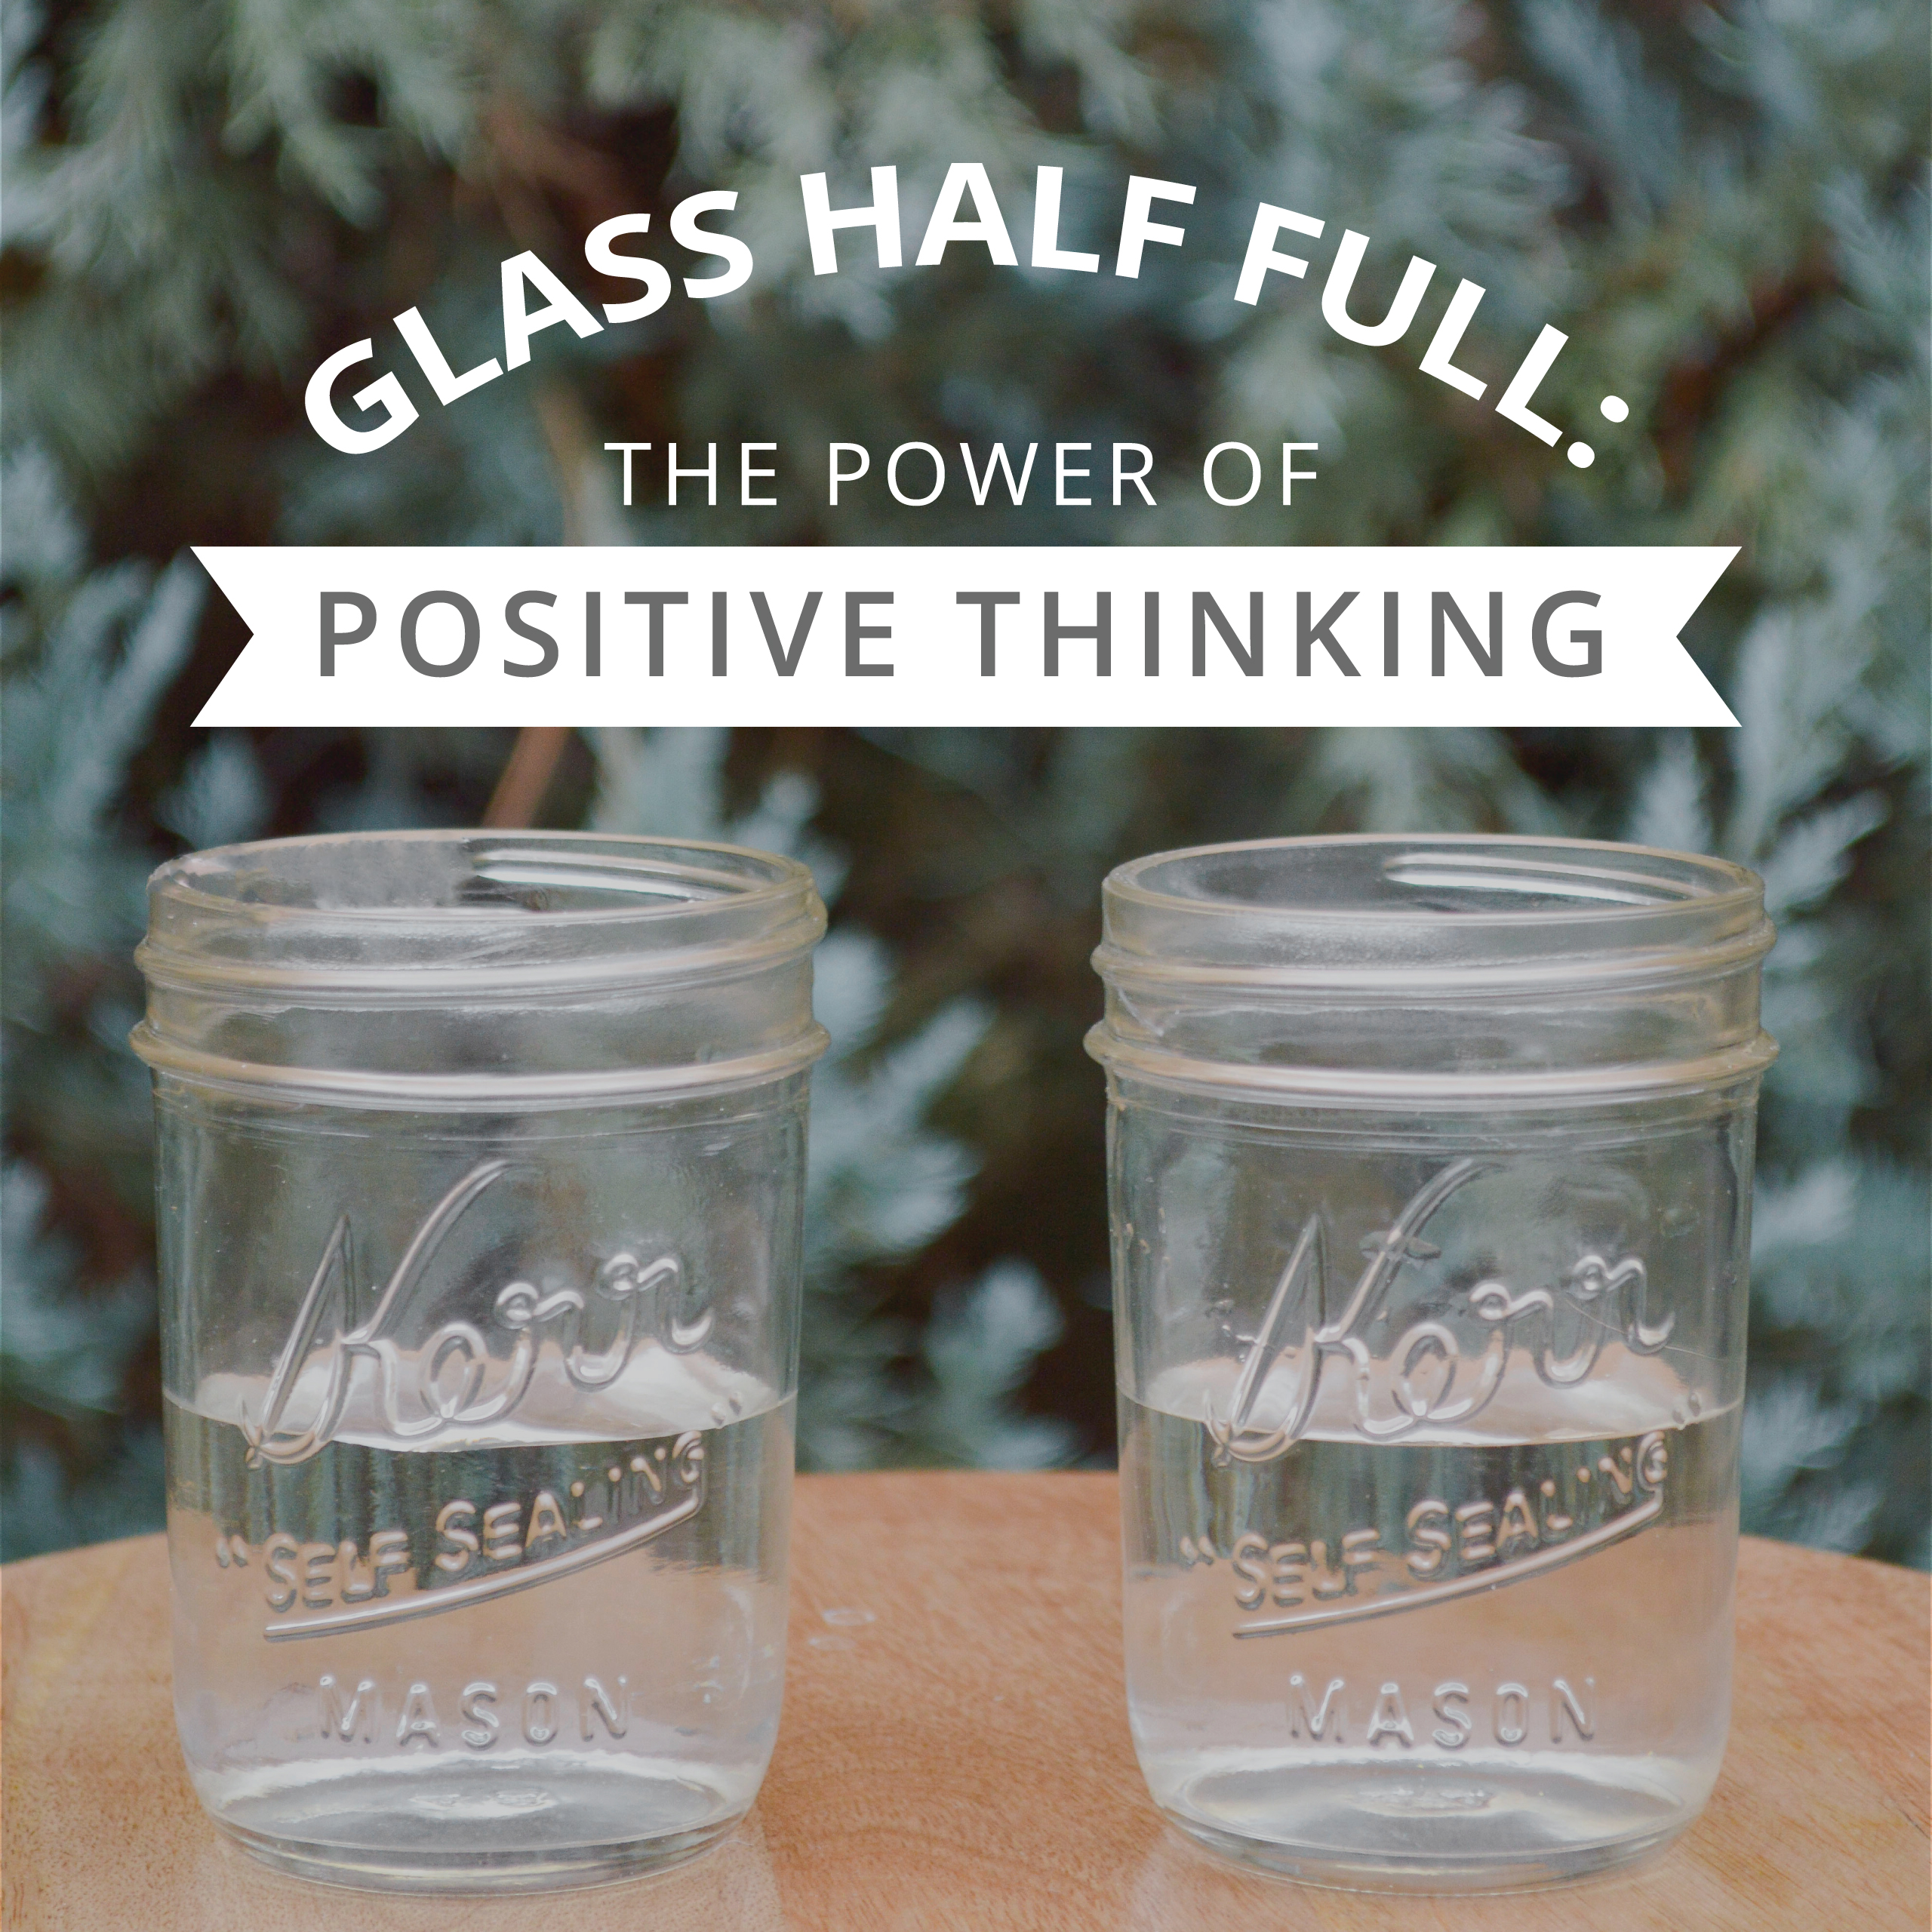
One of the most powerful lessons that we can teach our children is that they have the power to control their thoughts. Cognitive science has confirmed that positive thinking is a learned trait and that the more children practice this skill the stronger their neural connections become.
Yes, sometimes life sends us challenging situations, but we have the ability to make a choice about how we are going to feel about them. We can choose to see the good or positive aspects of a situation and although it does not always feel like it, there is usually an important life lesson that can be found in almost any circumstance. This understanding enables children to handle life’s ups and downs with more resiliency, which in turn leads to happier, healthier children.
Current brain research has proven that stress inhibits learning. Simply put, when people experience stress, the Amygdala prevents the flow of information into our prefrontal cortex, where executive functioning takes place, thus prohibiting long term memory and higher order thinking. Children learn through emotions, feelings, and experiences. Positive, playful emotions, promote learning, where as negative emotions, like stress and anxiety, hinder it. An optimistic brain works better!
Gather
A few thoughts on different situations in your life with school, friends, or family.
Start out by looking at your glass of water. You can explain that how they view the glass can teach them a lot about them themselves and how they see the world.
Ask your children what they see; is this glass half empty or half full? Explain that while both answers are correct, they have the power to choose how they view the glass—through a positive, “half-full” perspective or a negative “half-empty” point of view. Next you can explain that when they choose to see things in a positive light, they will tend to be happier throughout their lives.
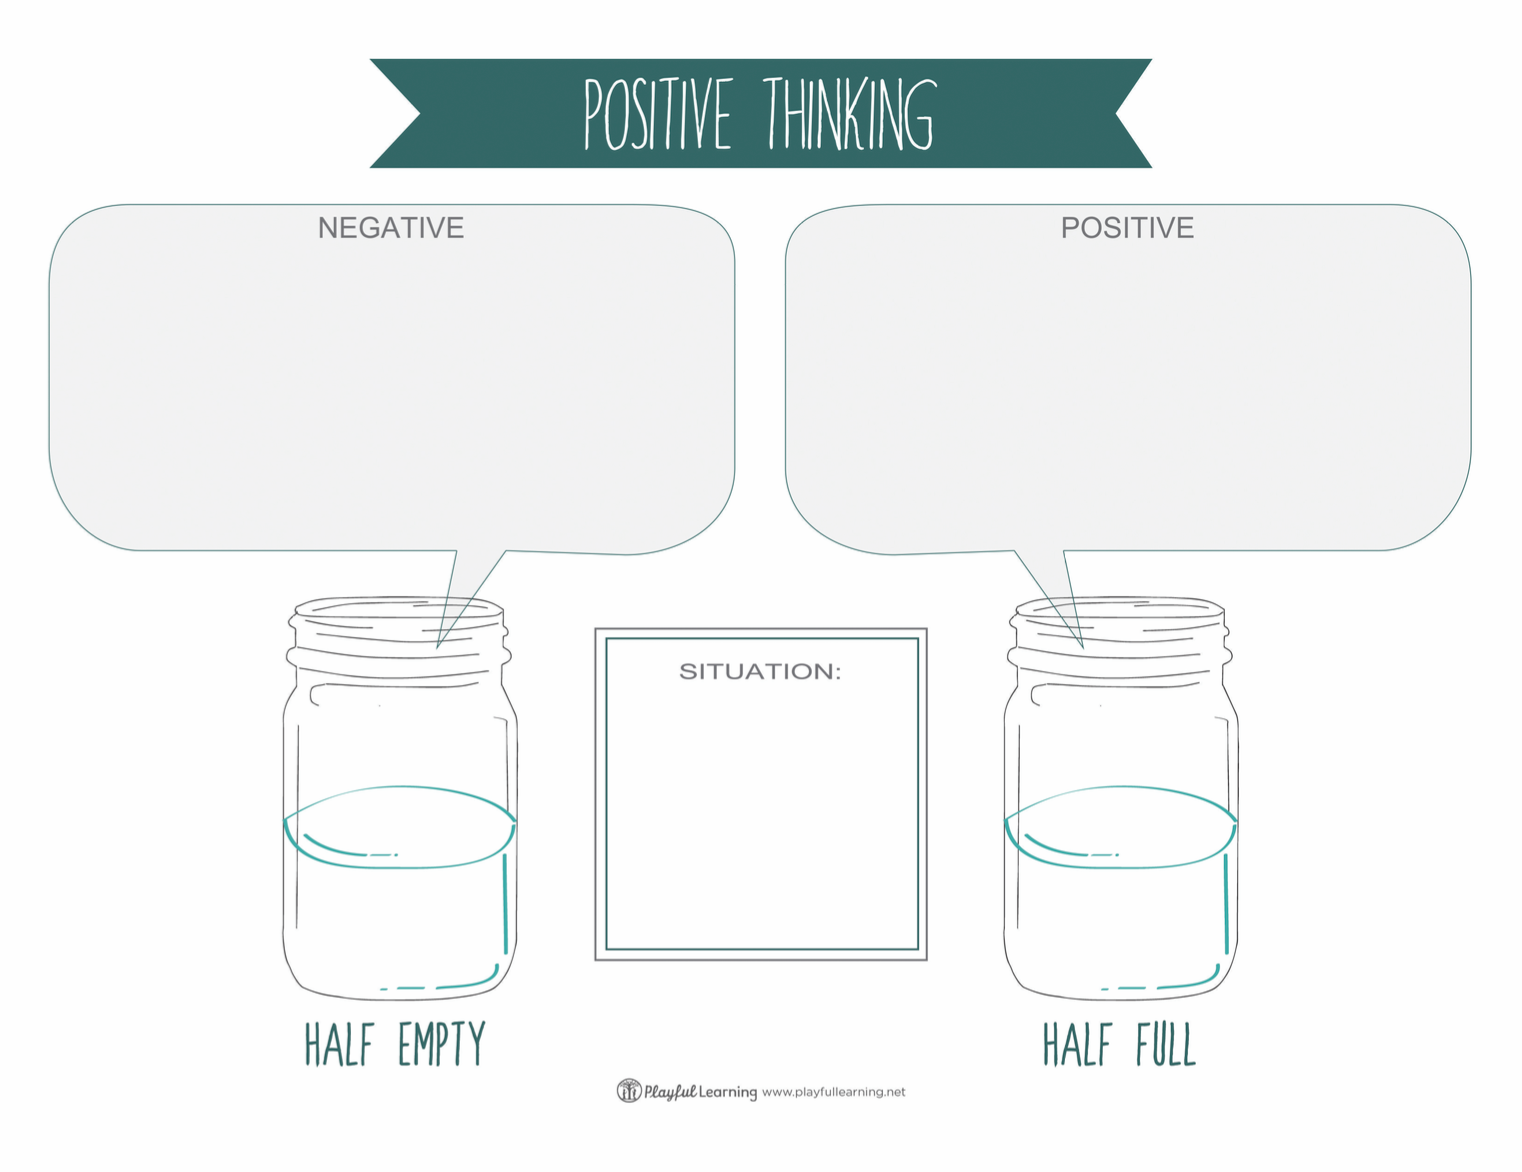
Next, Invite your children to think of a challenging situation in their life. Use the Positive Thinking printable and ask them to write it down, along with any “half-empty” thoughts they have or are feeling. Next, encourage them to think of something positive that can come from it and write it down in the “half-full” box. Discuss your responses as a family. See what you can learn from each other’s experiences.
After doing this activity, make sure to keep the conversation going. Help identify when a “half empty” comment has been made and brainstorm ways to find the “half fullness” in everyday situations. The goal is to encourage children to be able to use positive “self-talk” to help themselves get through stressful situations and daily challenges.
What are some ways you can support each other as a family to try to find the positive aspects of different challenges as they present themselves? Is there a little sign or reminder you can give each other to change your way of thinking when you need it most?
Are there any situations where you can’t seem to see a silver lining? Try to dig a bit deeper and think about what lesson you might be able to learn?
Talk about a time in your life that initially felt half-empty, but turned out to have positive consequences.
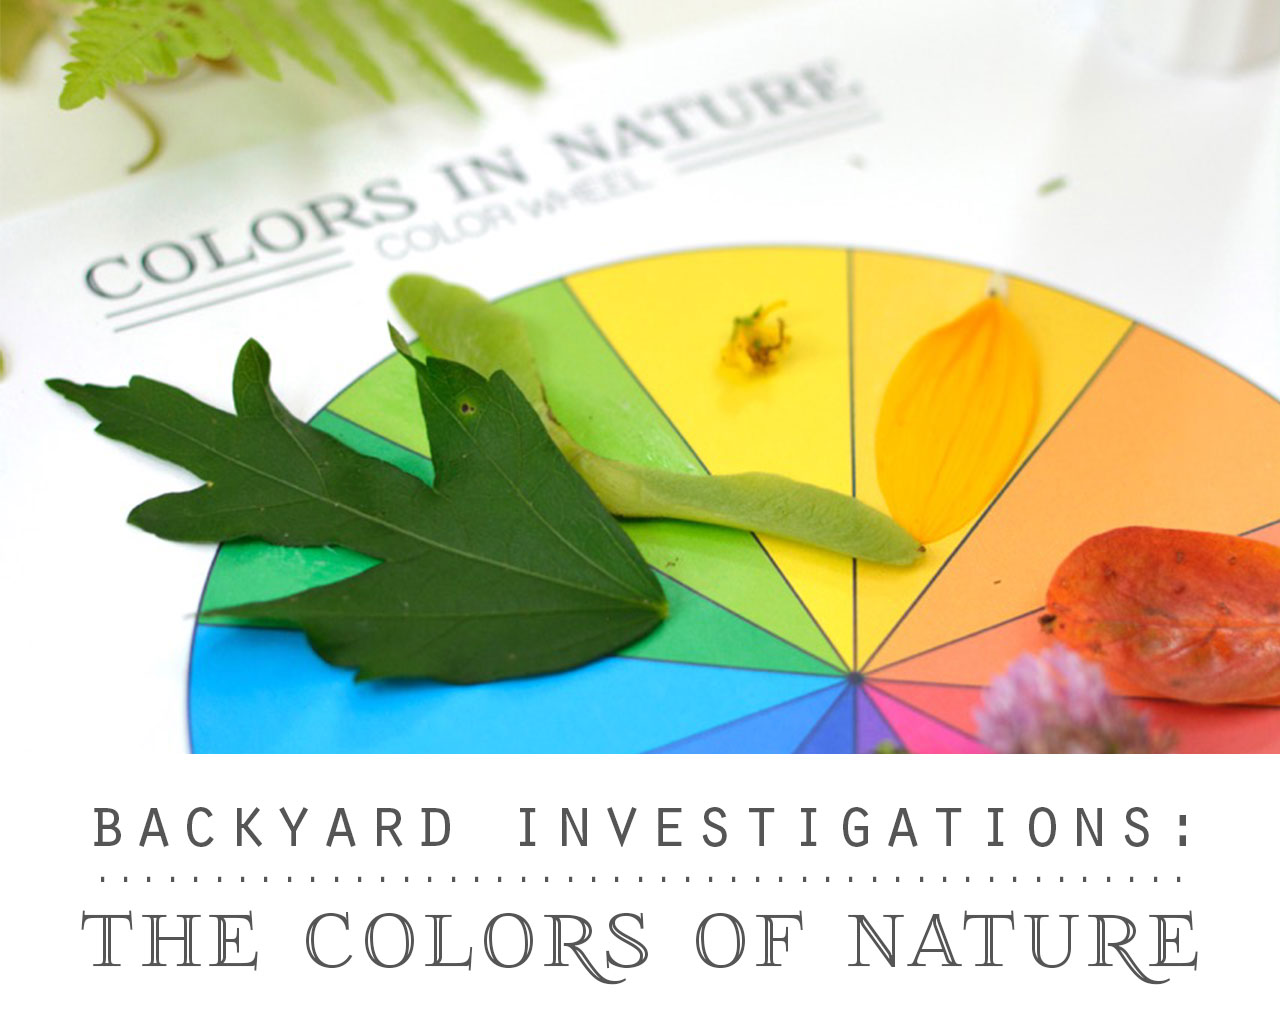
When we slow down and and take the time to focus on simply noticing, the natural world comes alive with inspiration. The Colors Of Nature activity encourages us to slow down with the children in our lives and take in all of beautiful color variations and subtle nuances that nature has to offer.
Often as parents we forget to see the forest for the trees when it comes to our children’s writing. It’s normal for us to get caught up in whether they’re writing letters neatly, spelling correctly, and using proper grammar. While these are important skills, they are most effective when utilized to support good writing. They do not make good writing.
Good writing comes from having something to say. Good writing comes from believing in something, wanting to explore something more deeply, or wanting to connect with others about something. Good writing comes from having a strong sense of your own voice and a solid belief in your ability to express your ideas.
A writer’s notebook is a place where children can discover all of those essential elements. When they can write on their own terms, children begin to find their voice and experience writing as it should be—an amazing medium for self-expression.
Starting a Writer’s Notebook
Did you know that almost all of your favorite authors keep a writer’s notebook? Writing does not need to be an overwhelming process, it can be fun, light, and all about capturing the magical moments in our lives. Keeping a writer’s notebook is where it all begins…
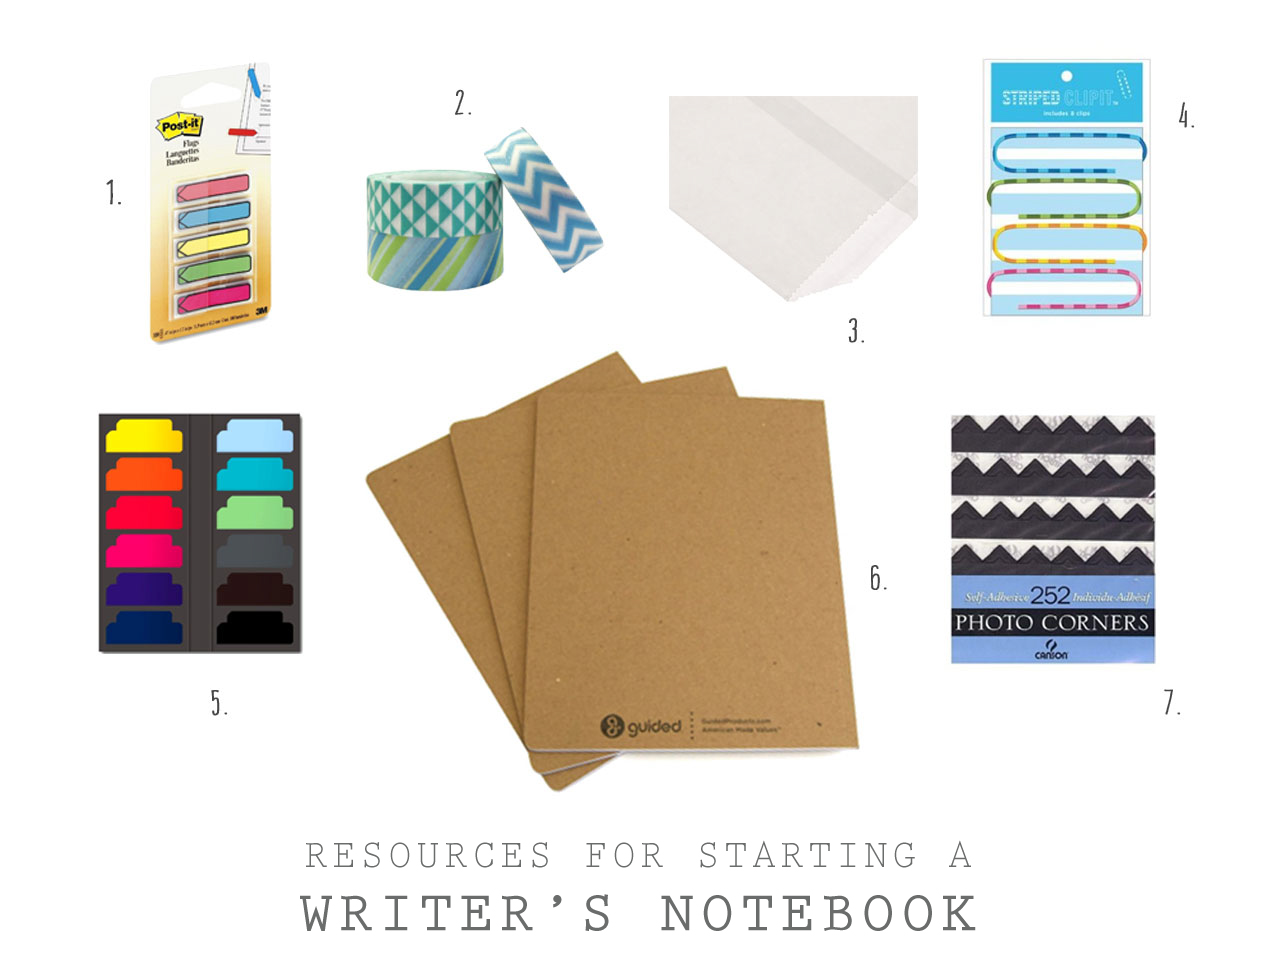
Here’s a list of our favorite writing supplies…
1. Post-it Arrow Flags – Add a fun dimension to capturing memories and writing down thoughts.
2. Japanese Washi Masking Tape – Fun tapes are a wonderful way to add mementos and for the decorating of your cover or pages.
3. Glassine Wax Paper Bags – These are great for taping into your notebook to inspire writing about found treasures.
4. Jumbo Paper Clips – Another great way to capture and save different memories.
5. Sticky Tab Markers – These come in handy if you want to create different sections in your notebook.
6. Blank Recycled Notebooks – We love using these blank notebooks. They offer a clean slate, so that children can make them their own.
7. Photo Corners – Wonderful for adding and writing about family memories and special events.
*This post contains Amazon Affiliate links.
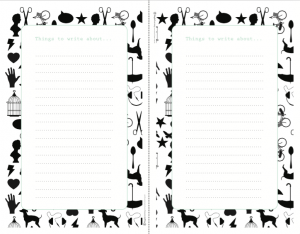
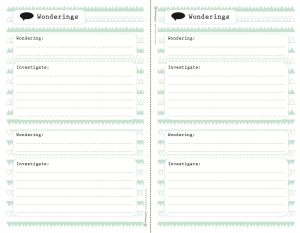
Printables
For an extra dose of inspiration, here are some printables that can be glued into your notebook and used as writing prompts. You can find our full writer’s notebook curriculum on the, Playful Learning Teachers’ Lounge.
Technology provides our children with amazing opportunities that we couldn’t have even dreamed of at their age. It’s important to emphasize to them that while technology has tremendous potential for making their lives better, it also has a flip side that they have to be aware of as well. The purpose of the Digitally Savvy online workshop is to explore both sides of technology, together, with parents and the digital natives in their lives.
Once you’ve connected in a positive way with your tweens and teens around the subject of technology (try the emoji lesson), your children will be more willing to engage in honest conversations around the topic, as long as you continue to be open about your own experiences.
It’s helpful to create a dialogue about the fact that there are positive/creative uses of technology and not-so-productive uses of technology, and that what’s most important to be aware of, is how we are spending our time. When technology is used as a medium for self-expression, like a paintbrush, instrument, or pen and paper, a whole new world can open up for our children. For us to blindly be adverse to all technology or make sweeping statements to our children about being on their devices too often, will only alienate them further. I’ve written more about creating forbidden fruits, here.
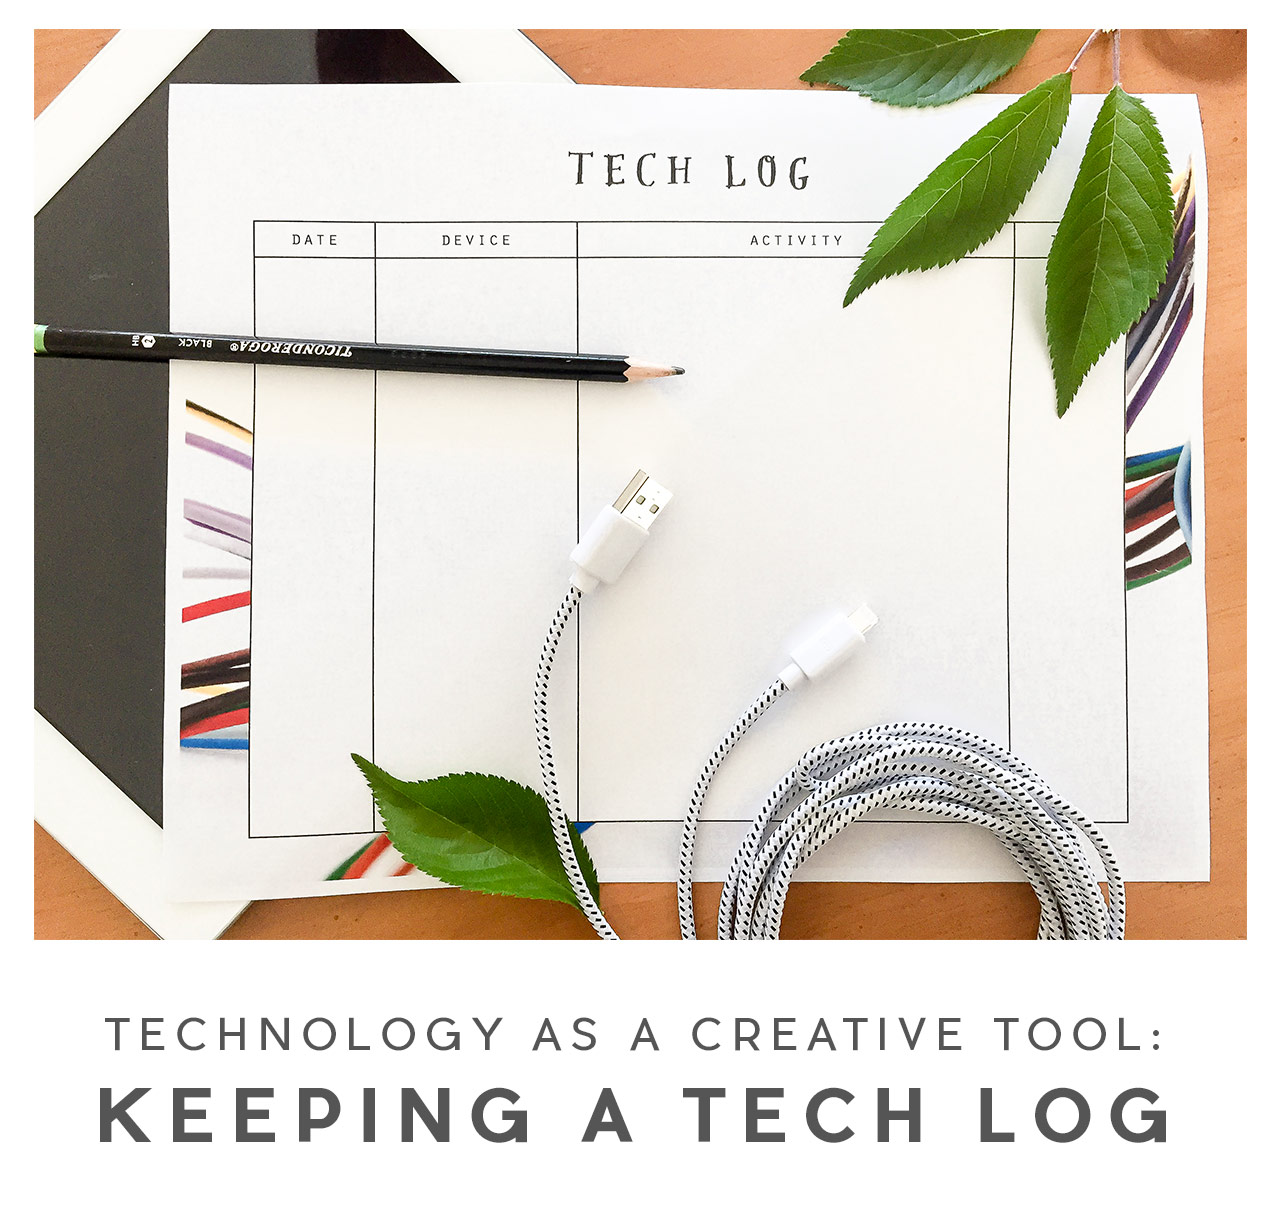
One way to bring this concept to life is for the whole family (or at least 1 parent and 1 child) is to keep a tech log of thedevices that are being used and how you are using them. Print out the Tech Log below for each member of the family. Choose a few days to track your use of technology (including tv). Even as grown-ups, we don’t always use technology in the most productive ways (Facebook, Pinterest, online news, shopping, etc.) and believe me, children this age can sniff a hypocrite from a mile away, so the more honest we are during this process, the more trust will be established. I am sure we all have a little room for improvement and what better way to work on it than with the children in our lives.
It’s very important that we do not become judgmental during this process. What’s most important is open discussion and empowering our children to make good choices about their time.
I may have just stumbled upon the golden ticket to opening up meaningful conversations with tweens and teens about technology!
We started the Digitally Savvy workshop in the Studio on Saturday. It’s been an interesting experience developing the curriculum for this workshop. I have a tough crowd to please—my 11 and 13 year old daughters are participating. I was humbled when a few days before our first session they looked me in the eye and said, “Mom, please don’t tell us this class is going to be about how much time we spend on our phones and online safety.” That very minute that I knew, I needed to take a different approach.
Yes, of course we want to get the message across that they need to make good choices about their time and they need to be aware of certain things to keep them safe, but before we have their ears, we need to establish an open dialogue.
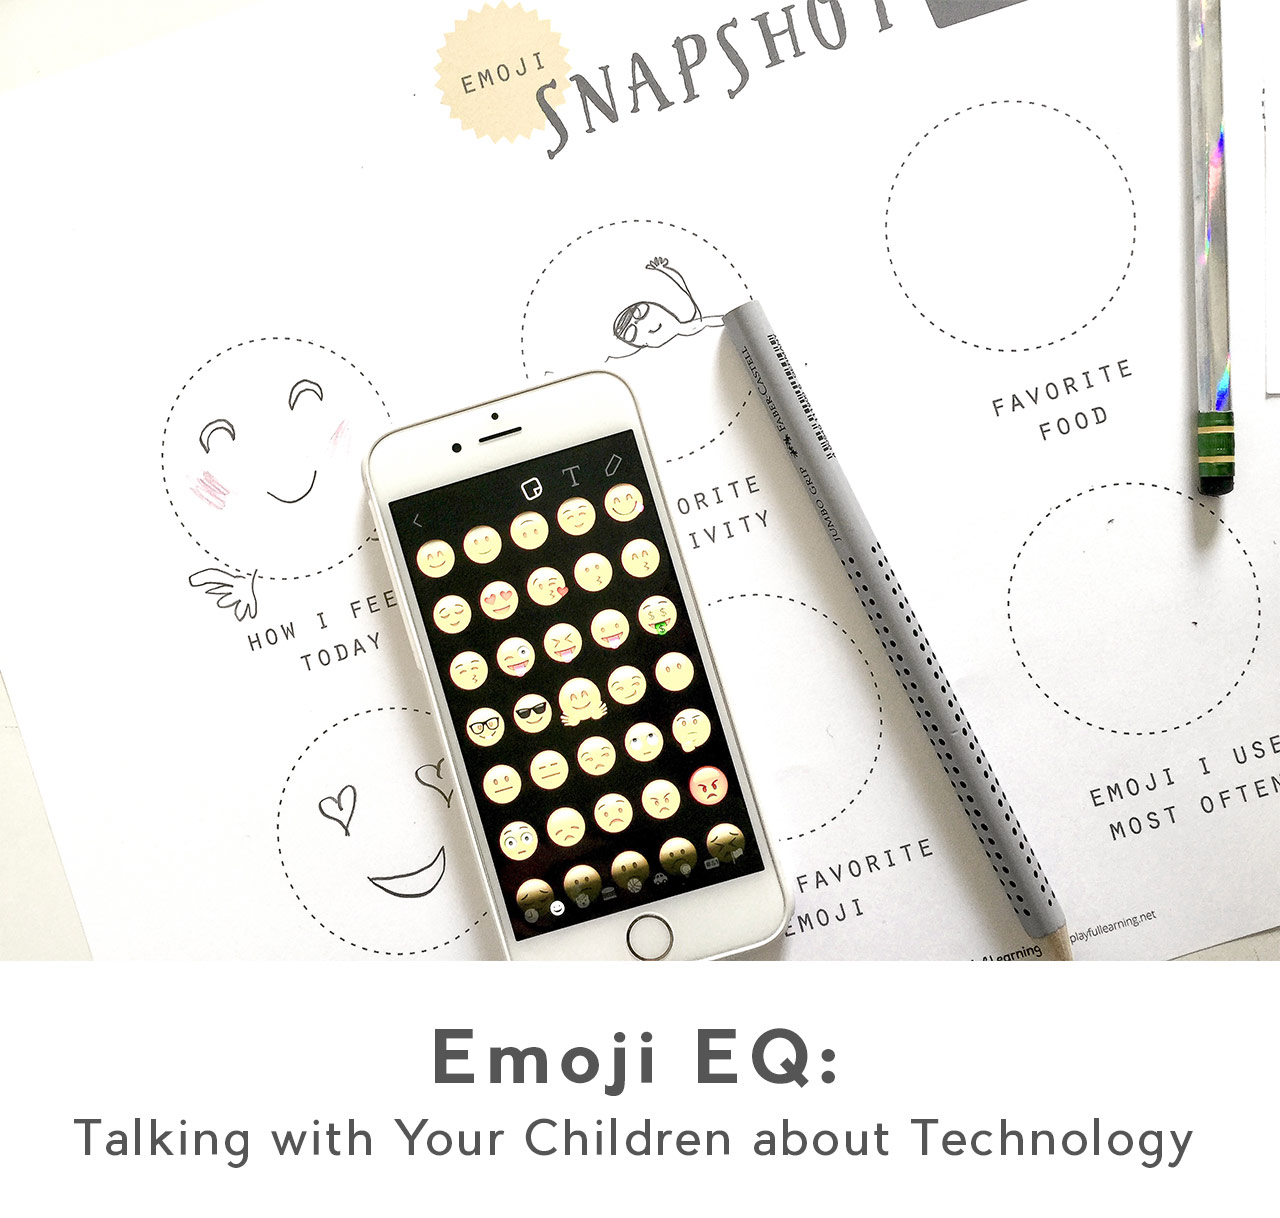
So, I took some time to create an introductory learning experience that would help establish these important lines of communication in a fun and meaningful way. The Emoji EQ lesson acts as an ice breaker to get older children excited—to start them talking and to open up the conversation. You’ll be amazed at how everyone can relate to the language of emojis!
The tweens and teens couldn’t wait to get started and were giddy and full of enthusiasm as they shared their emoji experiences. I highly recommend that you do this activity with your children as the discussions that ensue are priceless. Our conversations went from emojis as a form of communication, to cyber-bullying, to the politics of group chats on text messages. I realized how important it is to meet children where they are. If we start with our own agenda in mind, we will more often than not lose them. However, if we begin with their agenda in mind we can weave in our goals and thoughts throughout the activity.
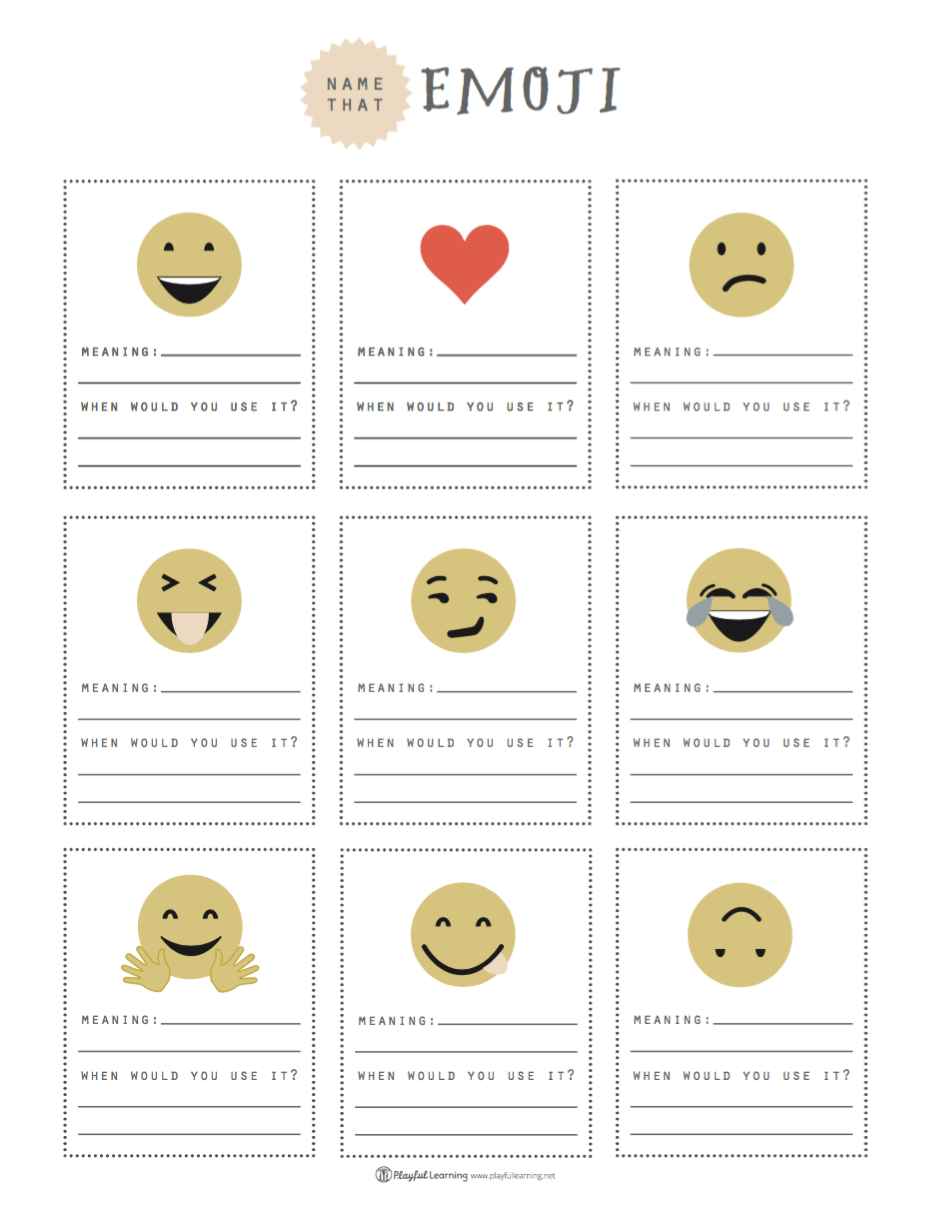
Aside from the goals mentioned above, It’s also helpful to use emoji’s as an example of ways that things can be misunderstood when communicating through digital technology. We started by talking about the very first attempt that humans made to use pictures as a tool for communication—cave paintings. Then we moved on to hieroglyphs, then verbal and written language. I explained that once humans were able to communicate digitally, it became hard to express emotion and/or pick up on someone’s tone, so we invented emoticons :-), where we used an interesting combination of punctation marks to give our digital communication a bit more emotion. These emoticons then lead to the pictorial images (emojis) we have today, and although we don’t think much of them, I can assure you that our children are very aware of each and every emoji they use and why. I thought it was fascinating that they said they often have to use more than one to get there true meaning across. We were very amused when we realized that all of us had different interpretations of what certain emojis convey and the implications that might have for developing possible misunderstandings.
Note: It’s really important to listen to your child’s ideas and responses throughout these activities, without judgement. We really just want them to open up and feel comfortable sharing their thoughts and experiences, and emojis are something this generation of tweens and teens love to talk about!
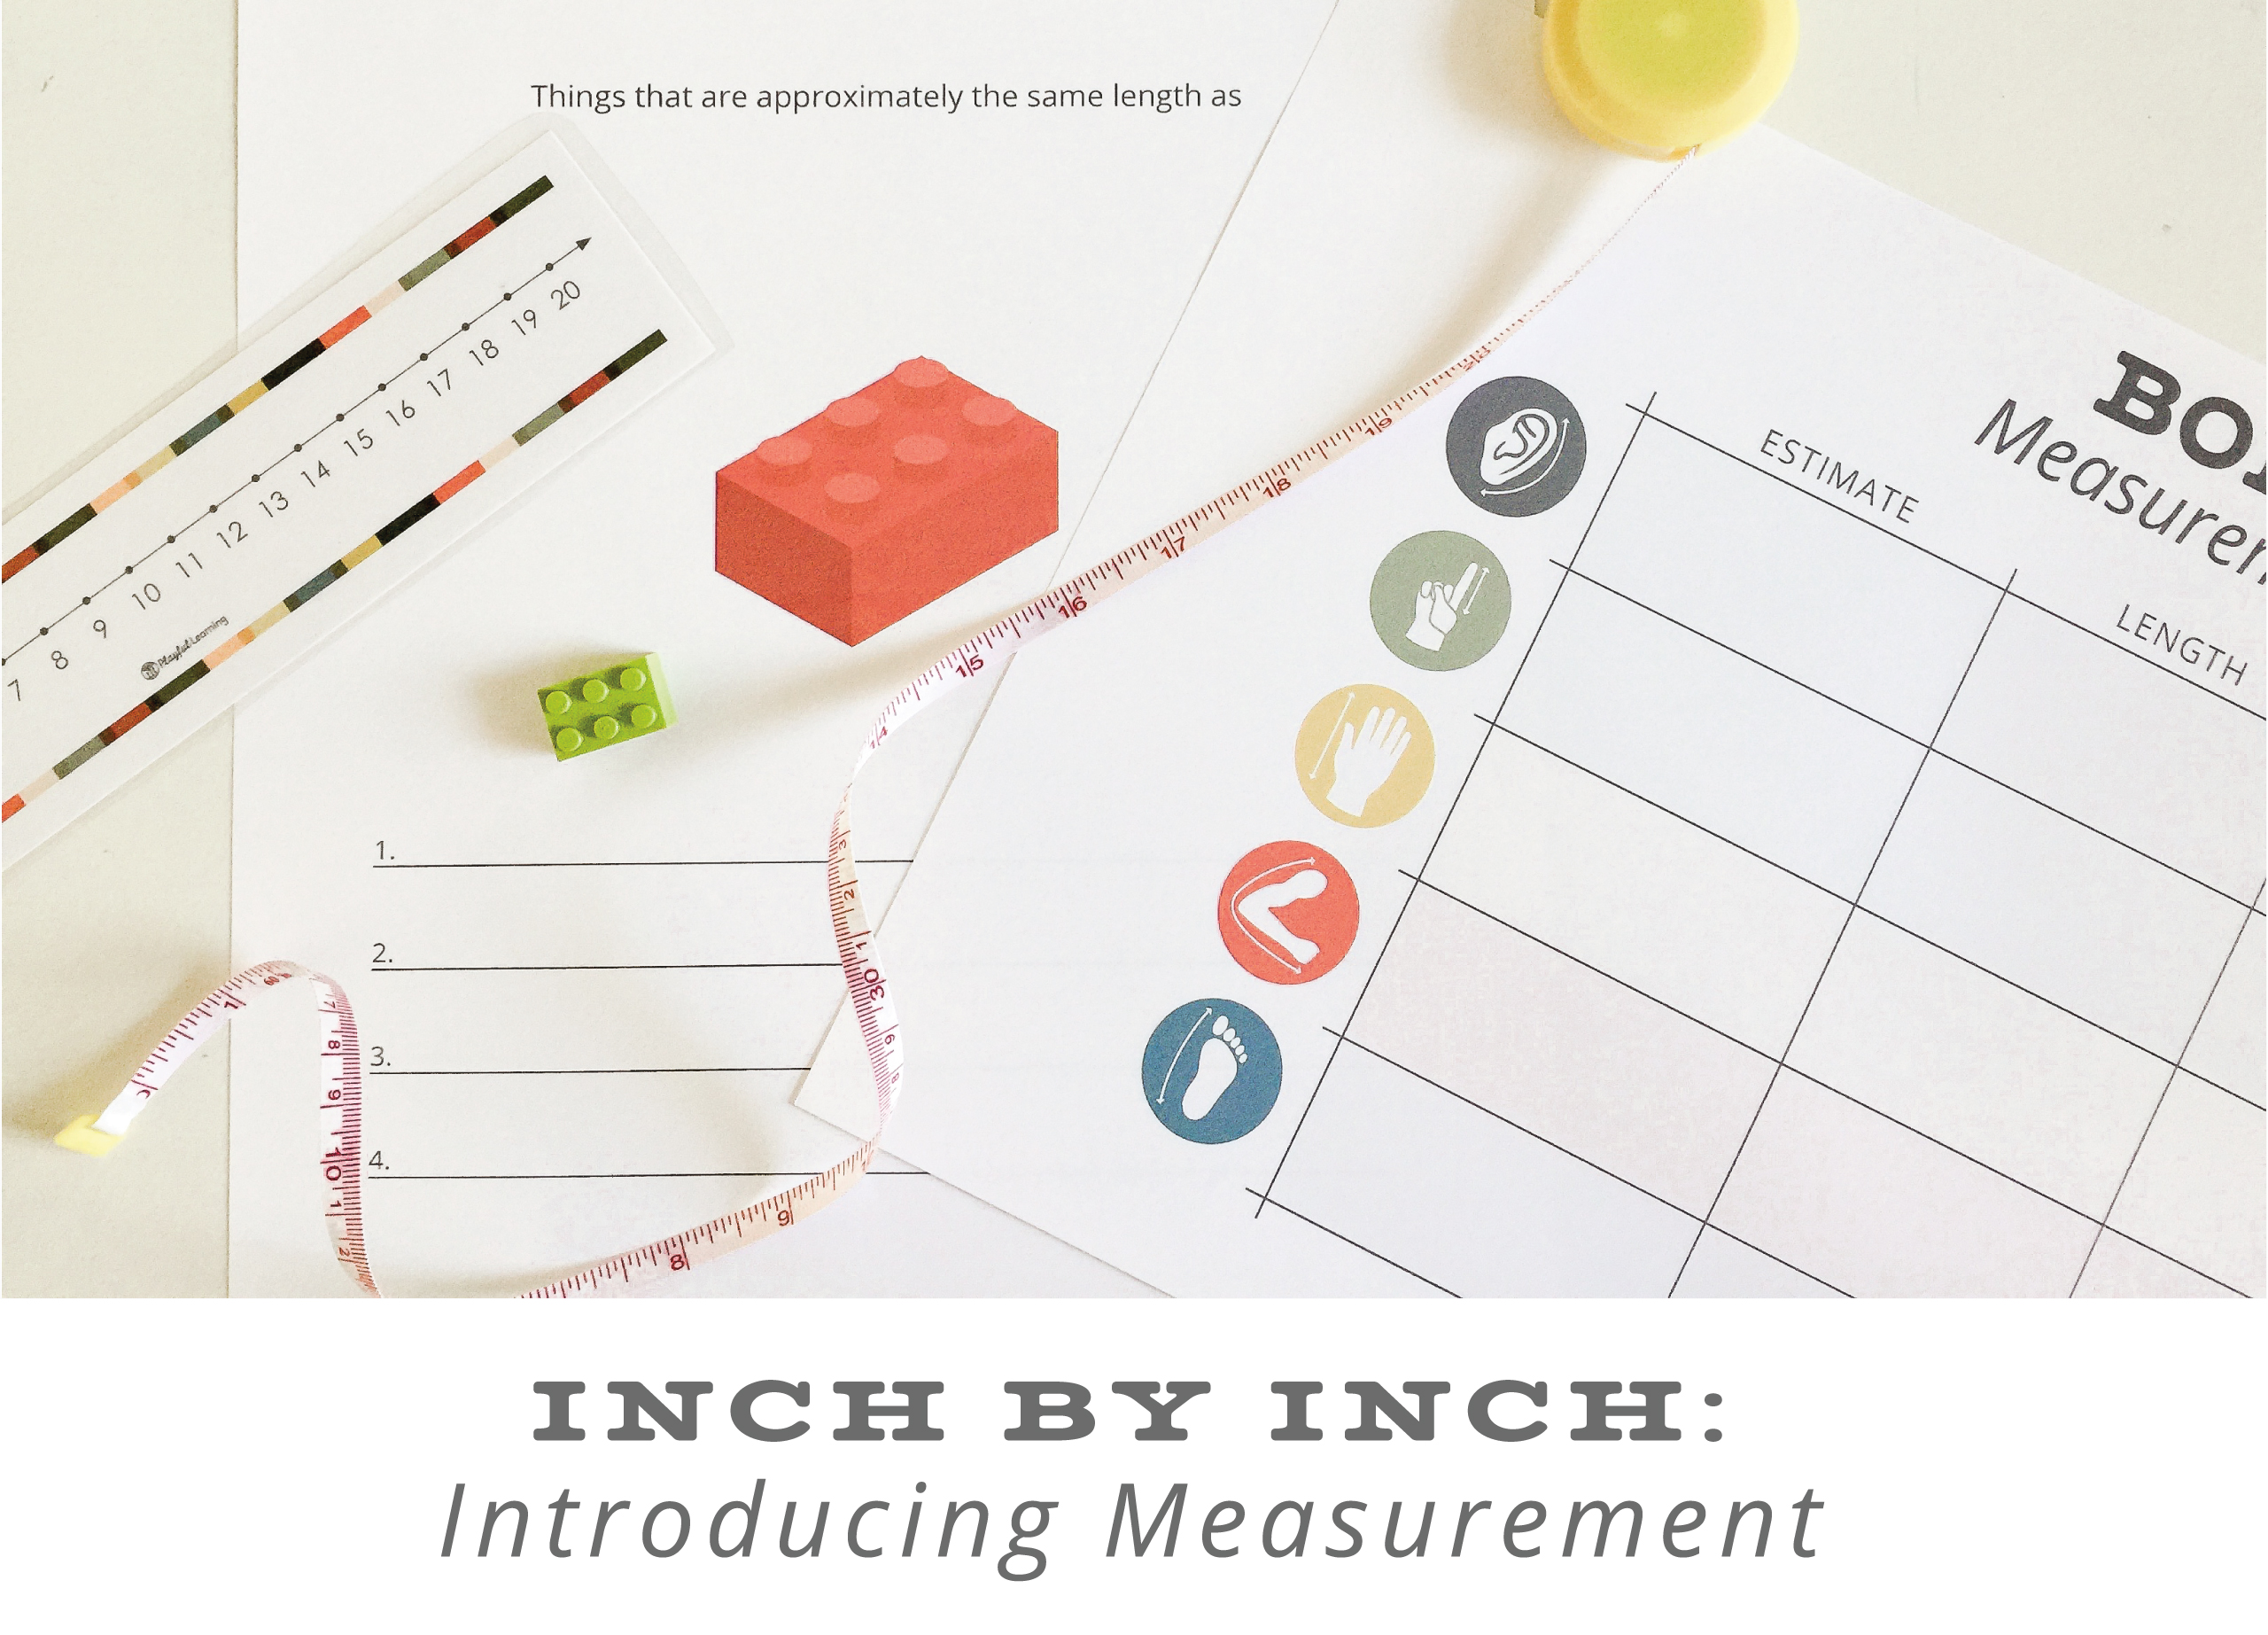
Learning to measure our world is a welcome experience for young children. Children love being able to use “real tools” to measure things that they encounter on a daily basis. This experience introduces children to both standard and non-standard measurement and helps them to develop the important skill of estimation. For the younger mathematicians this activity is great for number formation and identification
Start with a small Lego® (approximately one inch) and the Lego® measurement sheet (printable M14). Ask your child to hunt around the house and see how many items they can find that are approximately the same length as the Lego®. It is fun to you’re your child a clip board, which makes the search that much more “official.” Encourage your child to record her/his discoveries on the measurement sheet.
When your child is finished, explain that grown-ups do the same thing when they want to know how long an item is—but instead of using Legos® they use rulers or measuring tapes. Next, take out the 12”x2” pieces of paper and invite your child to make her/his own ruler. Explain that he/she can use their Legos® to make the marks (starting at one edge, making a mark after each Lego® all they way to the end of the sheet). When she/he is finished making and numbering their rulers, take out one of your rulers and show your child how similar they are. Your child may notice that each sheet had enough space for 12 Legos®. You can mention to her/him that those spaces are called inches. You can also bring up the fact that 12 inches makes one foot.
It is helpful to remember that for this experience it is not important that your child’s measurements are exact. What is important is that your child begins to create mental images of items that are approximately an inch long. This will help them tremendously when it come to estimating measurement as well as gives them internal mechanism for knowing if their results are in the right ball park.
Once your child’s handmade rulers are complete you can encourage her/him to put her/his new tools to work. Print out the body measurement sheet (printable M15) and invite your child to measure the various parts of her/his bodies (it is nice to work with a partner for this part of the experience). Explain that she/he can start out by estimating how long an item will be, then have her/him measure the item and finish by trying to figure out how far off she/he was from the estimation.
It is fun to compare and contrast the different sizes of nose, fingers, etc. among your family members
After your child is comfortable measuring items by the inch, you can repeat the same process with the smallest Lego® piece (see bottom portion of printable M14) and introduce the centimeter as another unit of measurement.
Challenge your children to measure longer items with the use of a tape measure (keep an eye out for hurt fingers) or yardstick.
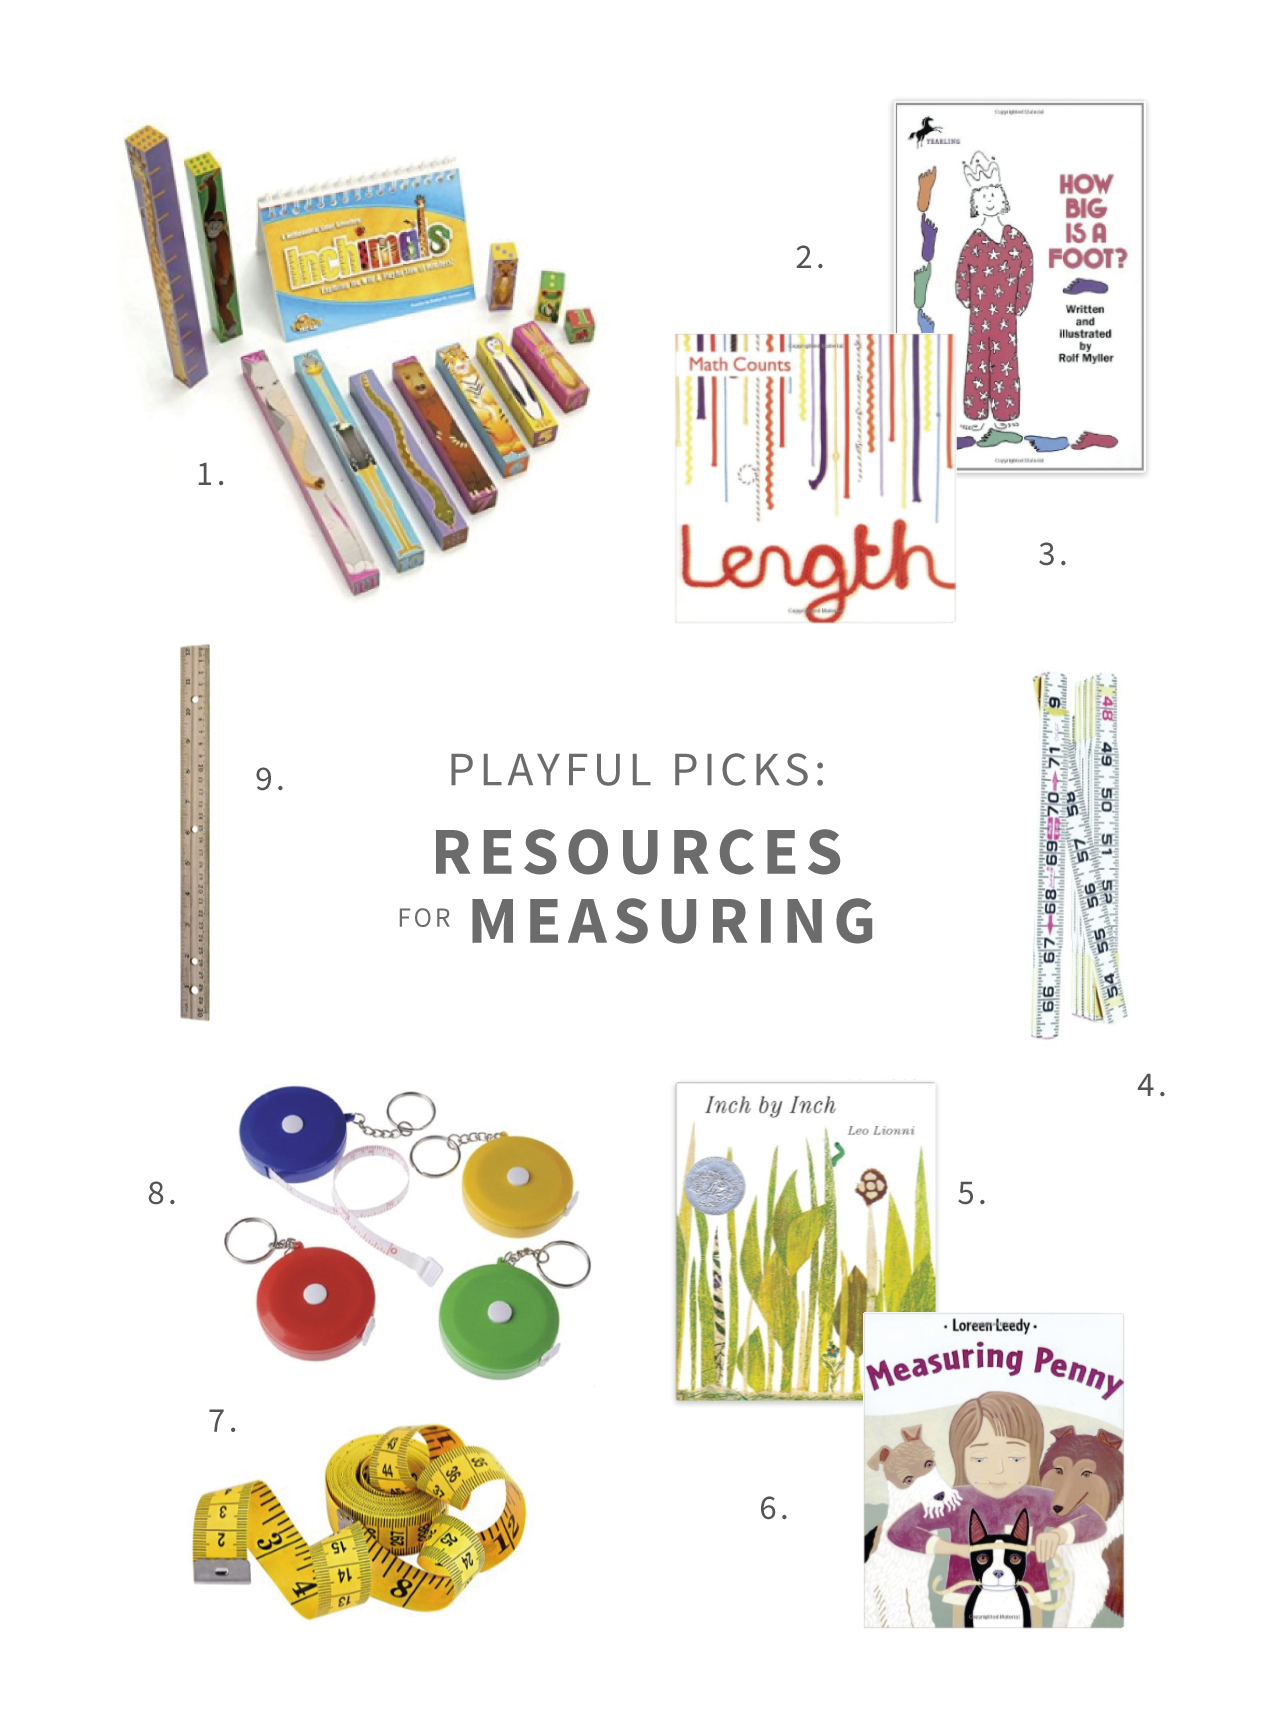
Maker sure to check out our Playful Picks for Introducing Measurement.
Learning to measure our world is a welcome experience for young children. Children love being able to use “real tools” to measure things that they encounter on a daily basis.
Here are our favorite picks for introducing children to measurement. It’s fun to mix up the tools children have available to measure in a variety of different circumstances. Beware, you may just find that your child wants to bring their tape measure with them wherever they go!