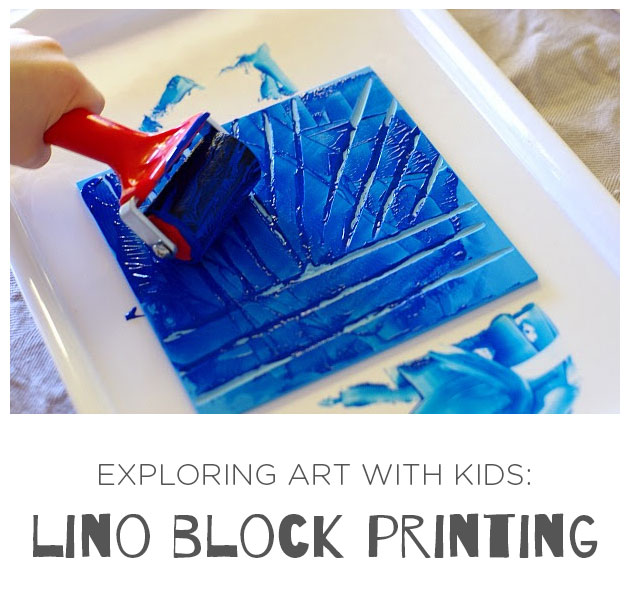
Lino Block Printing for Kids
Kate from An Everyday Story is with us today to share a great DIY on block printing with the budding young artists in our lives.
Lino block printing is a challenging and engaging experience for children. If your child enjoys monoprinting, lino block printing will give them the opportunity to apply their understanding of printmaking to a new technique; encouraging them to grow in their creative expression.
When we introduce our children to a new art technique, it is important for them to discover the process. As we guide them through the steps, we allow our child to make the experience their own. They will have their own questions as they discover the possibilities of a new medium and a new technique:
“How hard do I have to press?” “How can I make my mark?” “How much paint do I need?” or “How can I make my print better?”
Getting Started with Lino Printing:
You’ll need the following materials:
- Lino printing block: Art supply stores sell easy-carve flexible blocks which are soft and smooth to carve; creating deep lines
- Printing Ink: You can buy water-based and oil-based printing inks. Water-based inks dry quickly but will run with water. Oil-based inks take longer to dry but once dried, you can introduce watercolor paints to add to the print
- Paint: We prefer to use paint. It’s cheaper than ink and while your child is still learning how to make prints, you can allow them to explore without worrying about wasted resources
- Lino carving tools: You can purchase a range of lino carving tools however, while your child is still learning how to carve, it is better to offer one wide carving tool which will allow them to make bold lines easily
- Paper: No special paper is required for lino printing
- Roller: A hard roller called a brayer is used to roll the paint on to the print block. You could also use a soft foam roller
- Paint tray: A small tray to spread your paint or ink
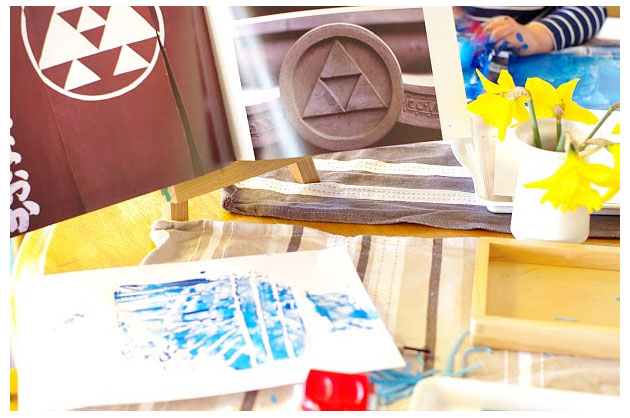
Step 1: Have your child draw their design on the lino block
We have been exploring shapes and patterns lately in Japanese architecture and so inspired by these elements, using a permanent marker, my son (5 years old) marked out his design. The lines will be the portion of the print that will remain white.
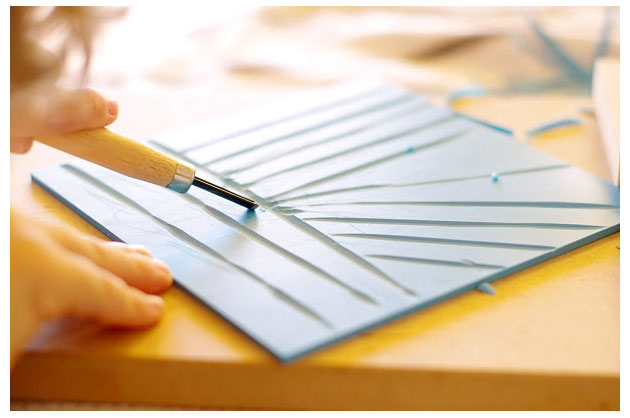
Step 2: Carve your design
Allow your child to explore the carving tool. Encourage them to press the tool gently on their skin to feel the sharpness. Demonstrate how to carve away from you, making sure to keep your other hand behind the lino block and out of the way of the carving tool.
As their skills improve and they become more familiar with using the carving tool, you can introduce a finer tool for more detailed carving.
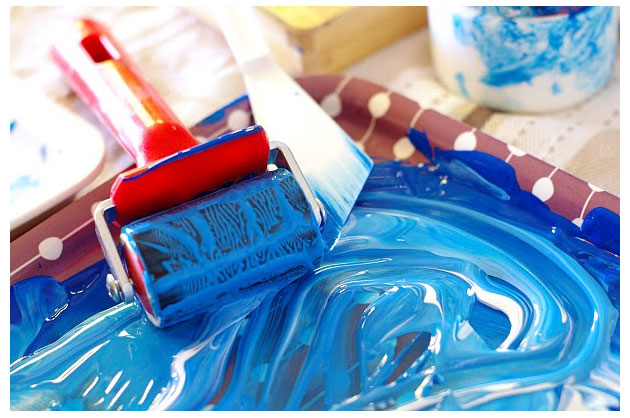
Step 3: Get your ink or paint ready
For this I let my children experiment with how much paint they need to make an effective print. Only a very small amount of paint is needed but I think this can be a very valuable learning experience for your child. Too much paint and the roller will push paint into the carved portions of the block.
The photo below shows my son’s first attempt at filling the roller. He soon learned that less paint would produce a better result. He was able to learn this through experience.
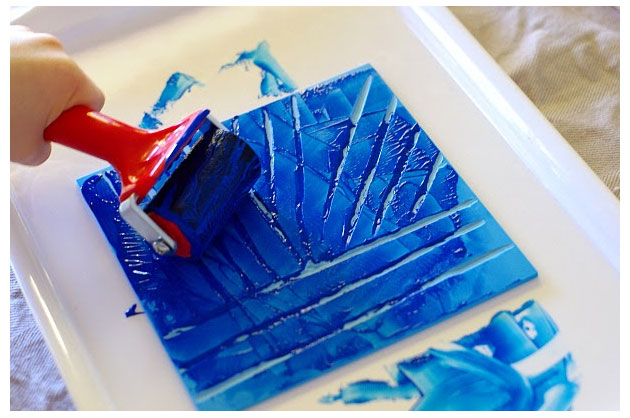
Step 4: Roll your paint or ink
Once your child has learned how much paint is needed (and it is only a very small amount), roll your paint on the lino block. It will take a few rolls to get a nice even coverage
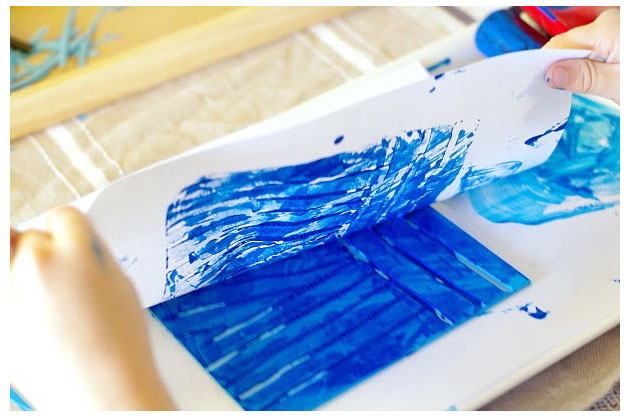
Step 5: Make your print
Have your child gently place their paper on the block. With their hands or a dry soft sponge, gentle push the paper flat. Carefully pull back the paper to reveal your print and leave to dry.
With each new print your child’s skills will become more refined. They will learn how much paint to apply, they will learn how deeply to cut the lino print and they will learn how to apply multiple layers of color as they cut more detailed designs from their blocks.
Their knowledge of printmaking will grow. They might like to try their hand at lino block printing on fabric next; creating their own individual designs for t-shirts or fabric which they will later sew into a small handkerchief.